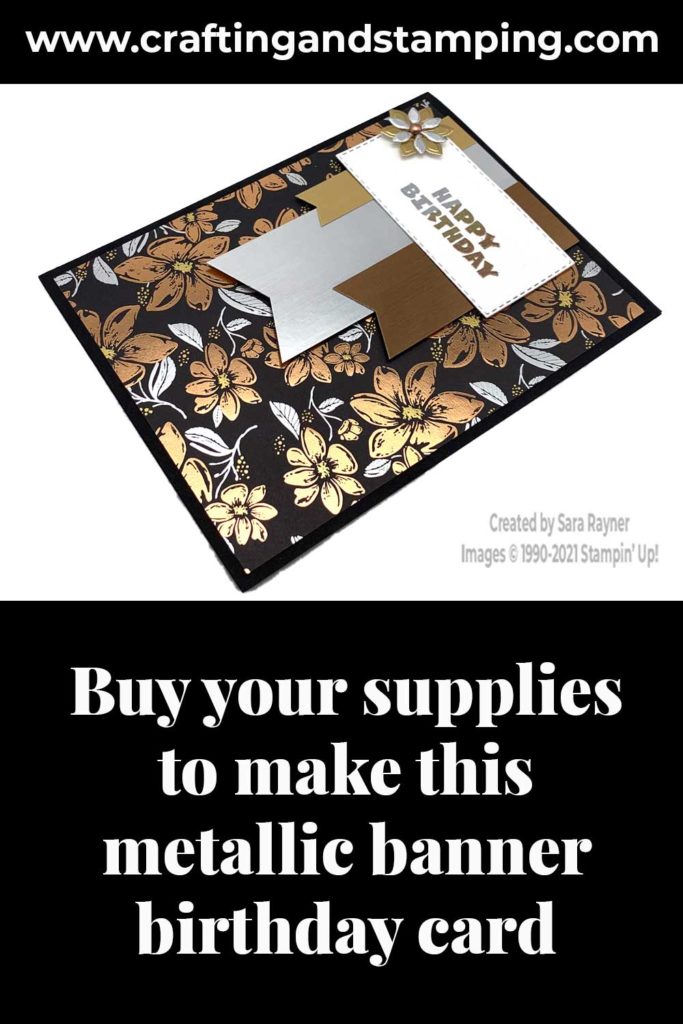
Today’s tutorial is for a metallic banner birthday card. This time I’ve combined the Brushed Metallic cardstock with the Silver Foil Specialty Pack.
The birthday card was my card for my team’s September swap. Each month we have a swap and I set a theme. The theme varies month to month (sometimes it’s a free choice, sometimes a colour combo) and in September I provided this sketch as a layout.

Please stop by my Facebook page tomorrow to see everyone else’s swap cards.
In the tutorial below, I take you step by step through creating the metallic banner birthday card. I also have a supply list for purchasing anything you don’t already own.
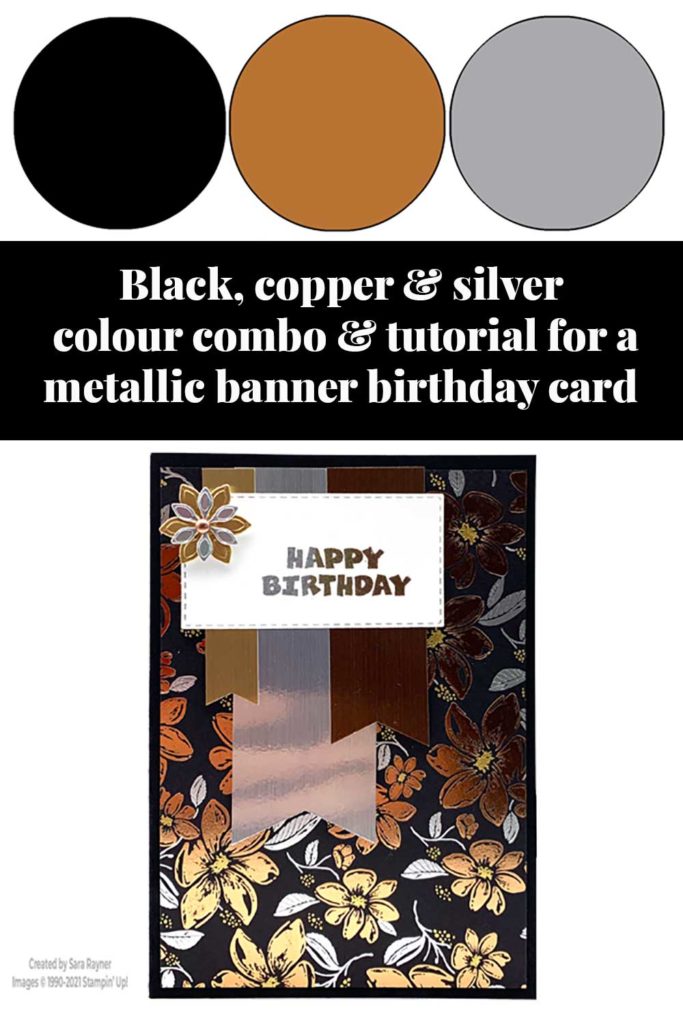
Colour Combo
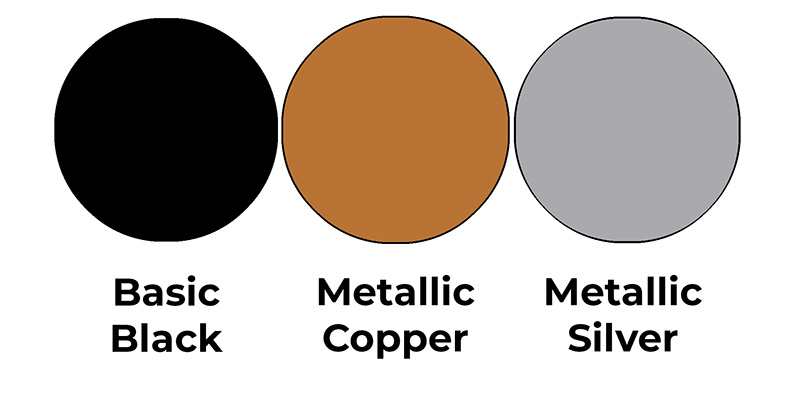
The colour combo mixes Basic Black, Metallic Copper and Metallic Silver.
Metallic banner birthday card
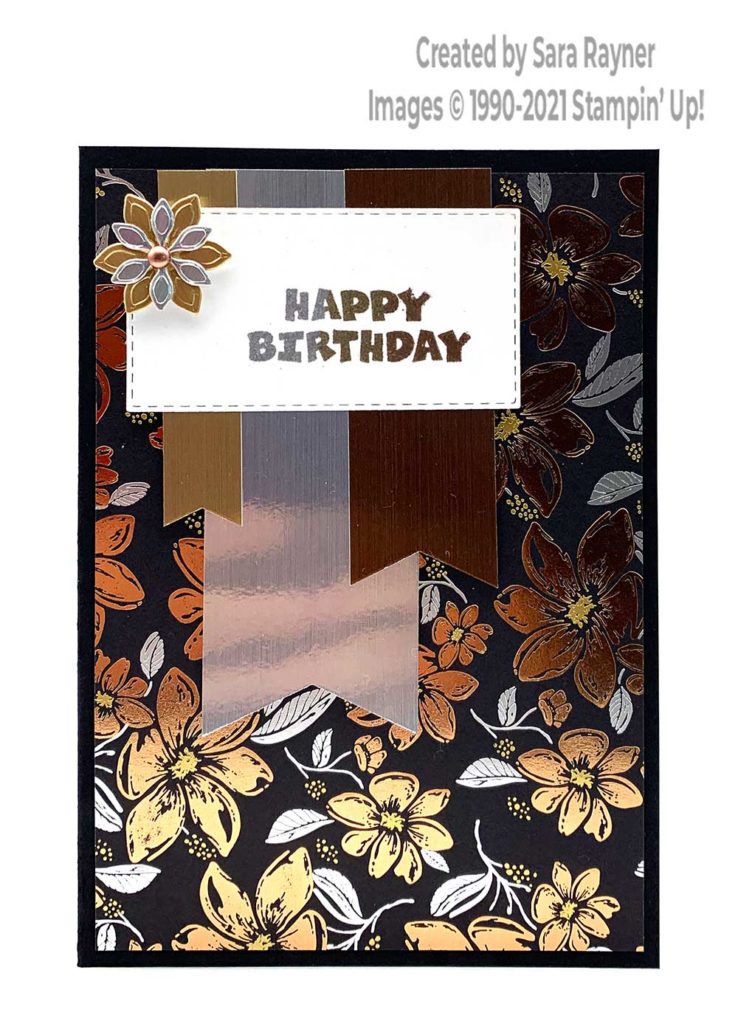
Start with an A6 portrait card of Basic Black. Mat with a card front layer of Simply Elegant Specialty DSP. Cut different width and length banners from Brushed Metallic Cardstock and mirrored Silver Foil. Adhere these overlapping, and then pop up on the card front, in line with the top of the DSP. Using Stitched Rectangle dies, die cut a sentiment panel from Basic White card. Using Versamark ink, stamp a sentiment from A Grand Kid set onto the panel. Heat emboss with Metallic Emboss Powders (see video below) and adhere direct across the banners. Using Pretty Pillow Box dies, die cut two different sizes of flowers from Brushed Metallic Cardstock and mirrored Silver Foil. Adhere these together, offsetting the petals and pop up on the top left of the sentiment panel with a dimensional. Finish the centre of the flower with a Brushed Metallic Adhesive-backed Dot.
Here’s a quick tip video for heat embossing with multiple metallic embossing powders. Please subscribe to my Youtube channel for future quick tips and quick cards.
Metallic banner birthday card insert
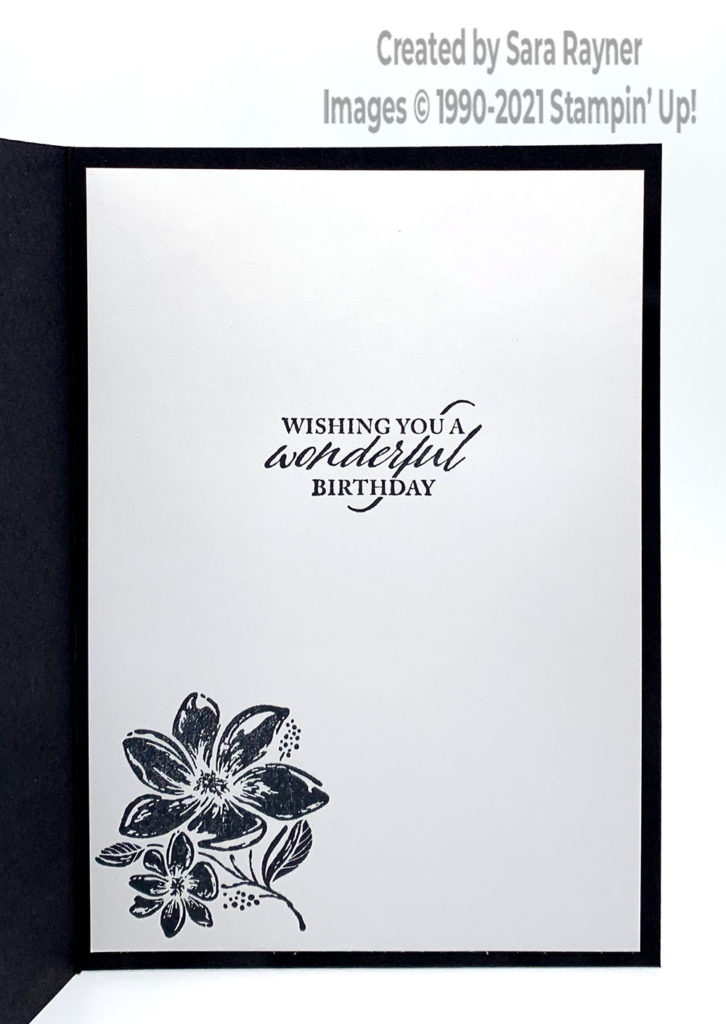
On the Basic White insert, using Memento Black ink, stamp a sentiment and an image from the Elegantly Said set.
Thanks for stopping by.
Sara xx
Buy the supplies for this metallic banner birthday card in my online shop.


0 Comments