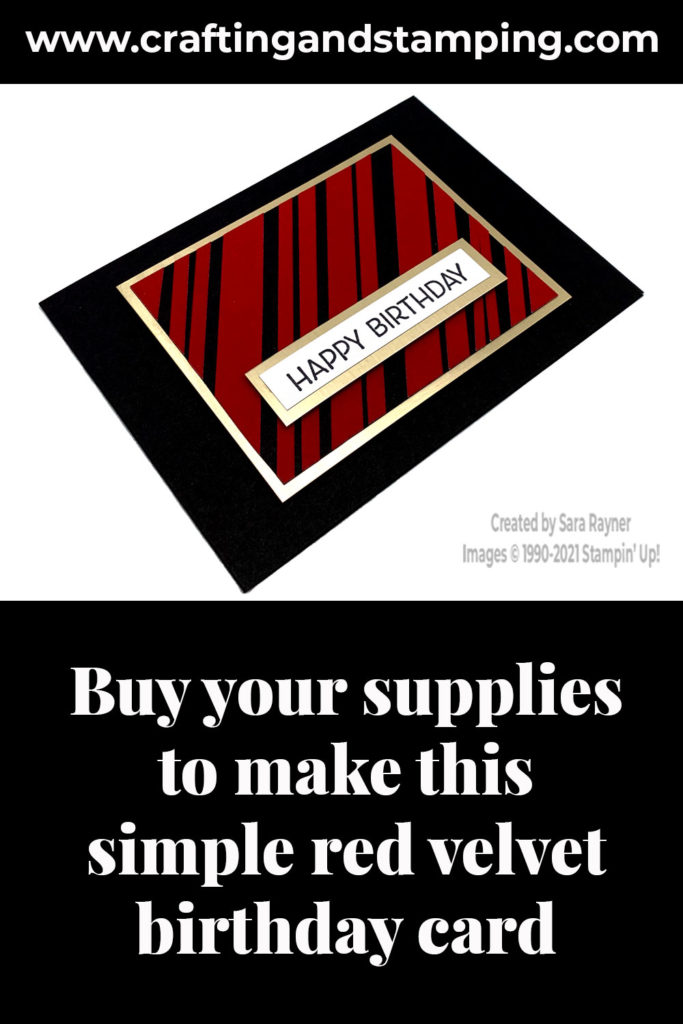
Today’s tutorial is for a simple red velvet card. The combination of velvet paper and metallic card gives a luxury feel yet still works well as a masculine card.
Each week over on my Facebook page (please pop over and Like or Follow) I choose a product pick of the week to feature. This week, it’s the Red Velvet Paper. I’ll have a selection of tutorials for you throughout the week that share different ideas for using this great textured paper.
In the tutorial below, I take you step by step through creating the simple red velvet card. I also have a supply list for purchasing anything anything you don’t already own.
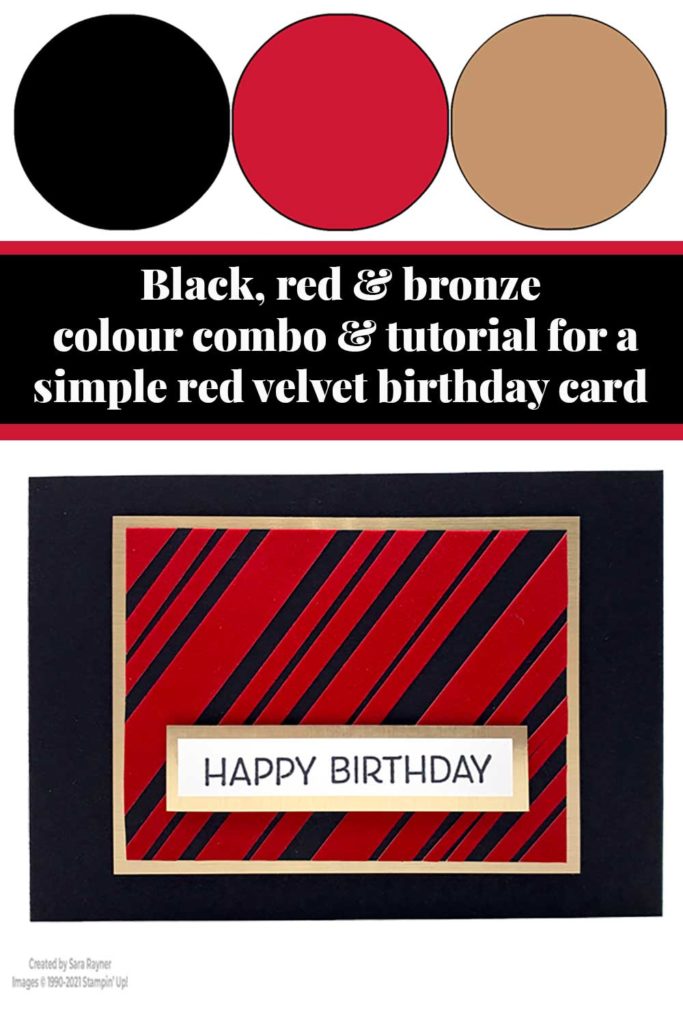
Colour Combo
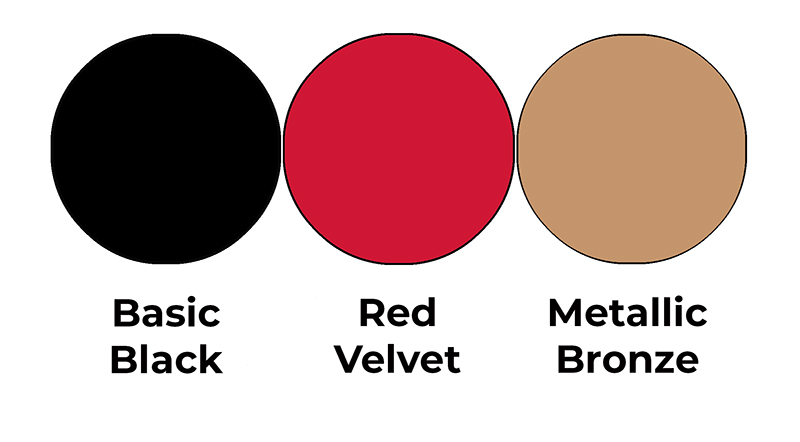
The colour combo mixes Basic Black, Red Velvet and Metallic Bronze.
Simple red velvet card
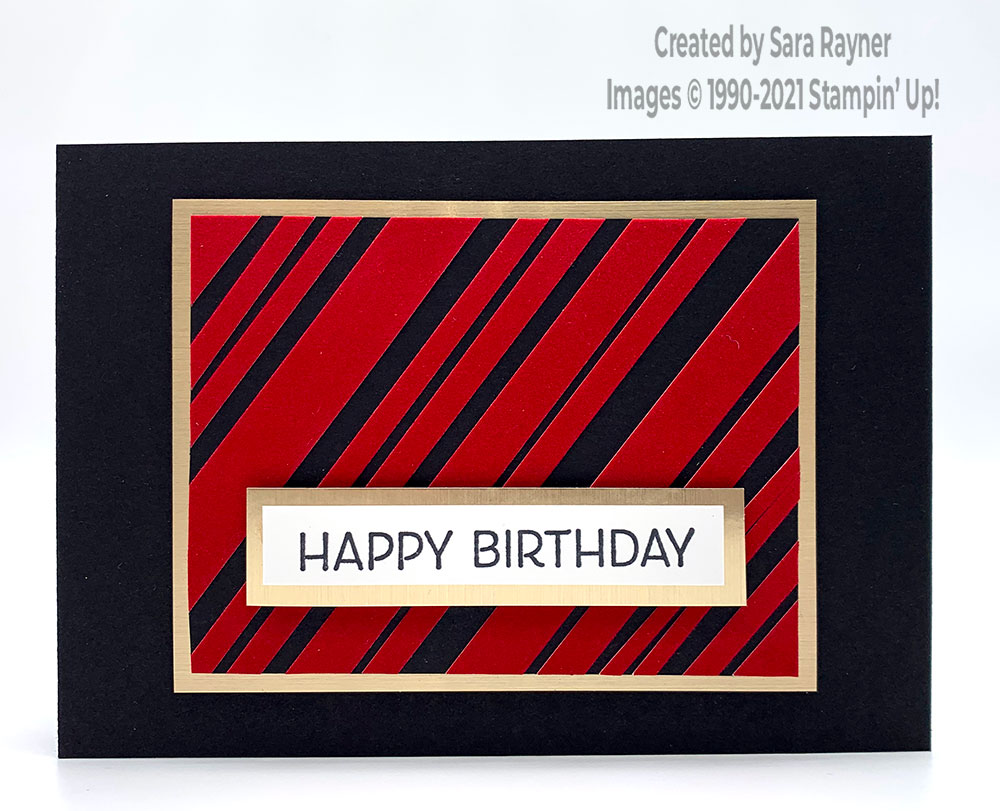
Start with an A6 landscape card of Basic Black. Cut a card front panel (4″ x 3″) of Basic Black. Apply Adhesive Sheet to the back of Red Velvet Paper and cut strips of varying widths. Peel off the backing and apply a strip diagonally across the panel. Add further strips, keeping them parallel. Trim away any excess from the edges of the panel. Adhere the Velvet trimmed panel to a (4-1/4″ x 3-1/4″) panel of Brushed Metallic card. Pop up on the card front with dimensionals. Using Memento Black ink, stamp a sentiment from the Artistically Inked set onto a narrow (3″ x 1/2″) strip of Basic White. Mat direct onto (3-1/4″ x 3/4″) Brushed Metallic card and pop up on the card front with dimensionals.
Here’s a short video showing how this quick card comes together. Please subscribe to my Youtube channel to see my quick cards and quick tips each week.
Simple red velvet card insert
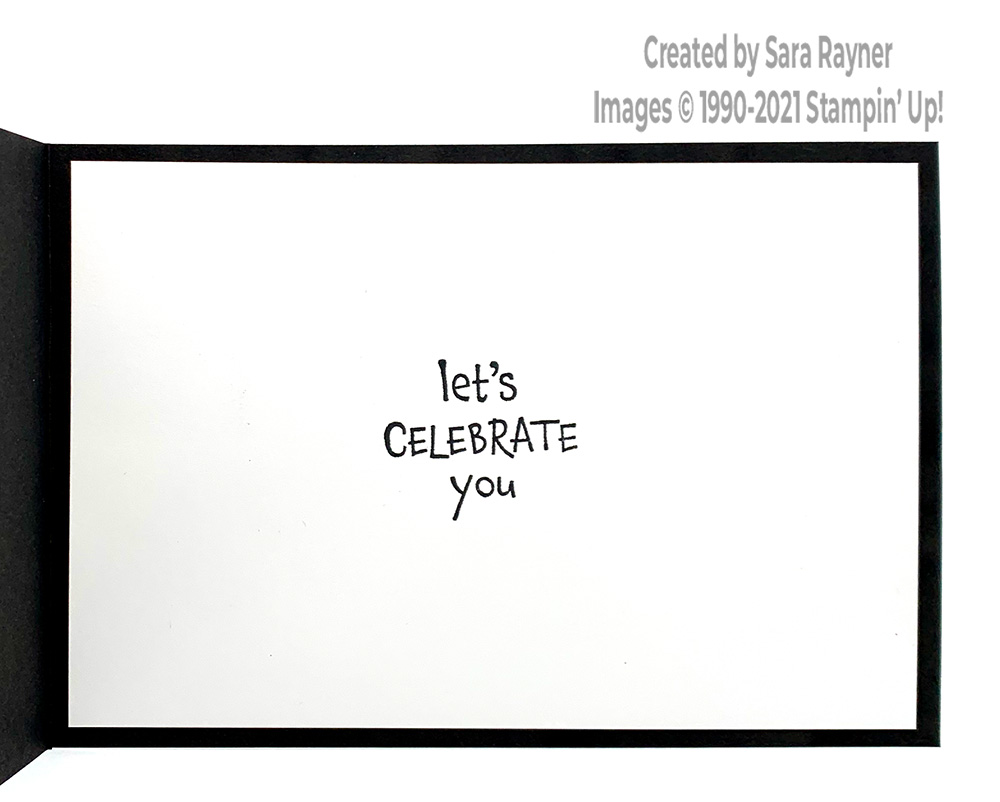
On the Basic White insert, using Memento Black ink, stamp a sentiment from the Hey Birthday Chick set.
Thanks for stopping by.
Sara xx
Buy the supplies for this simple red velvet card in my online shop.


0 Comments