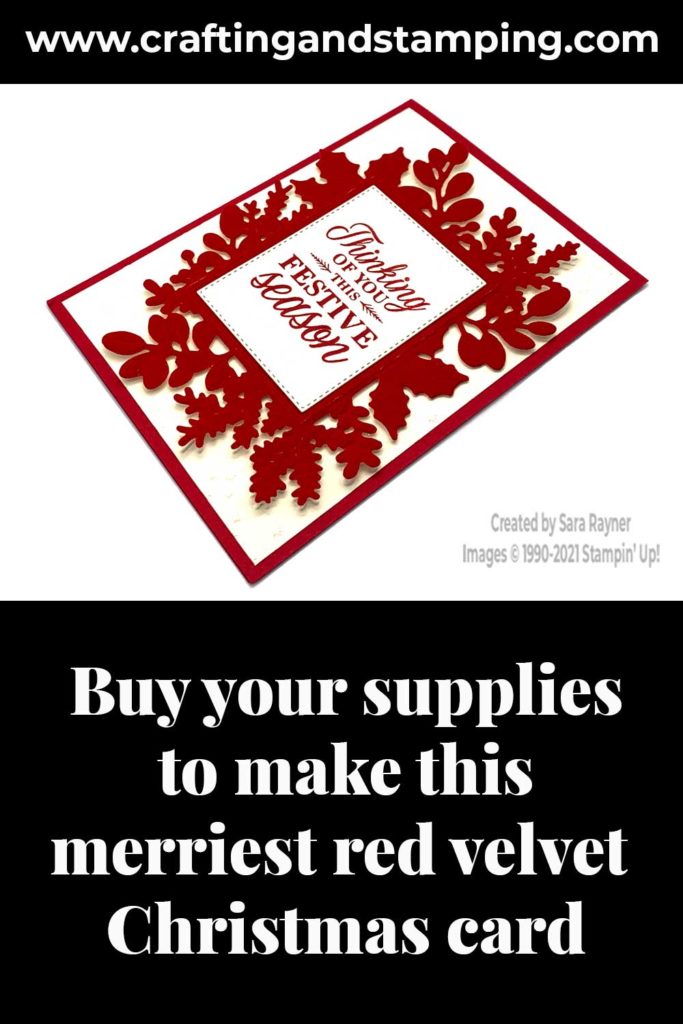
Today’s tutorial is for a merriest velvet Christmas card. The Red Velvet is given texture with the Merriest Frames embossing folder.
This was one of the make and take cards at our October Paper Dolls team meeting. There’s still time to take advantage of our Start with Savings promotion and join my team in time for our December meeting (online at 7pm on 7 December). We already have one new member this month, so you would be in good company 😊
In the tutorial below, I take you step by step through creating the merriest velvet Christmas card. I also have a supply list for purchasing anything you don’t already own.
Colour Combo
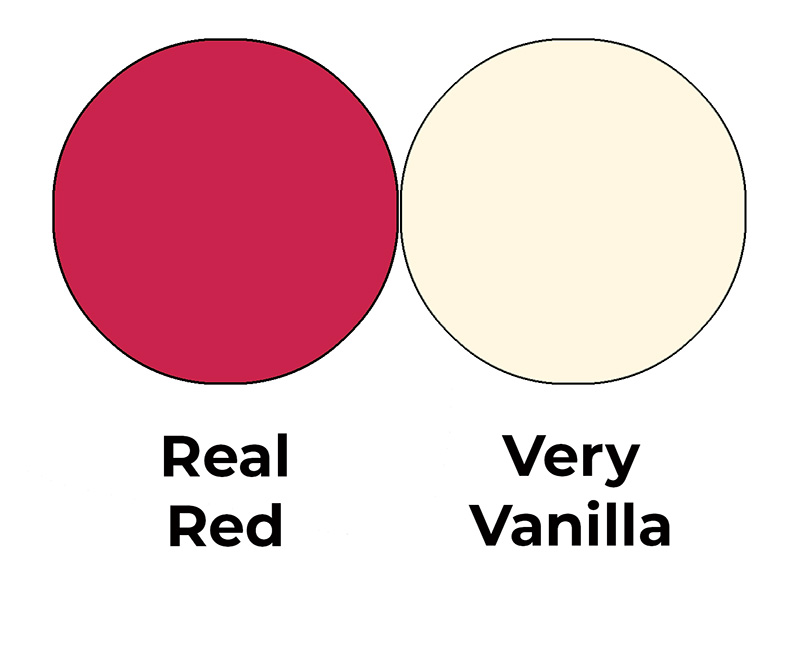
The colour combo mixes Real Red and Very Vanilla.
Merriest velvet Christmas card
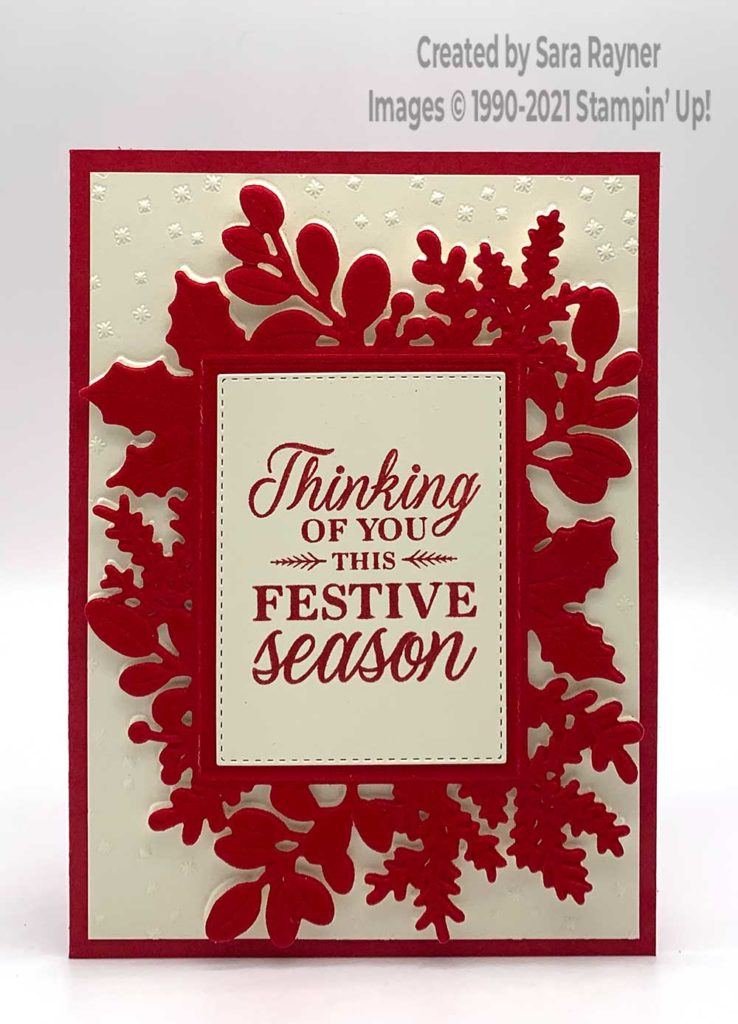
Start with an A6 portrait card of Real Red. Cut a card front layer of Very Vanilla card and run it through the Merriest Frames Hybrid Embossing Folder. Adhere direct to the card front. Die cut the large detailed die from Red Velvet Paper and emboss with the Merriest Frames embossing folder. Using Real Red ink, stamp a sentiment from the Merriest Moments set onto a stitched die cut panel of Very Vanilla card. Adhere the sentiment direct to the textured velvet die cut. Pop up the layers on the card front with dimensionals.
Merriest velvet Christmas card insert
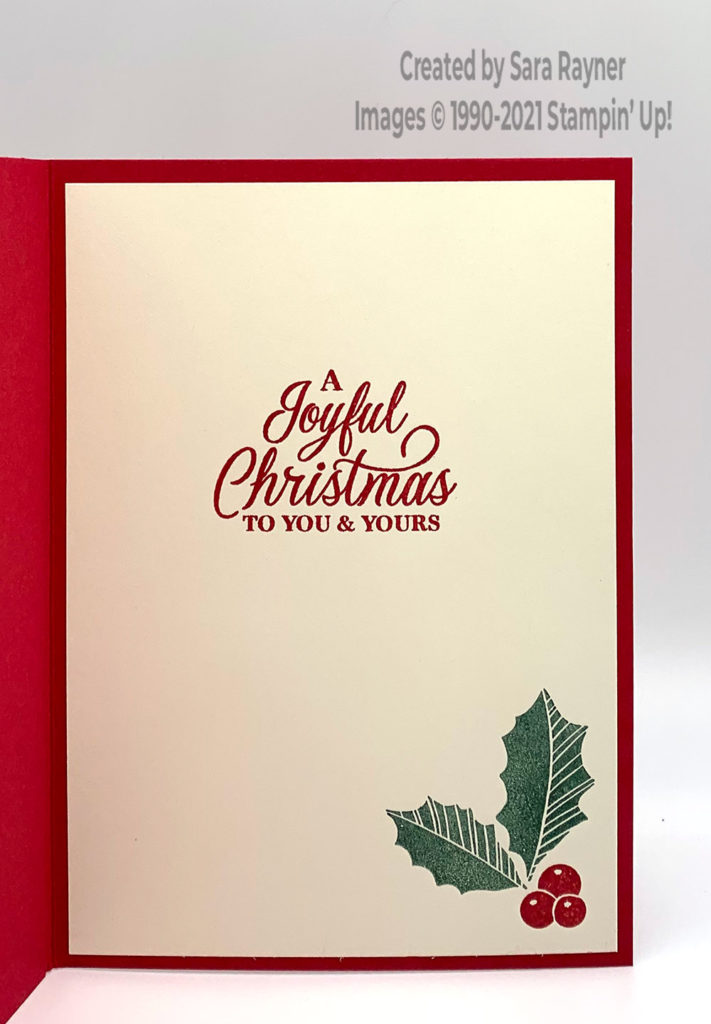
On the Very Vanilla insert, using Real Red ink, stamp another sentiment from the Merriest Moments set. Add holly leaves with Shaded Spruce ink and stamp the berries below, with more Real Red ink.
Merriest velvet birthday card
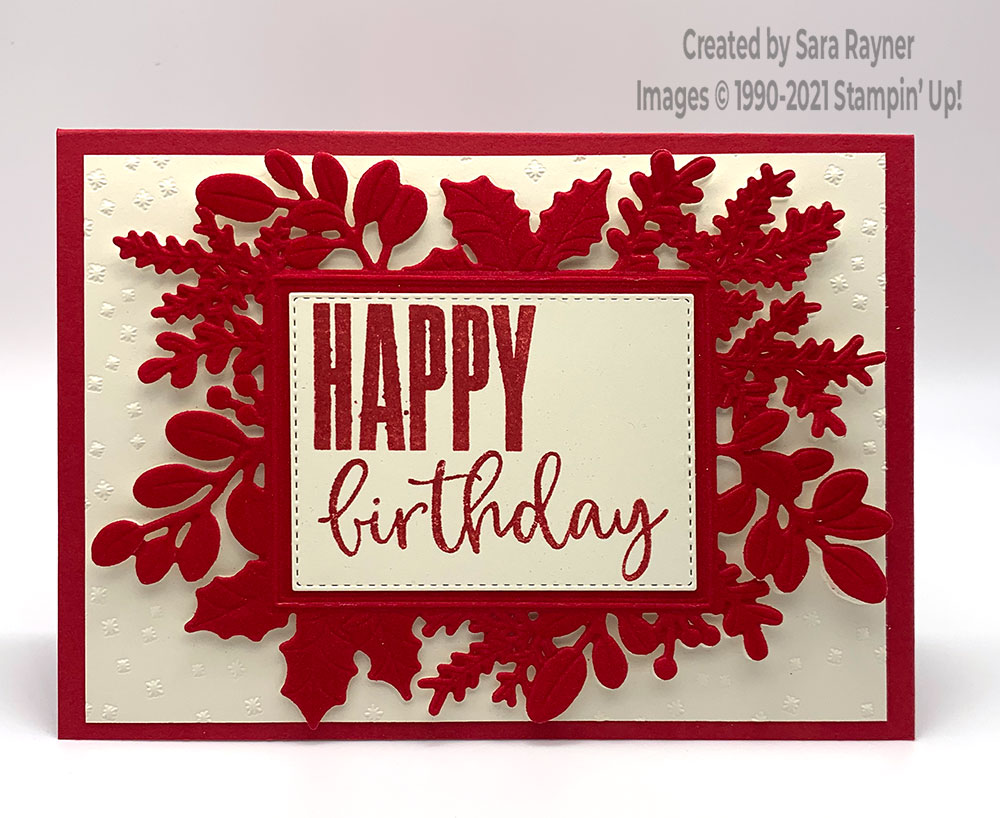
Here’s the same design as a birthday card. This time the card is turned landscape direction and the Biggest Wish set is used for the sentiment.
Thanks for stopping by.
Sara xx
Buy the supplies for this merriest velvet Christmas card in my online shop.


0 Comments