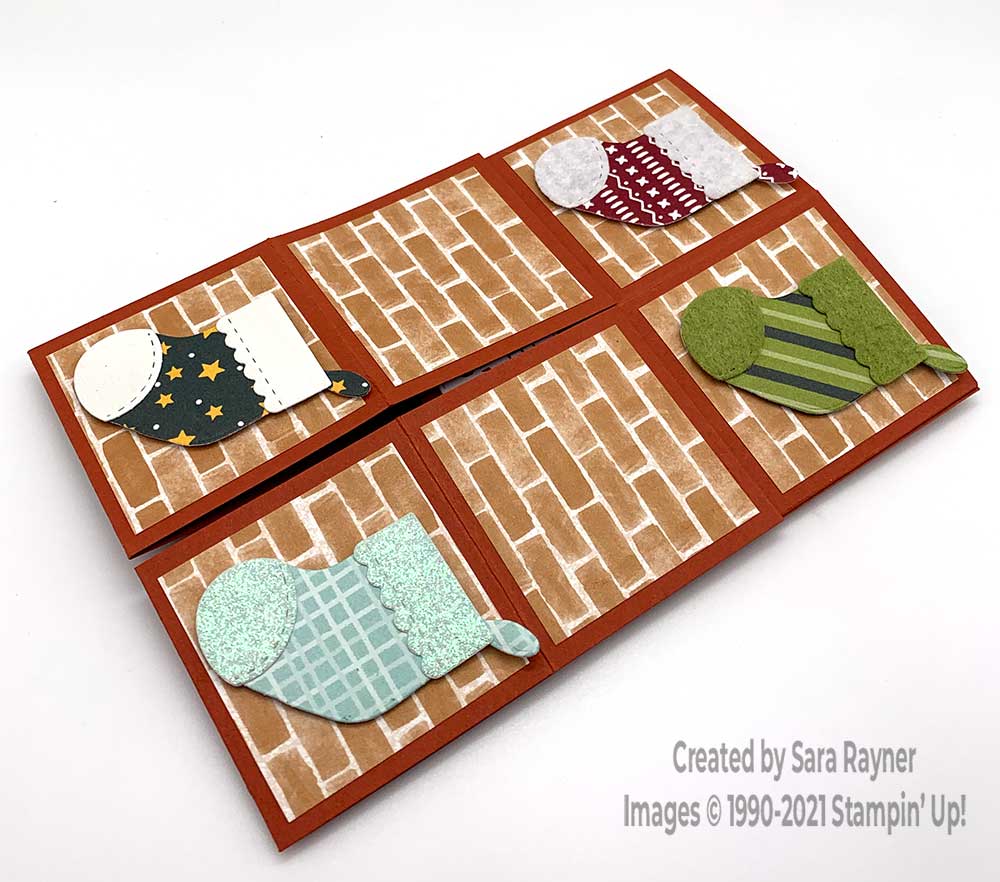
Today’s tutorial is for a chimney Christmas card. Specially embellished stockings are hung from the central 3D chimney pot, yet it still folds flat for posting. The basic fun fold card layout was part of my IDEAS tutorial in September and I keep reusing the card design, decorated in different ways.
In the tutorial below, I take you step by step through creating the chimney Christmas card.
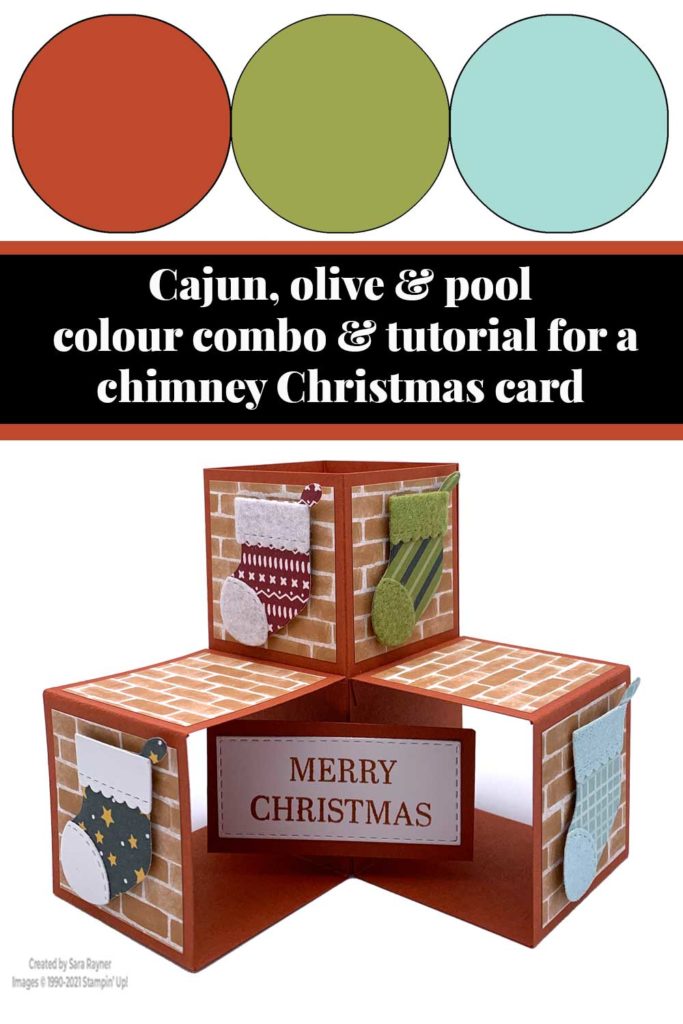
Sneak Peek
The two sneak peeks on this card are teeny! The starry stocking has a top and toe of the Mother of Pearl Specialty Paper. Each pack (£5.50) has 2 sheets of 12″ x 12″ single sided Mother of Pearl design. The blue stocking has a top and toe of the blue Supple Shimmer Specialty Paper. Each pack (£4.75) has 2 sheets of 12″ x 12″ single sided glitter paper; a sheet each in pink and blue.
Colour Combo
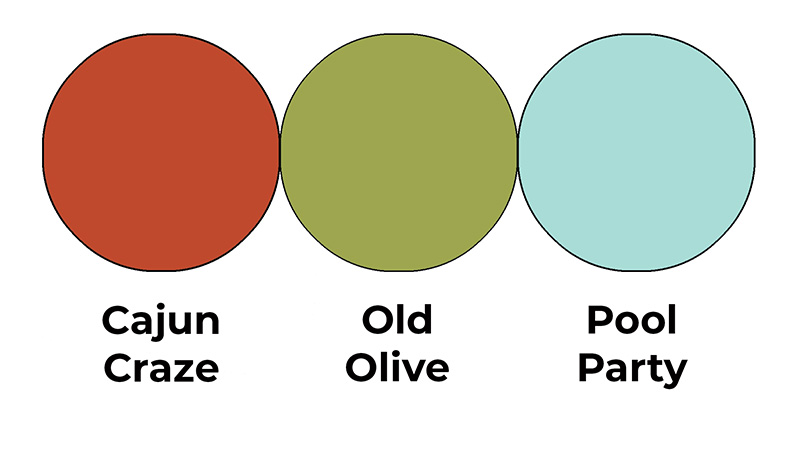
The colour combo mixes Cajun Craze, Old Olive and Pool Party.
Chimney Christmas card
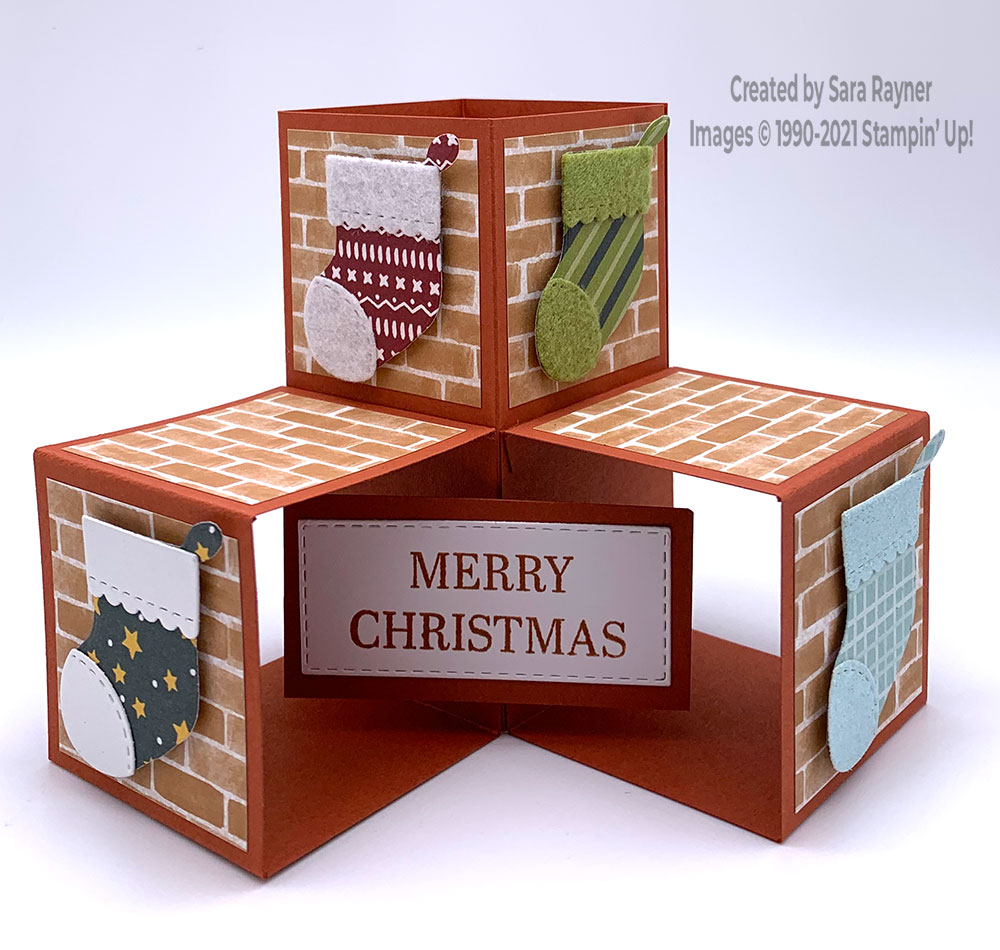
Cut and assemble the basic pop up cube design from Cajun Craze card. Adhere direct, small squares of the brickwork pattern of Bloom Where You’re Planted DSP to the front facing and top facing cubes. Die cut four different patterns of small stockings from Sweet Stockings DSP using the Stockings dies. Apply Adhesive Sheet to the back of two scraps of the white and green Jolly Felt. Die cut out the top and toes of the stockings from the felt and adhere to the appropriate stockings. Pop the stockings up on dimensionals on two of the front facing chimney squares. Die cut out the top and toes of the stockings from the both the Mother of Pearl Specialty Paper and the blue Supple Shimmer Specialty Paper. Adhere these to the appropriate stockings and pop up on the two remaining front facing chimney squares.
Using Cajun Craze ink, stamp the sentiment from the Sparkle of the Season set onto a Stitched Rectangle die cut from Basic White card. (Note, I snipped my sentiment apart so that it fits over two lines instead of one long one). Mat onto Cajun Craze card. Position this around the centre column with small strips of Cajun Craze card.
Chimney Christmas card back
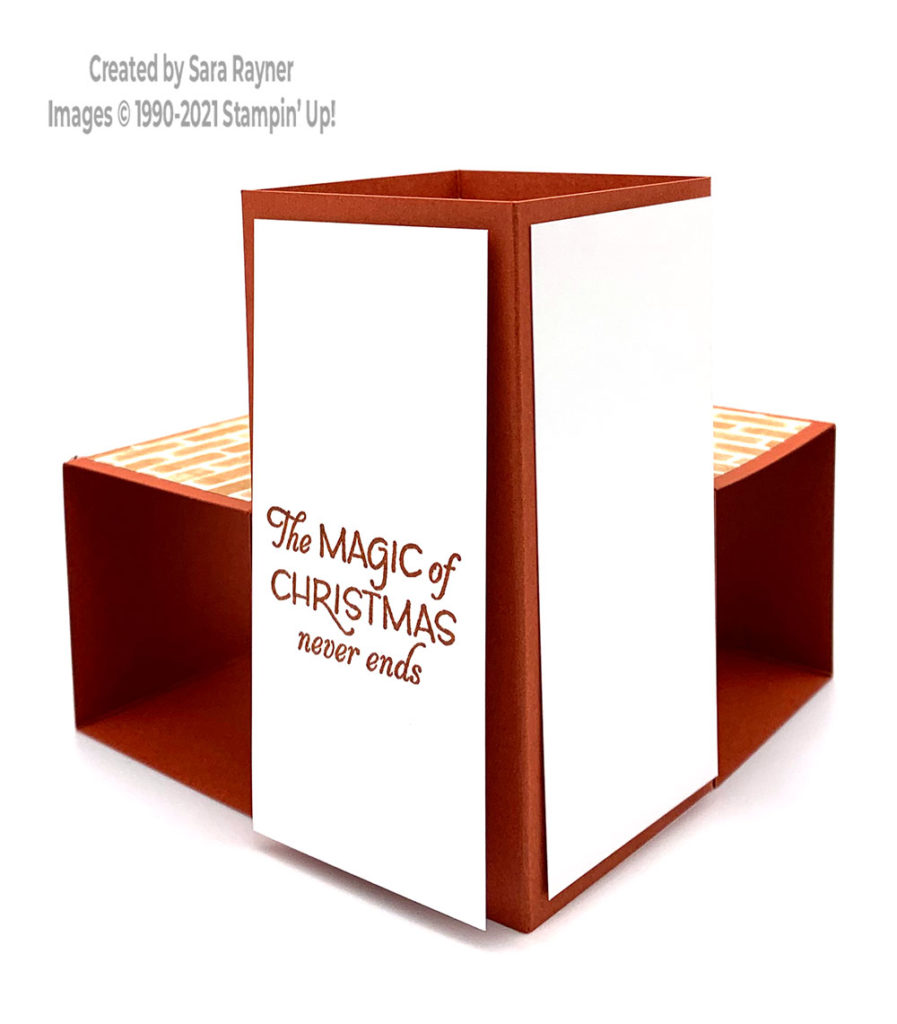
For the message panels, stamp the sentiment from the Classic Cloche set using Cajun Craze ink and apply Tear & Tape to the back of the panels. This allows the personal message to be written on a flat surface and then adhered in place, rather than trying to write with the bumpy stocking beneath your pen. (I temporarily adhered the panels in place in the photo above).
Here are the stockings a bit closer up:
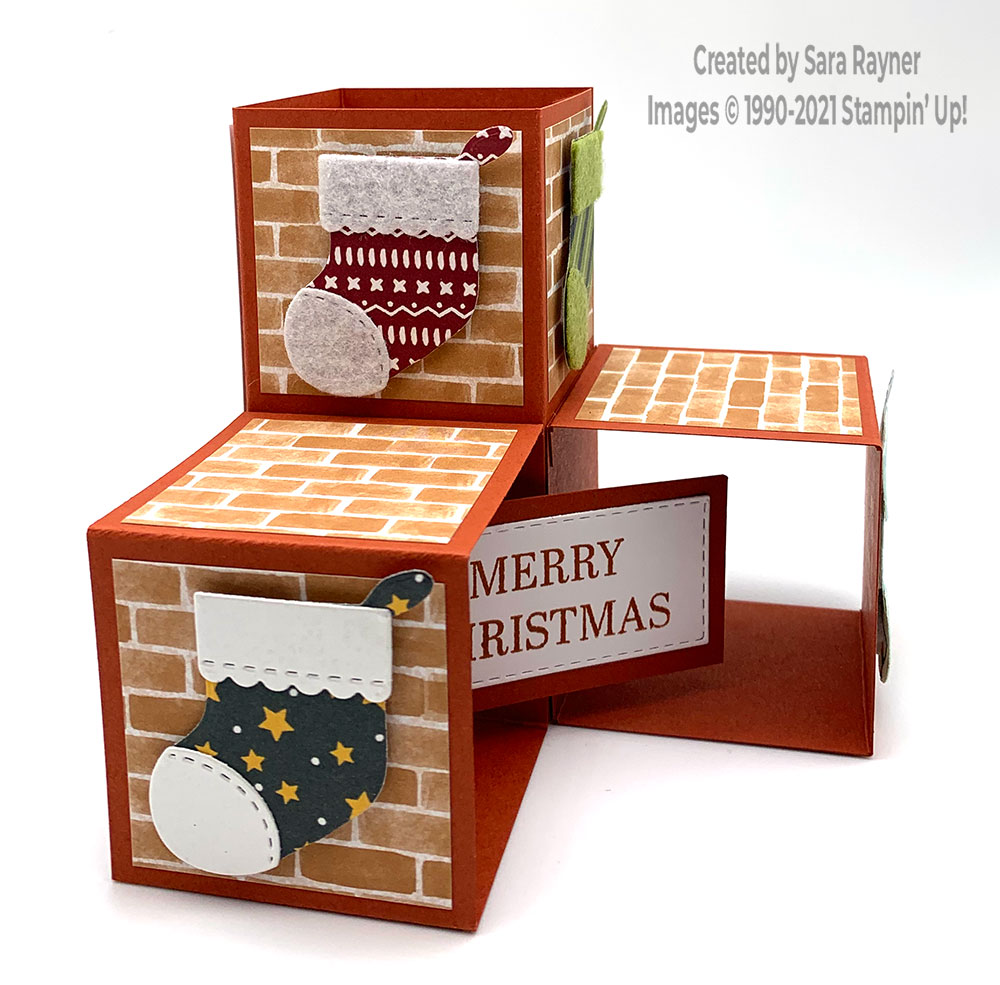
The Mother of Pearl Specialty Paper (cardstock thickness rather than paper) has a subtle sparkle without the prickly texture of glitter. I’ll need to video it to show you properly.
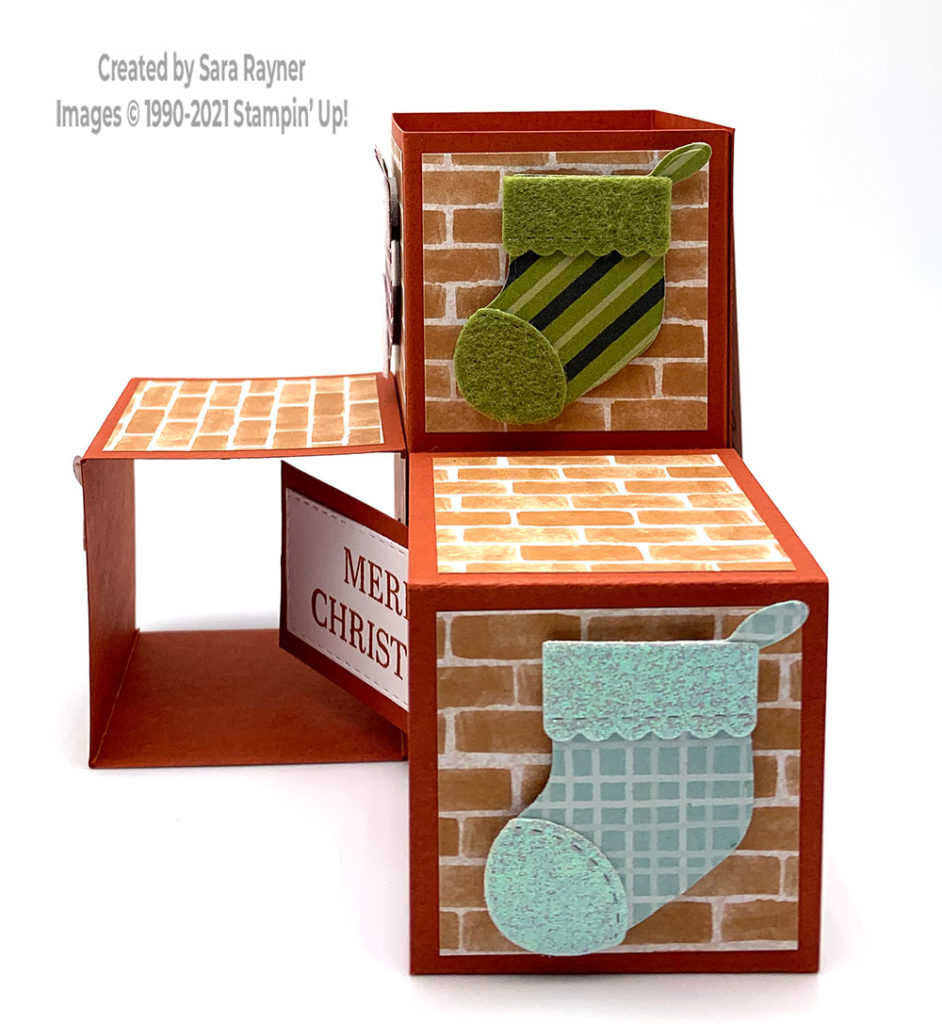
The blue Supple Shimmer Specialty Paper is a pale iridescent blue.
Thanks for stopping by.
Sara xx


0 Comments