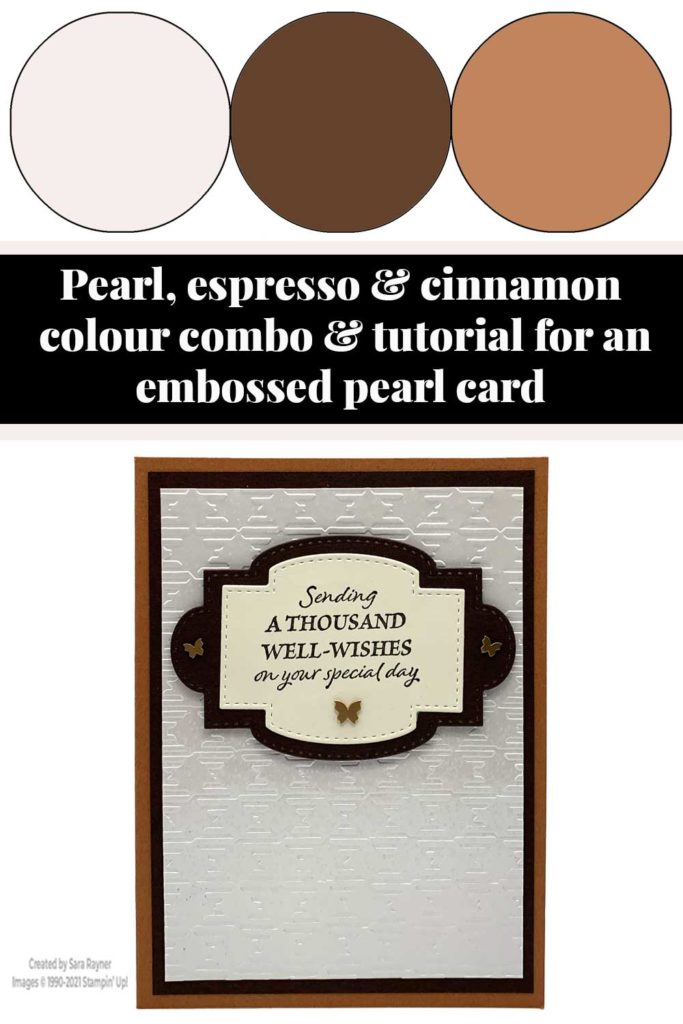
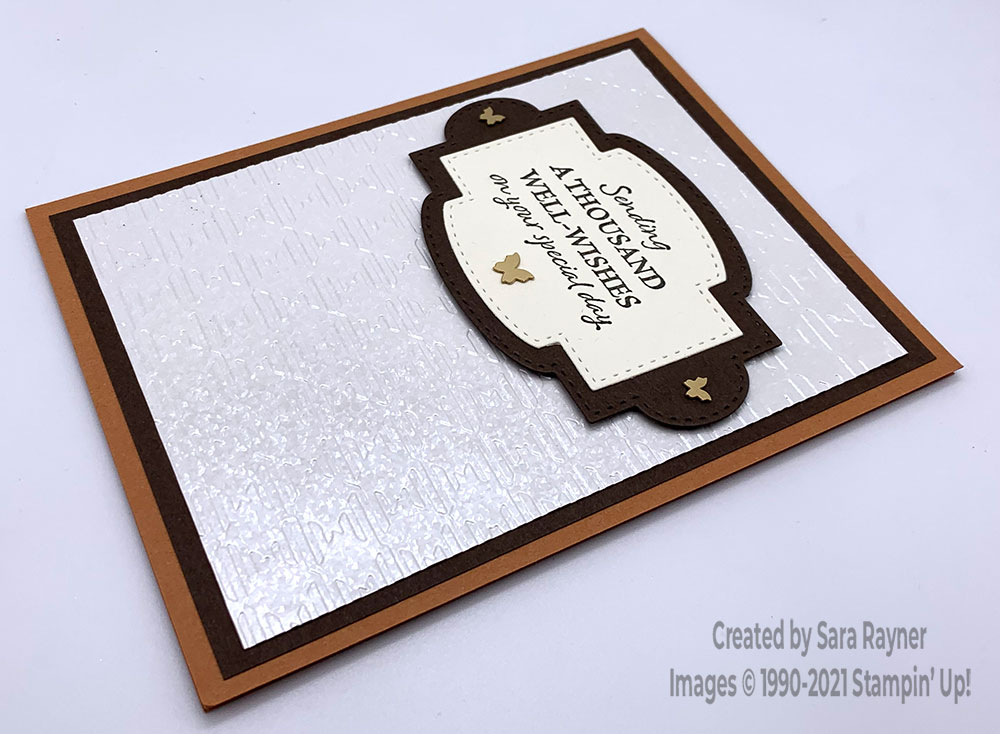
Today’s tutorial is for an embossed Mother of Pearl card. This beautiful glitzy paper is embossed to show off the sheen better.
In the tutorial below, I take you step by step through creating the embossed Mother of Pearl card.
Sneak Peek
The main sneak peek on this card is the Mother of Pearl Specialty Paper. I shared a teeny peek of this to decorate a stocking on the chimney Christmas card but here it takes centre stage. Each pack (£5.50) has 2 sheets of 12″ x 12″ single sided Mother of Pearl design. Other peeks include the Gingham embossing folder, Brushed Brass Butterflies and the Crane of Fortune stamp set.
Colour Combo
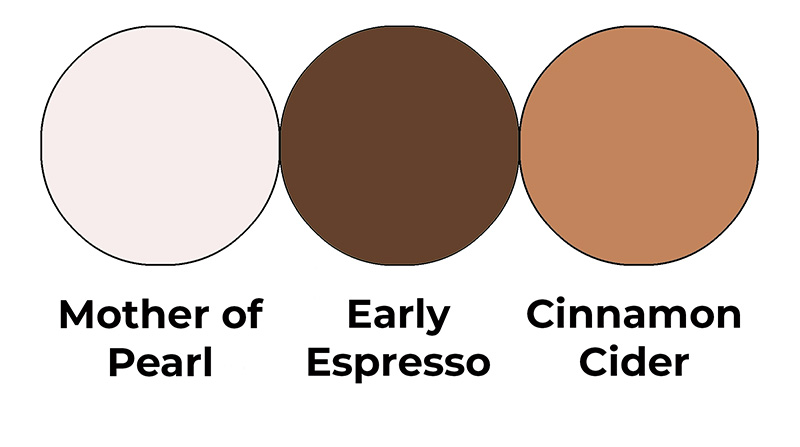
The colour combo mixes Mother of Pearl, Early Espresso and Cinnamon Cider.
Embossed Mother of Pearl card
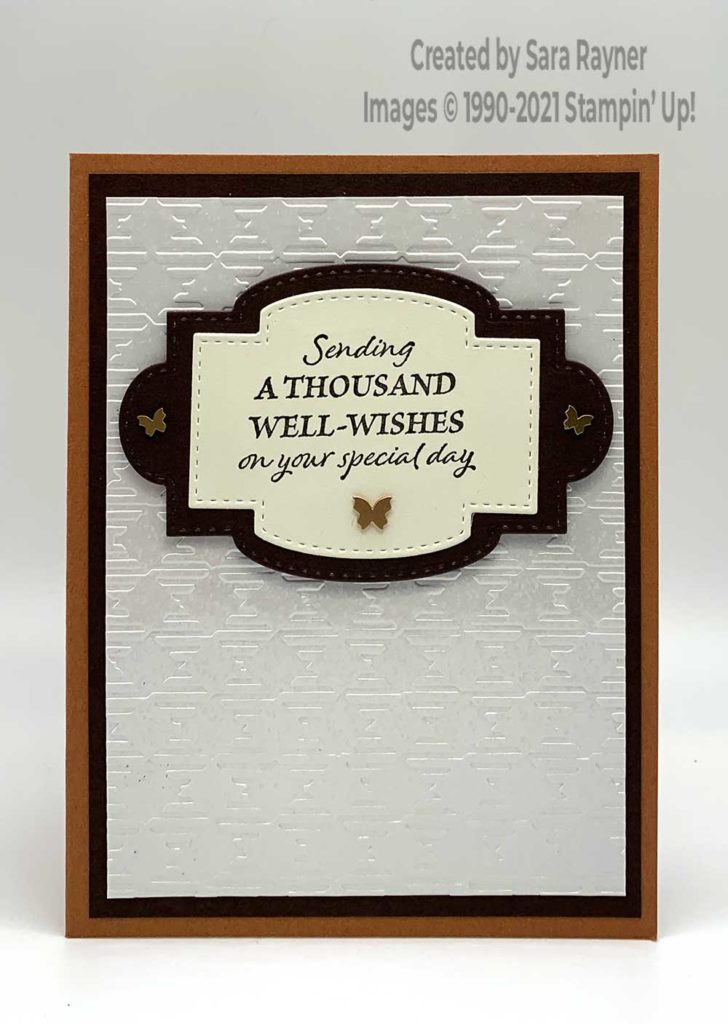
Start with an A6 portrait card of Cinnamon Cider. Mat with Early Espresso card. Cut a card front layer of Mother of Pearl Specialty paper and run through the Gingham embossing folder. Adhere direct to the card front. Using the Stitched So Sweetly die set, die cut a large oval label from Early Espresso card and a smaller curved rectangle from Very Vanilla card. Using Early Espresso ink, stamp a sentiment from the Crane of Fortune set, onto the vanilla label. Adhere the stamped layer direct to the espresso label and then pop up on dimensionals onto the card front. Finish with a trio of Brushed Brass Butterflies.
Here’s a short video showing how this quick card comes together. Please subscribe to my Youtube channel to see my quick cards and quick tips each week.
Embossed Mother of Pearl card insert
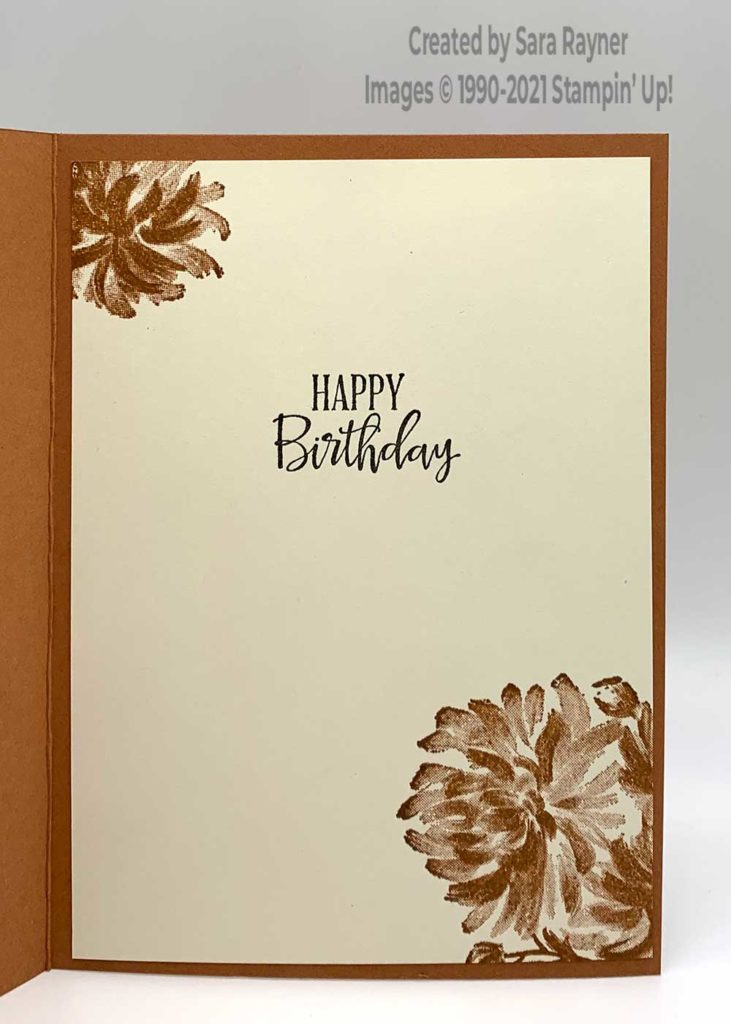
On the Very Vanilla insert, using Early Espresso ink, stamp a sentiment from the Peaceful Moments stamp set. Add stamped flowers from the Crane of Fortune set in opposite corners, using Cinnamon Cider ink.
Thanks for stopping by.
Sara xx


0 Comments