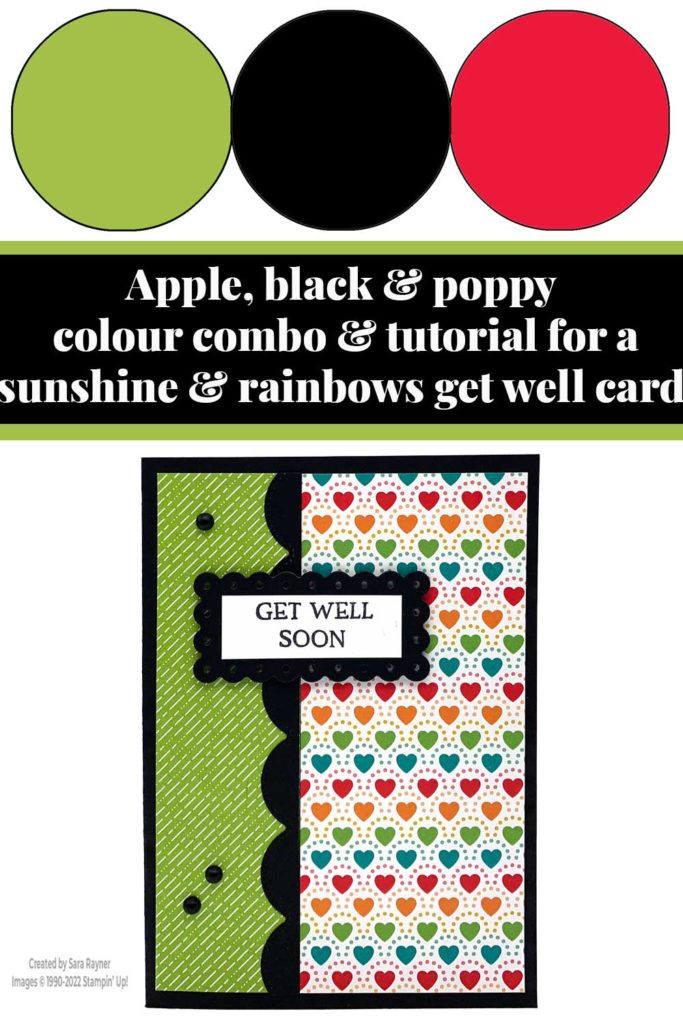
Colour Combo
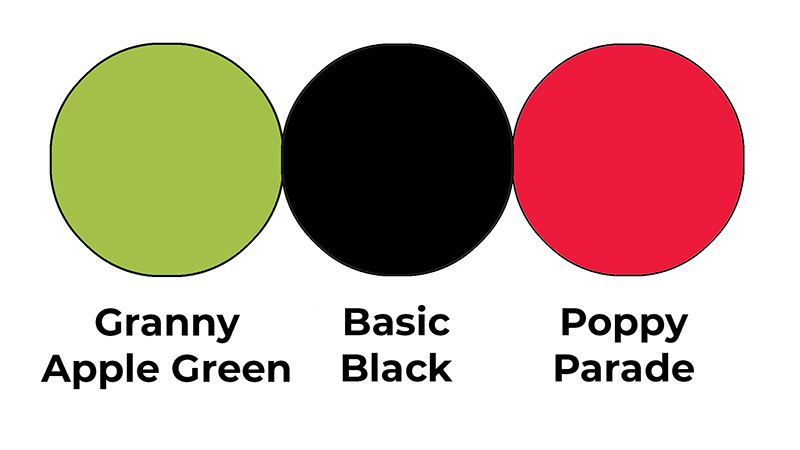
The colour combo mixes Granny Apple Green, Basic Black and Poppy Parade. (There are other rainbow colours included too).
Sunshine & Rainbows card

Start with an A6 portrait card of Basic Black. Cut a wide (1-1/2″ x 5-1/2″) card front strip of Sunshine & Rainbows DSP and adhere direct to the card front. Cut a wider (2-3/8″ x 5-1/2″) panel of Pattern Party DSP and adhere alongside, direct to the card front. Using the Scalloped Contours dies, die cut a narrow scalloped edge of Basic Black card and adhere over the join in the DSP. Die cut a small scalloped label from Basic Black card using the same die set. Using Memento Black ink, stamp a sentiment from the Blossoms in Bloom set onto a small strip (1-7/8″ x 5/8″) of Basic White card. Adhere the sentiment direct to the scalloped label and pop up on the card front with dimensionals. Finish with a trio of Matte Black Dots.
Here’s a quick video sharing my tips for mixing patterned papers. Please subscribe to my Youtube channel for future quick tips and quick cards.
Sunshine & Rainbows card insert
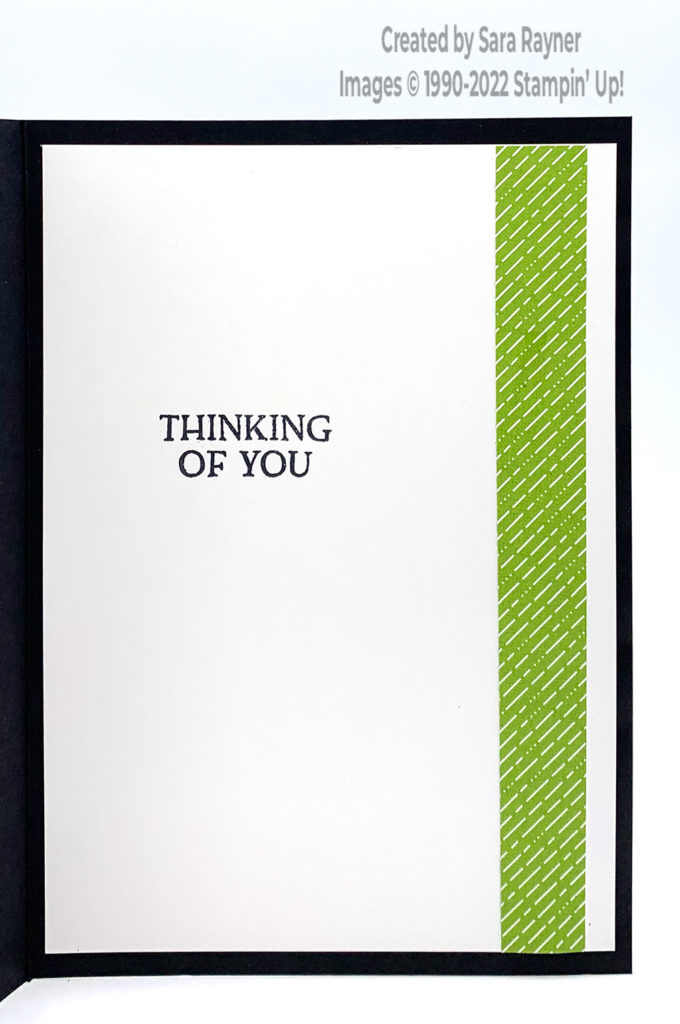
On the Basic White insert, stamp another sentiment from the Blossoms in Bloom set using Memento Black ink. Add a border of the Sunshine & Rainbows DSP down the right side.
Thanks for stopping by.
Sara xx
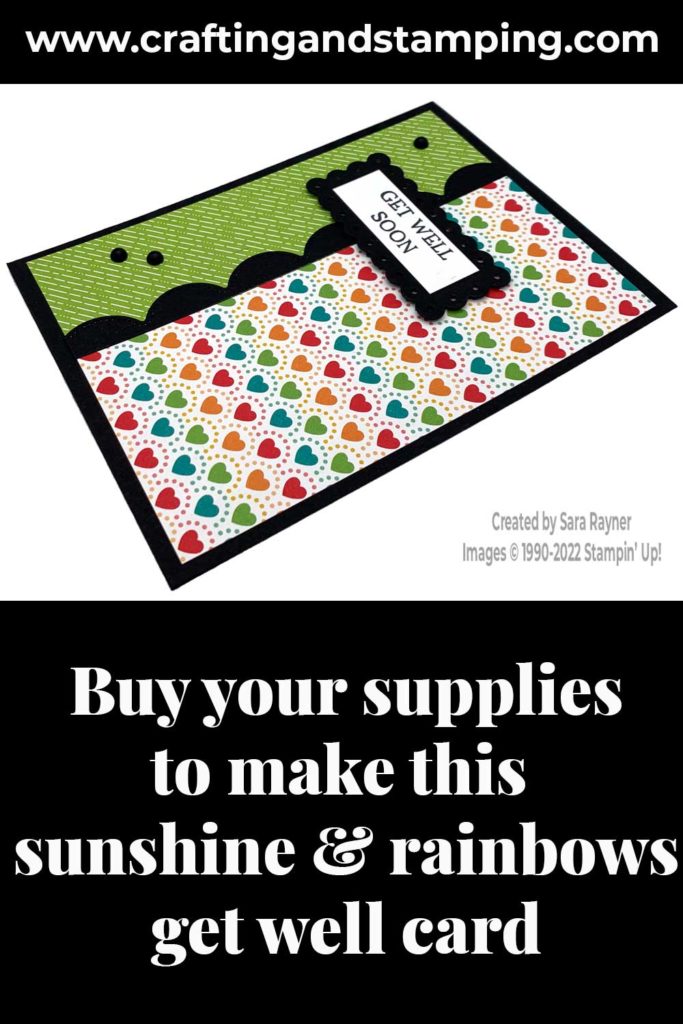
Buy the supplies for this framed Sunshine & Rainbows card in my online shop (the order code for the Sunshine & Rainbows DSP is 158126).


0 Comments