Today’s tutorial is for an amazing waves card. This card was made to celebrate with one of my team. As well as birthdays and promotions, I also like to celebrate with them, each year of being on our team – their stampaversary!
In the tutorial below, I take you step by step through creating the amazing waves card. I also have a supply list for purchasing anything anything you don’t already own.

Just a reminder that the Waves of the Ocean DSP, the Blue Foils Specialty Paper and the Rhinestone Waves Basic Jewels are only available until 2 May or while supplies last.
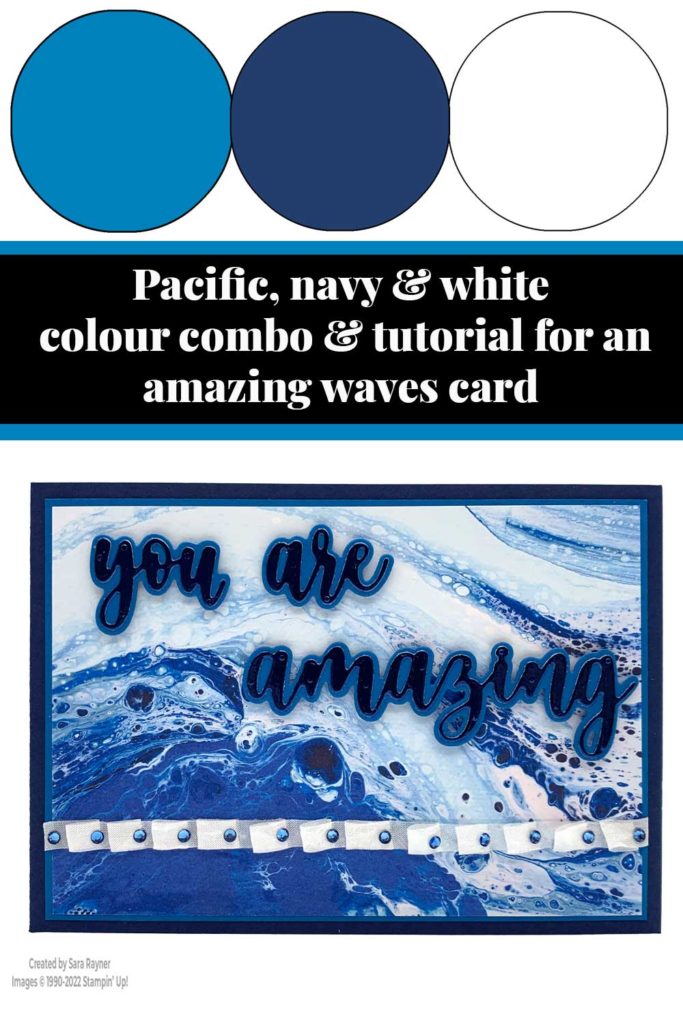
Colour Combo

The colour combo mixes Pacific Point, Night of Navy and Basic White.
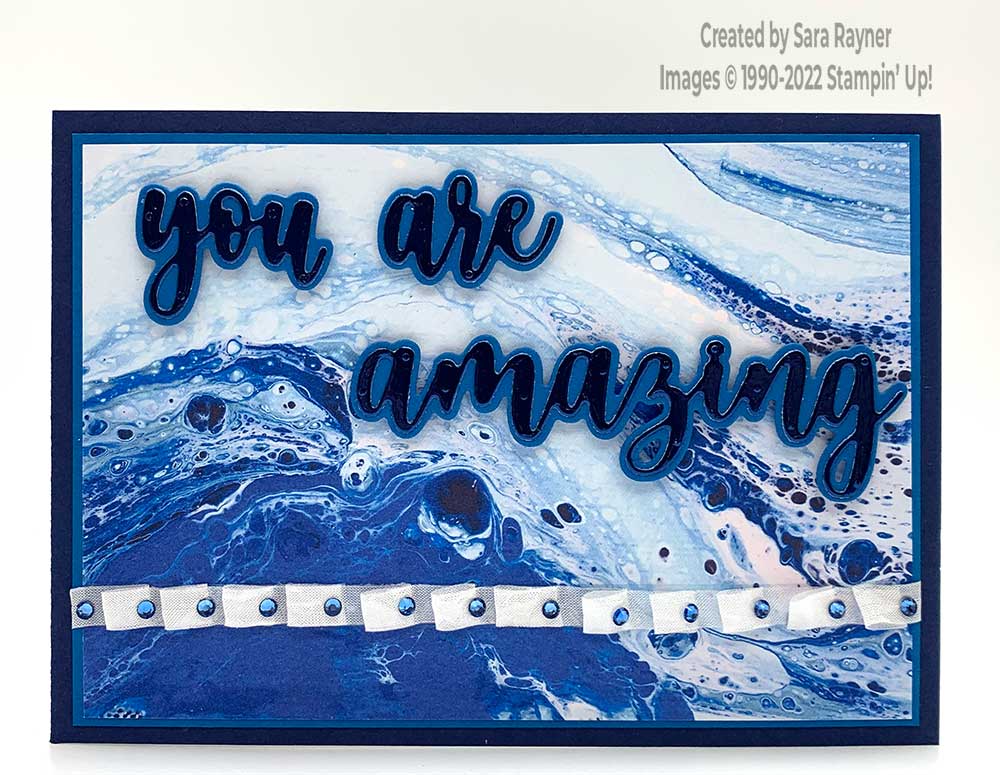
Amazing waves card

Start with an A6 landscape card of Night of Navy. Mat a blue pattern of Waves of the Ocean DSP onto a card front layer of Pacific Point. Wrap Basic White Crinkled Seam Binding Ribbon around the layers, pleating as it is adhered down. Adhere the layers direct to the card front. Using the Amazing Thanks dies, die cut the outline words from Pacific Point card. Back some Night of Navy Foil from the Blue Foils Specialty Paper with Adhesive Sheet. Die cut with the skinny words from the Amazing Thanks dies. Adhere the skinny words to the outline ones and pop up on the card front with mini dimensionals. Finish by adding Navy Rhinestones from the Rhinestone Waves Basic Jewels onto each pleat of ribbon.
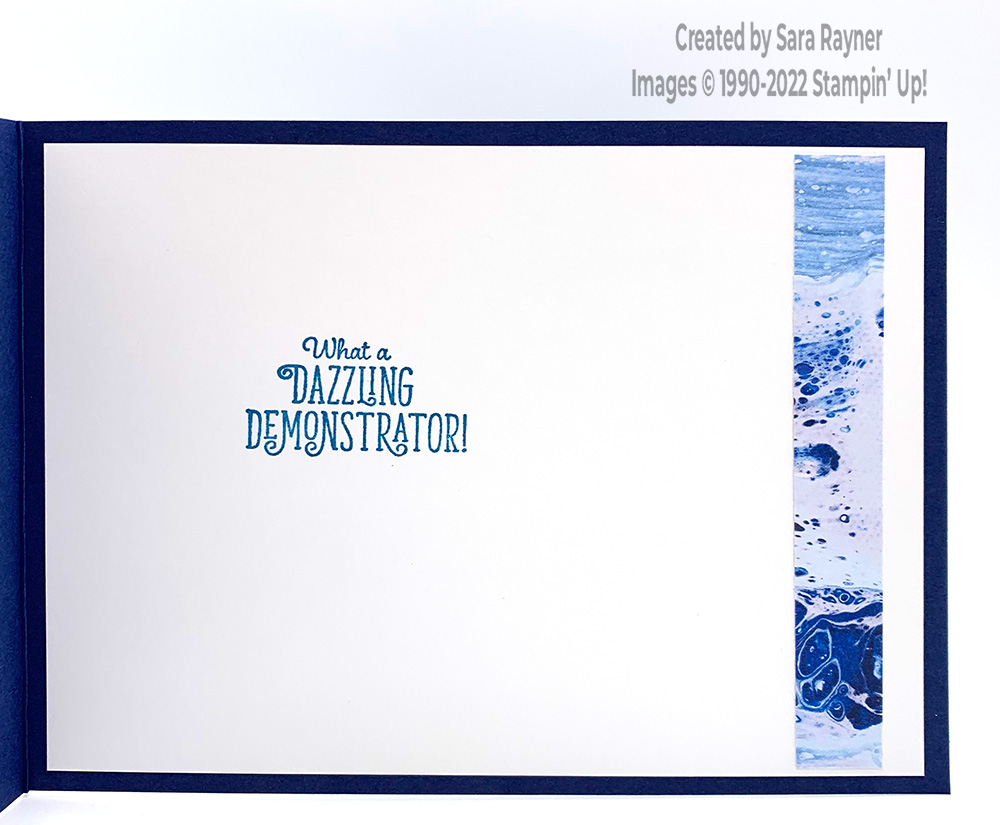
Amazing waves card insert

On the Basic White insert, using Pacific Point ink, stamp a sentiment (I used the demonstrator-exclusive Stamping Your Way to the Top set). Add a border of Waves of the Ocean DSP down the right side.
Thanks for stopping by.
Sara xx
Buy the supplies for this amazing waves card in my online shop.


0 Comments