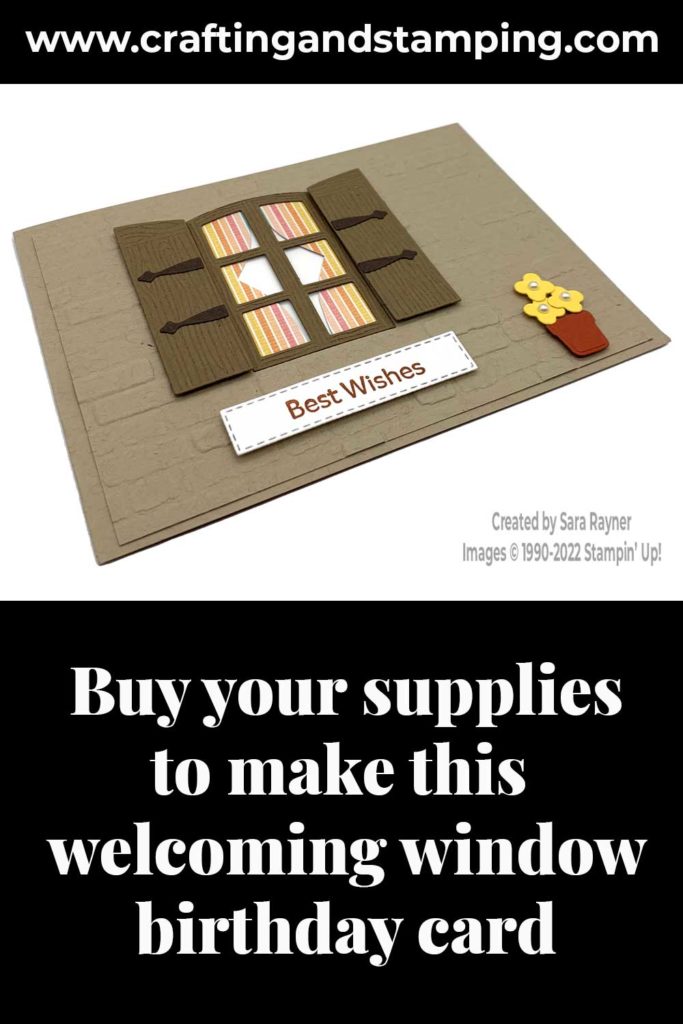
Today’s tutorial is for a Welcoming Window birthday card. This time I’m mainly using the dies from the bundle on the outside of the card and the stamps on the inside.
This was one of the make and take cards for my Paper Dolls team at our online March team meeting. Why not join us next month.
In the tutorial below, I take you step by step through creating the Welcoming Window birthday card. I also have a supply list for purchasing anything anything you don’t already own.
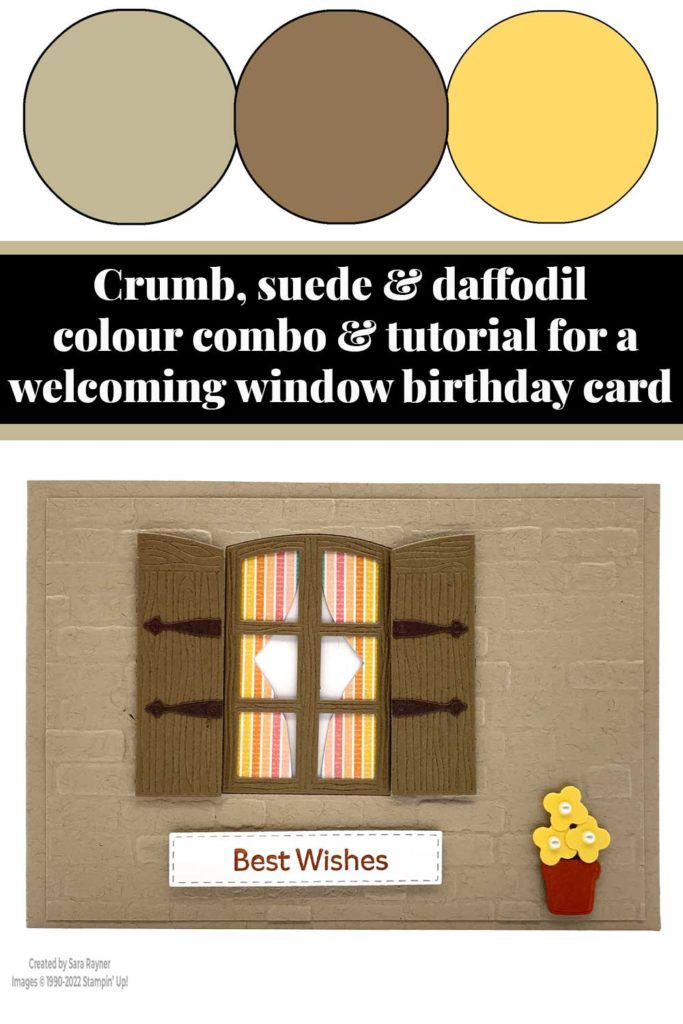
Colour Combo
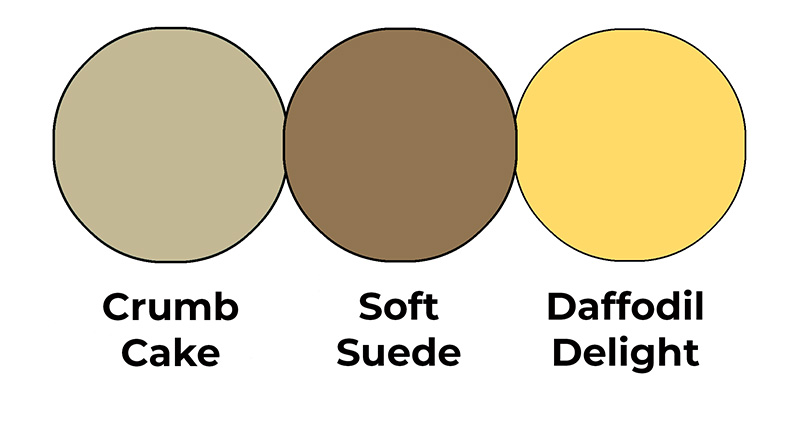
The colour combo mixes Crumb Cake, Soft Suede and Daffodil Delight.
Welcoming Window birthday card
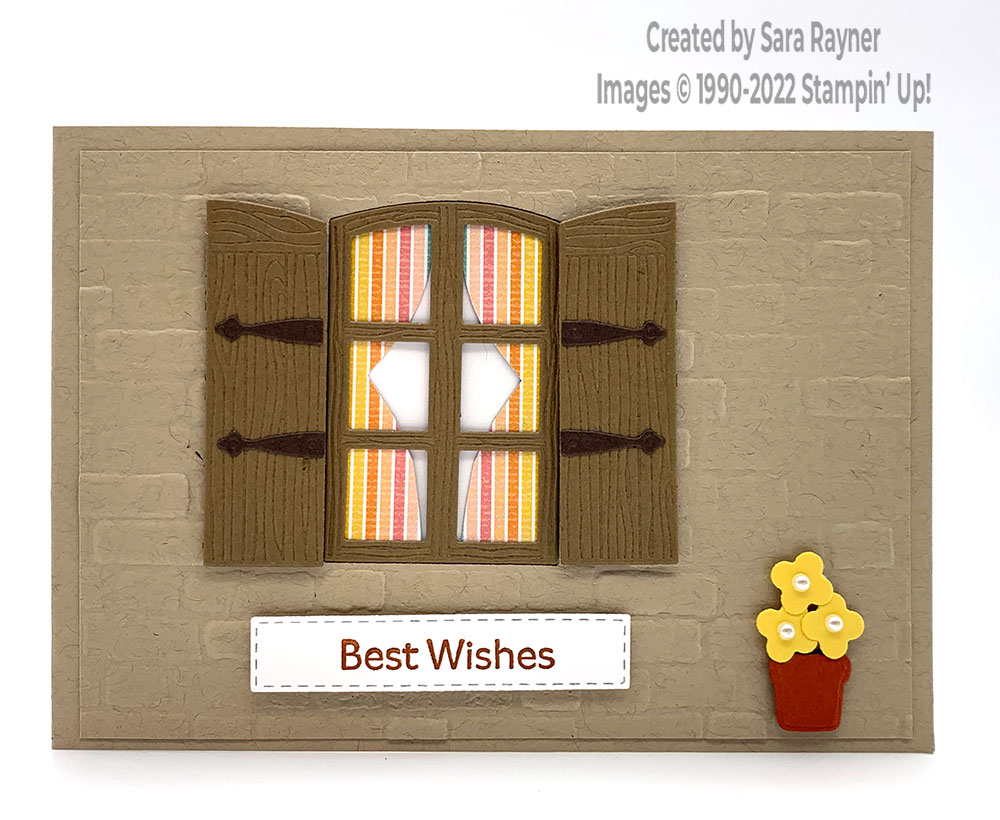
Start with an A6 landscape card of Crumb Cake. Using the Window Flower Box dies, die cut a window from a card front layer of Crumb Cake. Run the card layer through the Brick & Mortar 3D embossing folder. Adhere a piece of Window Sheet over the back of the window aperture. Die cut the window frame and shutters from Soft Suede card. Adhere the window frame into the aperture on the front of the layer. Pop the shutters up on dimensionals on either side of the window frame. Die cut shutter hinges from Early Espresso card and adhere them direct to the shutters.
Cut curtains from Pattern Party DSP and adhere behind the window. Adhere a panel of Basic White card behind the curtains before adhering the layer direct to the card front. Using Cajun Craze ink, stamp a sentiment from the Art Gallery set onto a Stitched Rectangle die cut from Basic White card. Pop up on dimensionals below the window. Die cut a small plant pot from Cajun Craze card and pop up in the lower right corner with a dimensional. Using the Floral Squares dies set (this bundle is also on offer this month), die cut three teeny flowers from Daffodil Delight card. Pop them up over the top of the plant pot with mini dimensionals. Finish with Basic Pearls.
Welcoming Window birthday card insert
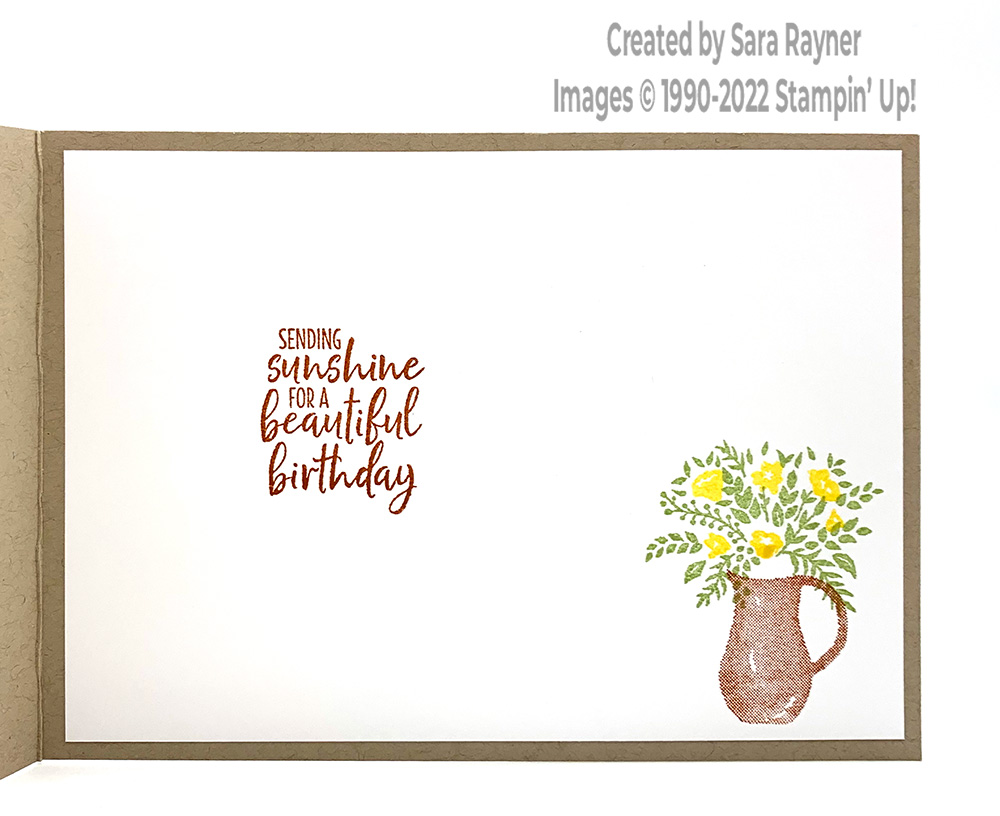
On the Basic White insert, using Cajun Craze ink, stamp the birthday sentiment from the Welcoming Window set just left of centre and the pitcher, bottom right. Add leaves over the top of the pitcher with Pear Pizzazz ink and then flowers over the top of that with Daffodil Delight ink.
Thanks for stopping by.
Sara xx
Buy the supplies for this Welcoming Window birthday card in my online shop.


0 Comments