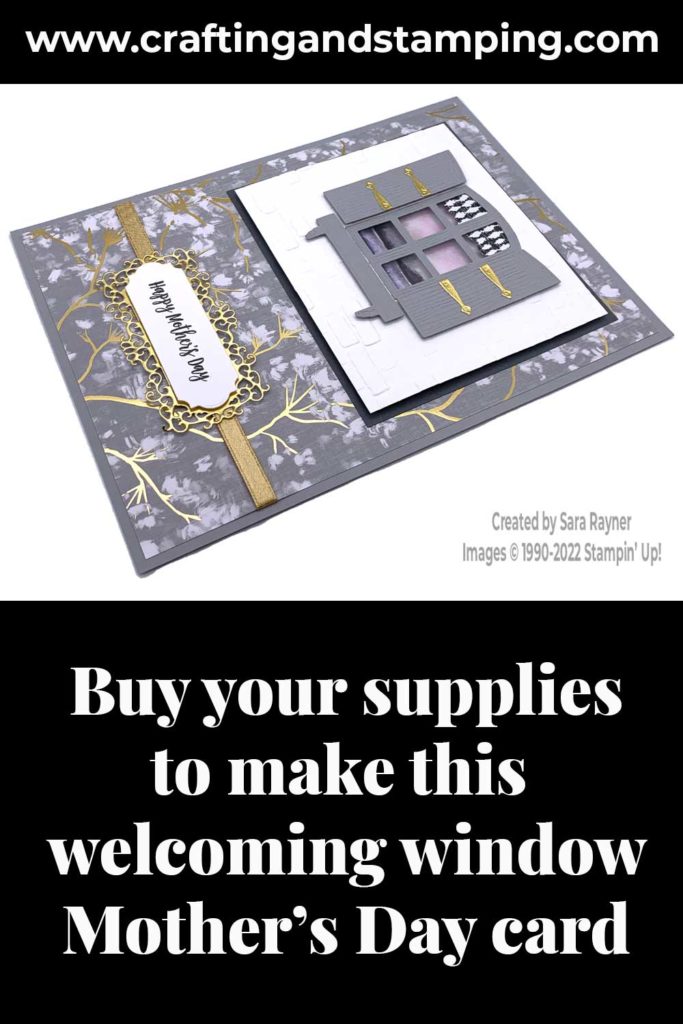
Today’s tutorial is for a Welcoming Window Mother’s Day card. The sentiment can be swapped out for another occasion quite easily.
This is one of my kitchen sink cards, in that it uses a whole host of supplies – definitely one for an avid crafter rather than beginner. It’s also another of my upsized cards, simply adding to the card front elements from the Birthday Window card.
In the tutorial below, I take you step by step through creating the Welcoming Window Mother’s Day card. I also have a supply list for purchasing anything anything you don’t already own.
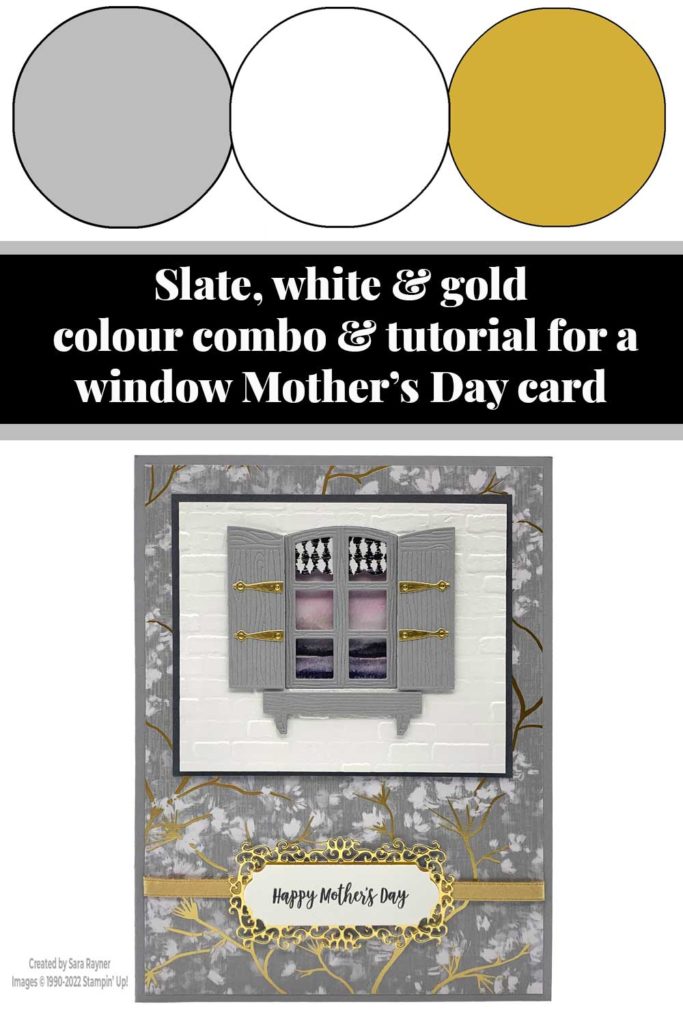
Colour Combo
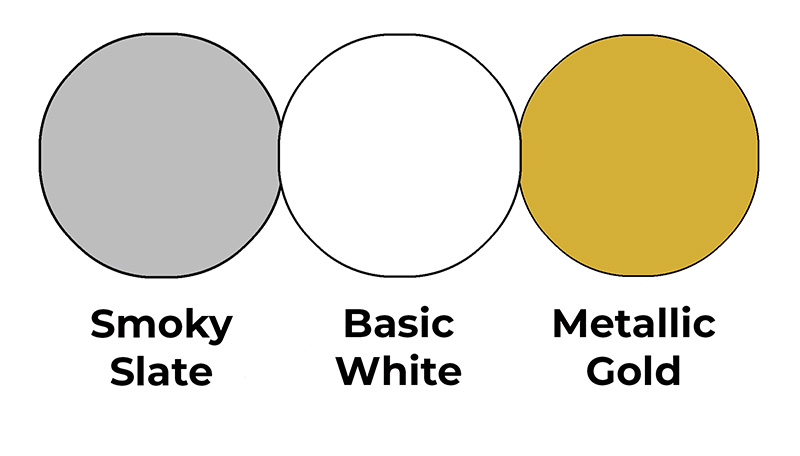
The colour combo mixes Smoky Slate, Basic White and Metallic Gold.
Welcoming Window Mother’s Day card
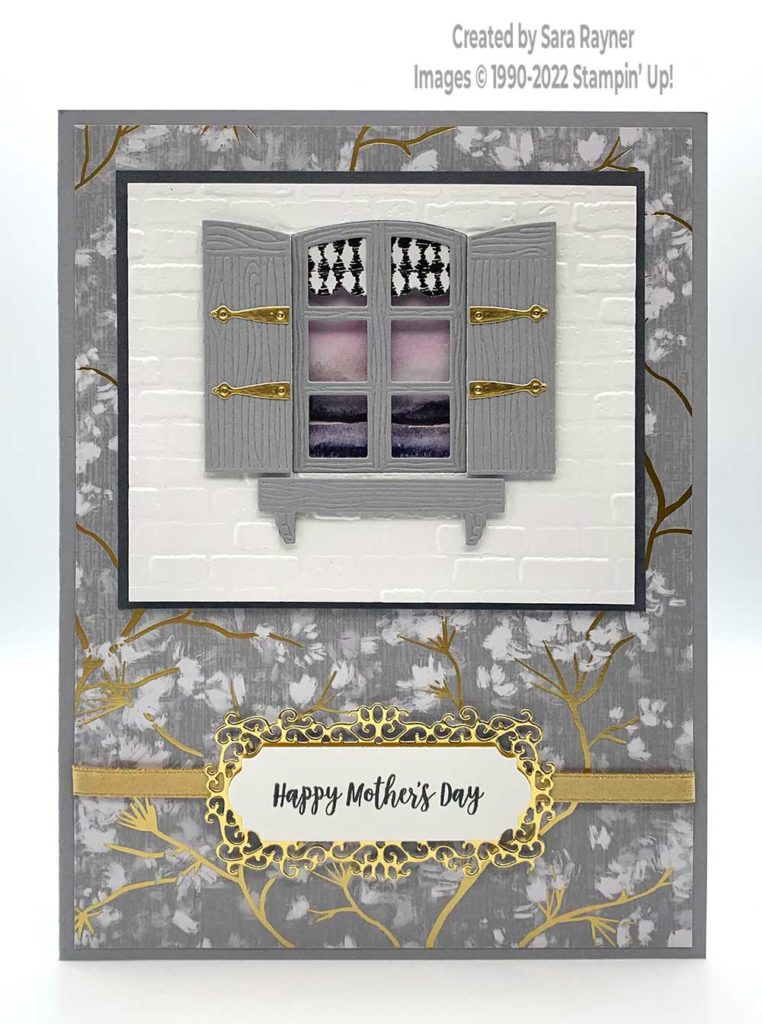
Start with an A5 portrait card of Smoky Slate. Wrap Gold Shimmer Ribbon around the bottom quarter of a card front layer of Symbols of Fortune Specialty DSP and secure on the reverse before adhering the layer direct to the card front. Using the Window Flower Box dies, die cut a window from a card front panel of Basic White. Run the card layer through the Brick & Mortar 3D embossing folder. Adhere a piece of Window Sheet over the back of the window aperture. Die cut the window frame, shutters and window box from Smoky Slate card. Adhere the window frame into the aperture on the front of the layer. Pop the shutters and window box up on dimensionals on either side of the window frame. Die cut shutter hinges from Gold Foil and adhere them direct to the shutters.
Cut a window blind from Pattern Party DSP using the Penned Flowers die to give a scallop border and adhere behind the window. Adhere a panel of New Horizons DSP to the centre of a matting layer of Basic Gray card. Pop the window layer up on the Basic Gray panel with Foam Adhesive Strips before adhering the layers direct to the card front. Using Memento Black ink, stamp a sentiment from the Dressed to Impress stamp set onto Basic White card. Die cut out with the Ornate Frames dies. Die cut a fancy outer frame from Gold Foil with the same die set. Pop the sentiment up on dimensionals onto the Gold frame and then on more dimensionals onto the card front, over the ribbon.
Here’s a short video with tips on creating “window treatments” for your cards. Please subscribe to my Youtube channel to see my quick cards and quick tips each week.
Welcoming Window Mother’s Day card insert
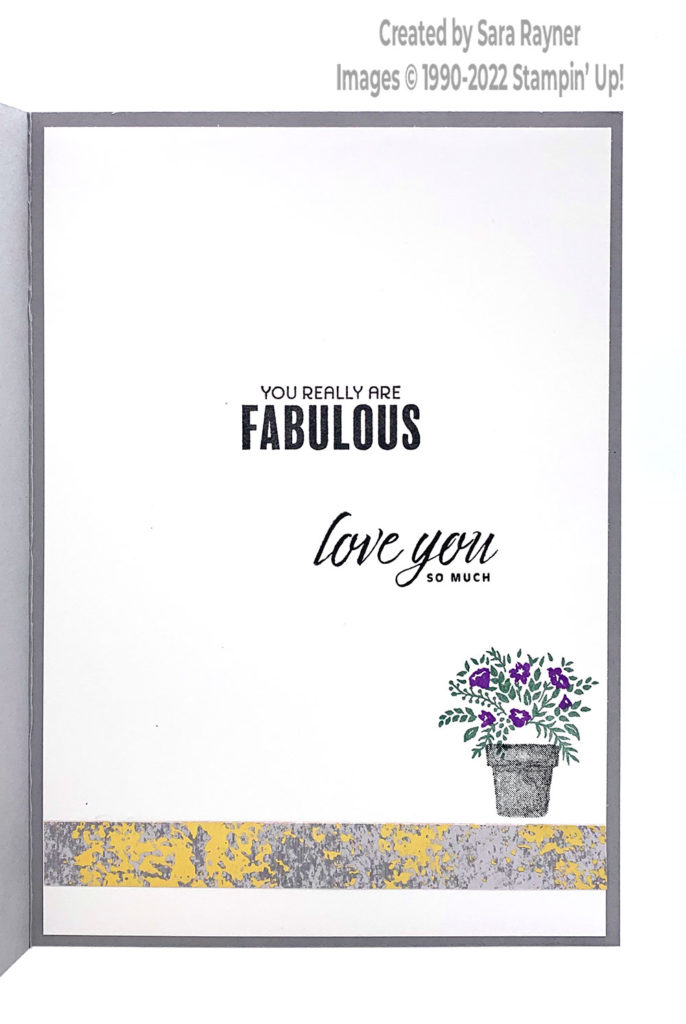
On the Basic White insert, using Memento Black ink, stamp sentiments from the Slim Sayings and Flowering Tulips stamp sets. Using Basic Gray ink, stamp a plant pot from the Welcoming Window set. Add leaves over the top of the plant pot with Soft Succulent ink and then flowers over the top of that with Highland Heather ink. Finish with a border of Symbols of Fortune Specialty DSP below the plant pot.
Thanks for stopping by.
Sara xx
Buy the supplies for this Welcoming Window Mother’s Day card in my online shop.


0 Comments