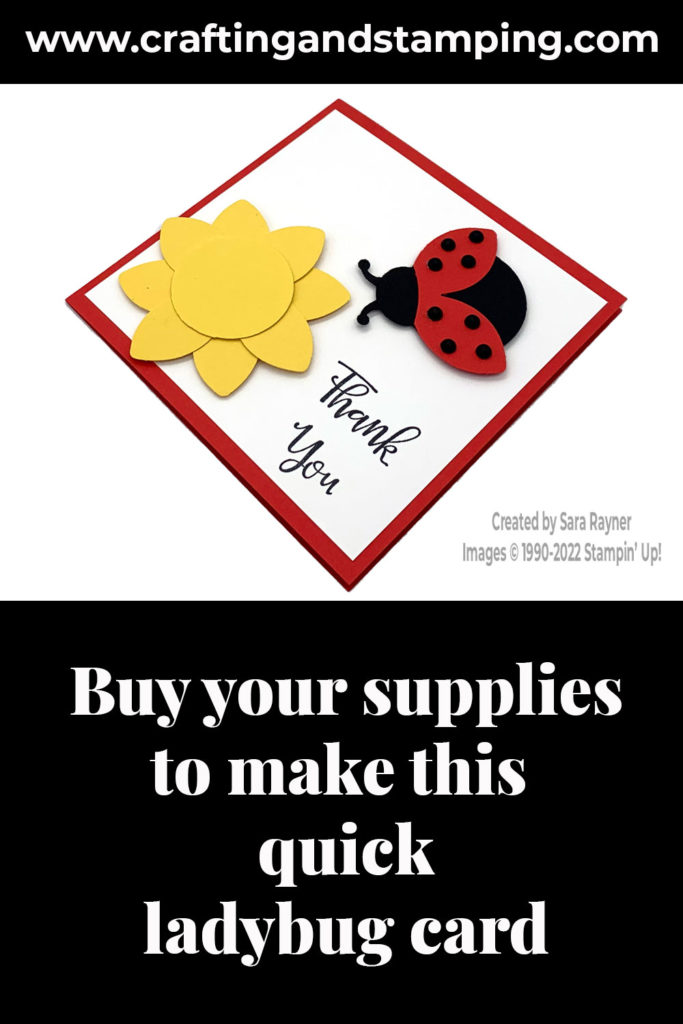
Today’s tutorial is for a quick Ladybug card. For this card I’m just using the Ladybug Builder Punch and I’ve added a quick sentiment.
Each week over on my Facebook page (please pop over and Like or Follow) I choose a product pick of the week to feature. This week, it’s the Ladybug Builder Punch. I’ll have a selection of tutorials for you throughout the week, that share different ideas for using the punch sometimes alone, sometimes with the matching stamp set.
In the tutorial below, I take you step by step through creating the quick Ladybug card. I also have a supply list for purchasing anything anything you don’t already own.
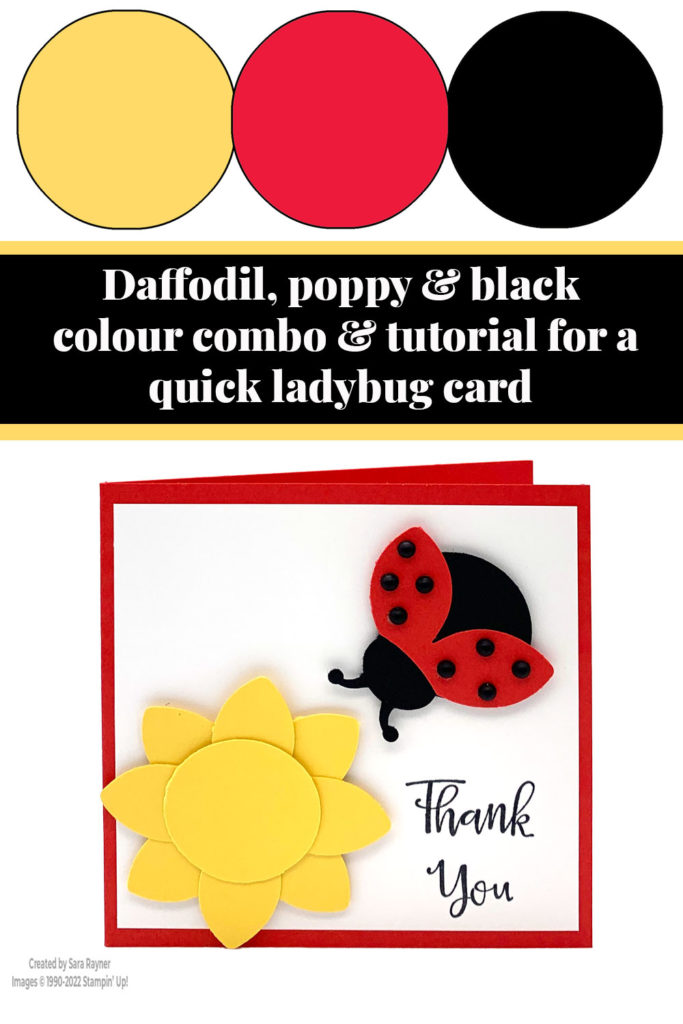
Colour Combo
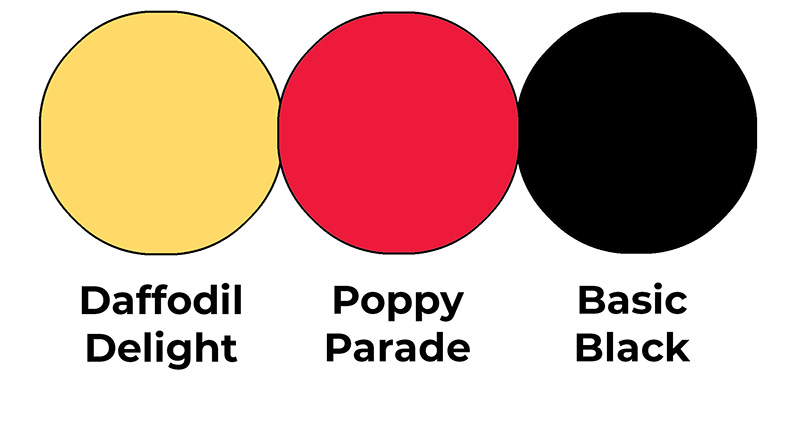
The colour combo mixes Daffodil Delight, Poppy Parade and Basic Black.
Quick Ladybug card
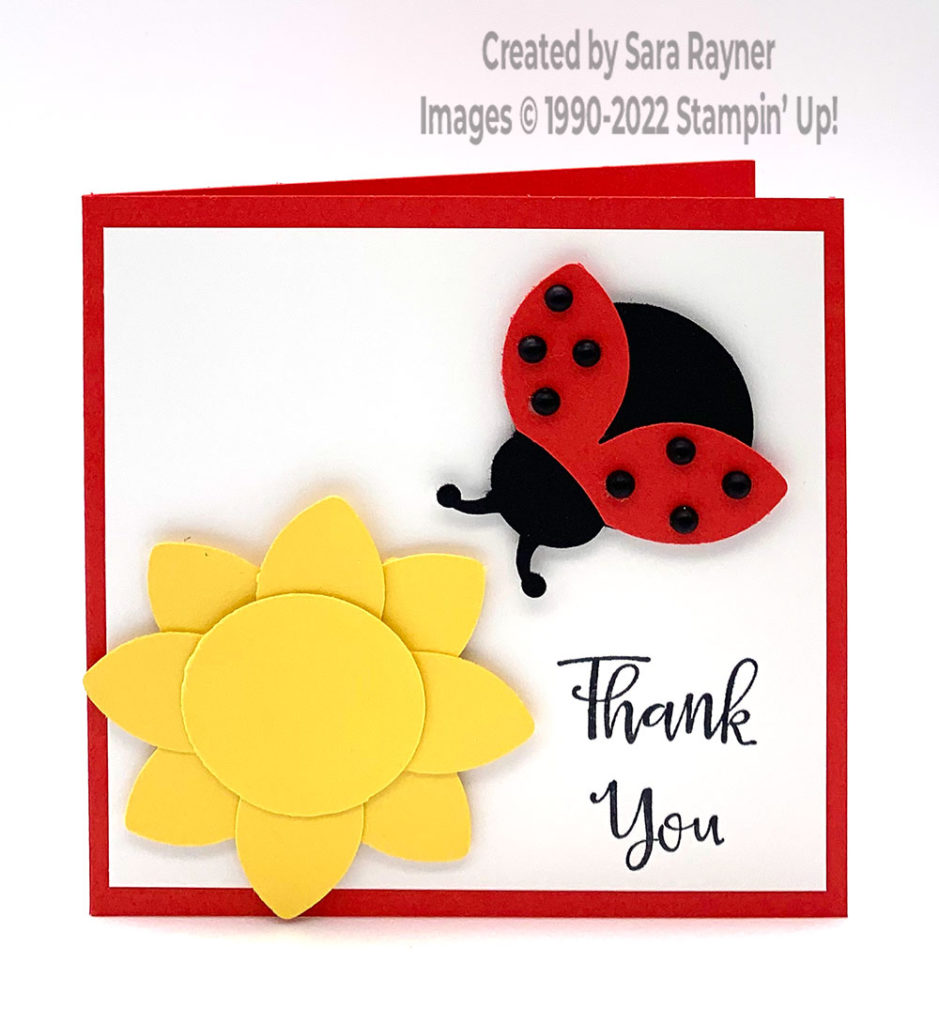
Start with a 4″ square Poppy Parade card. Cut a card front layer of 3-3/4″ x 3-3/4″ of Basic White card. Using Memento Black ink, stamp a sentiment from the Peaceful Moments set in the lower right corner. Punch the ladybug body from Daffodil Delight card with the Ladybug Builder Punch. Reinsert the punched piece and punch again to create a circle (see video). Punch the wings four times from Daffodil Delight card and snip each in half. Adhere each “wing” behind the circle as a petal. Pop the flower up on the card front with dimensionals.
Punch the ladybug body from Basic Black card and the wings from Poppy Parade card. Adhere the wings to the body and pop up on the card front with dimensionals. Finish the wings with Matte Black Dots.
Here’s a short video showing how this quick card comes together. Please subscribe to my Youtube channel to see my quick cards and quick tips each week.
Quick Ladybug card insert
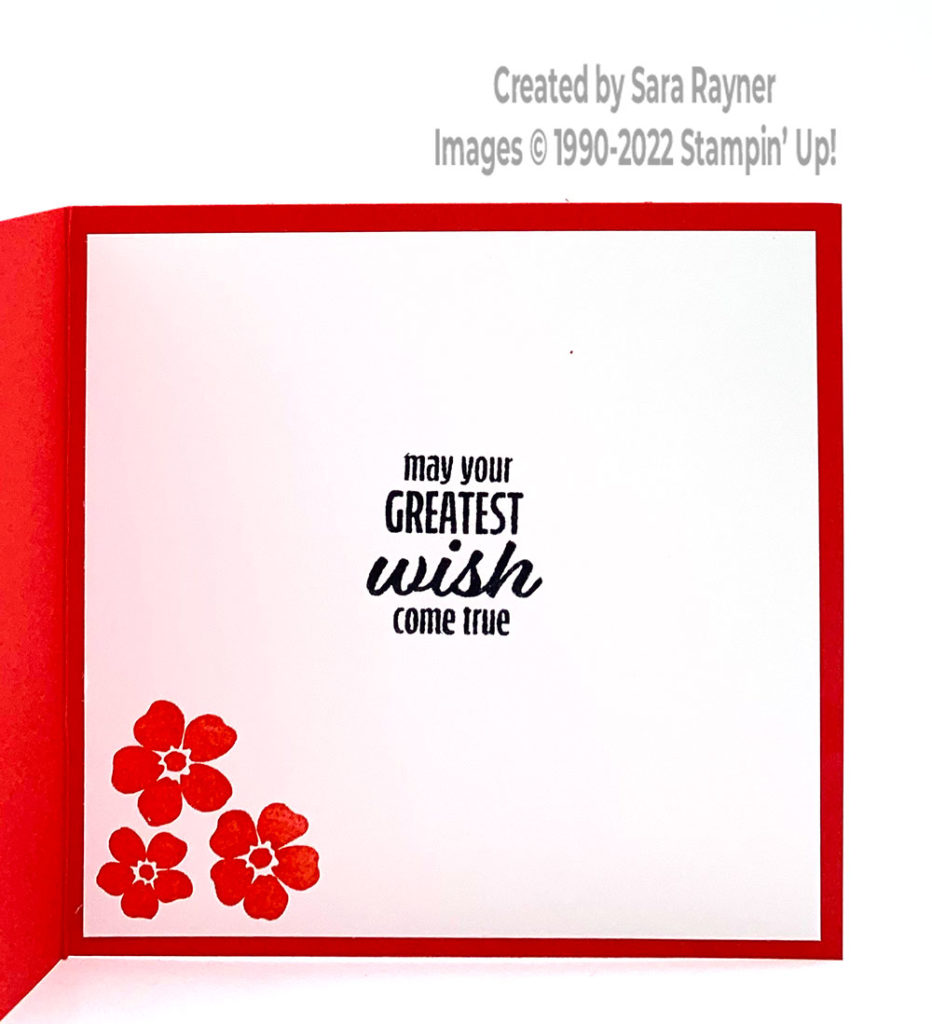
On the inside, using Memento Black ink, stamp a sentiment from the Hello Ladybug set in the centre. Add the flowers in the lower left corner with Poppy Parade ink
Thanks for stopping by.
Sara xx
Buy the supplies for this quick Ladybug card in my online shop.


0 Comments