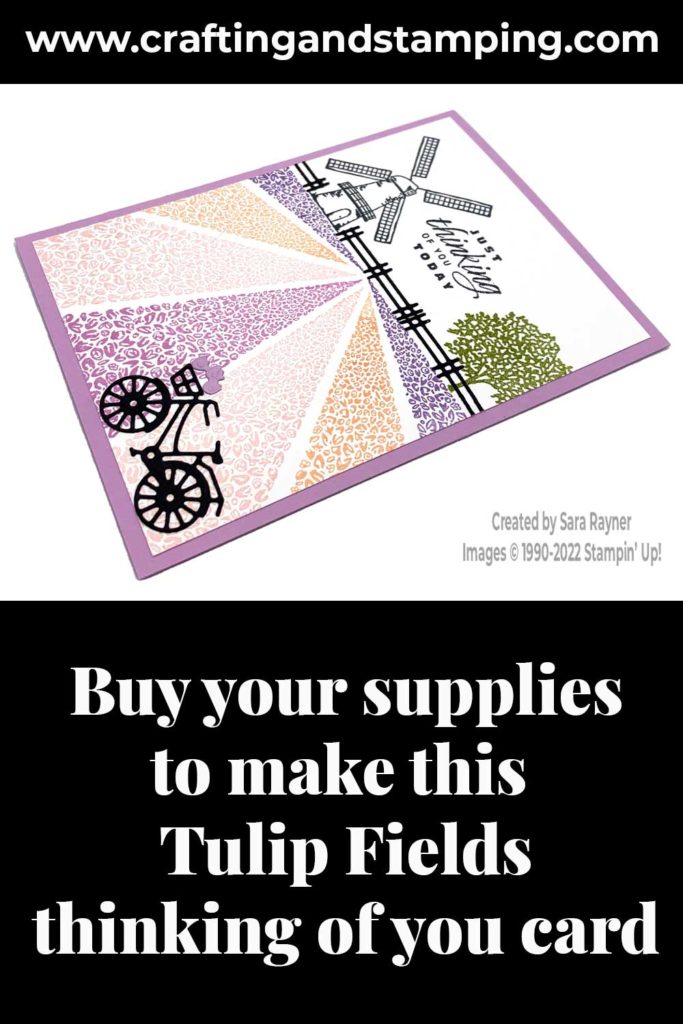
Today’s tutorial is for a Tulip Fields card. We’re stepping up the simple stamped card I shared previously. This time I’m adding a few of the Windmill Feld dies, that together with the Tulip Fields stamp set, make up the Tulip Fields bundle. (Buy the bundle to save 10% on individual prices).
In the tutorial below, I take you step by step through creating the Tulip Fields card. I also have a supply list for purchasing anything anything you don’t already own.
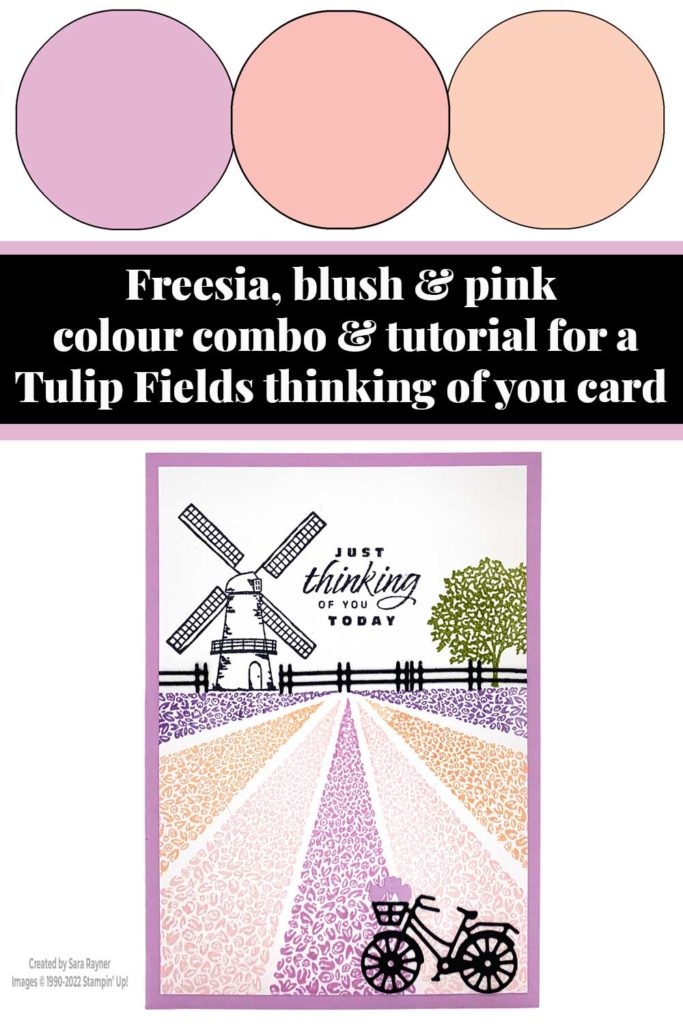
Colour Combo
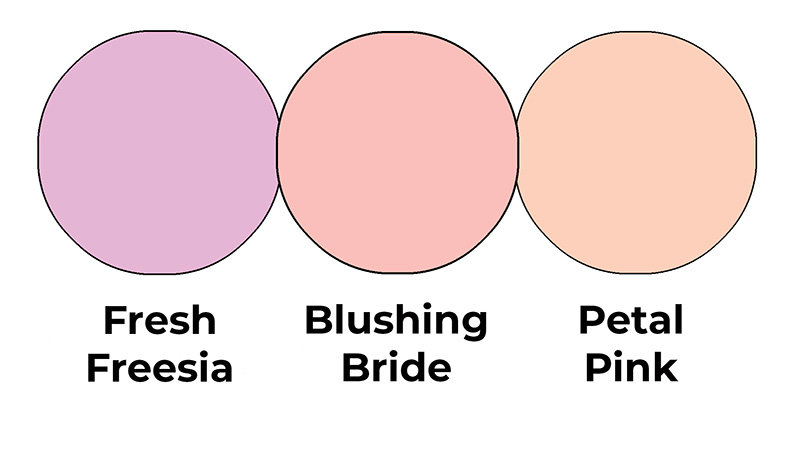
The colour combo mixes Fresh Freesia, Blushing Bride and Petal Pink.
Tulip Fields Card
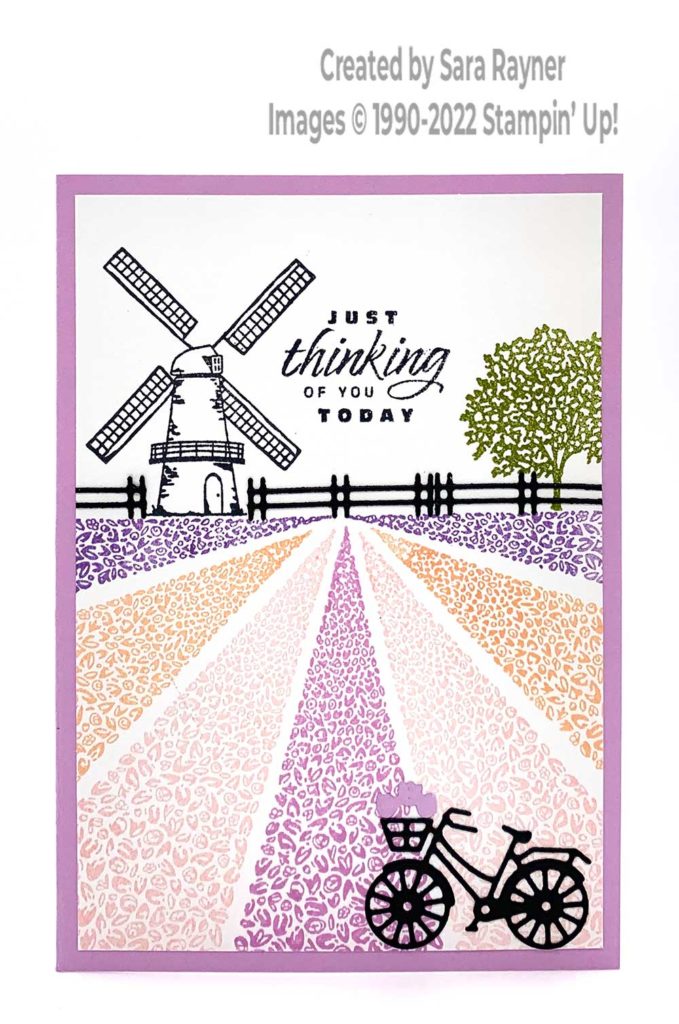
Start with an A6 portrait card of Fresh Freesia. Cut a card front layer of Basic White. Using Highland Heather ink, stamp the horizon line stamp from the Tulip Fields set (leaving sufficient room above for the windmill). Stamp the triangular tulip row centrally with Fresh Freesia ink. Use the same stamp to stamp further rows with both Blushing Bride and Petal Pink inks. Add the windmill above the tulip fields with Memento Black ink. Use the same ink to add a thinking of you sentiment from the Flowering Tulips stamp set. Stamp the large tree from the Tulip Fields set over to the right, with Old Olive ink.
After backing some Basic Black card with Adhesive Sheet, die cut out the bicycle and several fence posts from the Windmill Fields dies. Remove the adhesive backing and adhere these to the card front. Use the border die from the set to cut a few tulips from Fresh Freesia card and adhere these direct, above the bicycle basket. Adhere the card layer direct to the card front.
Tulip Fields Card insert
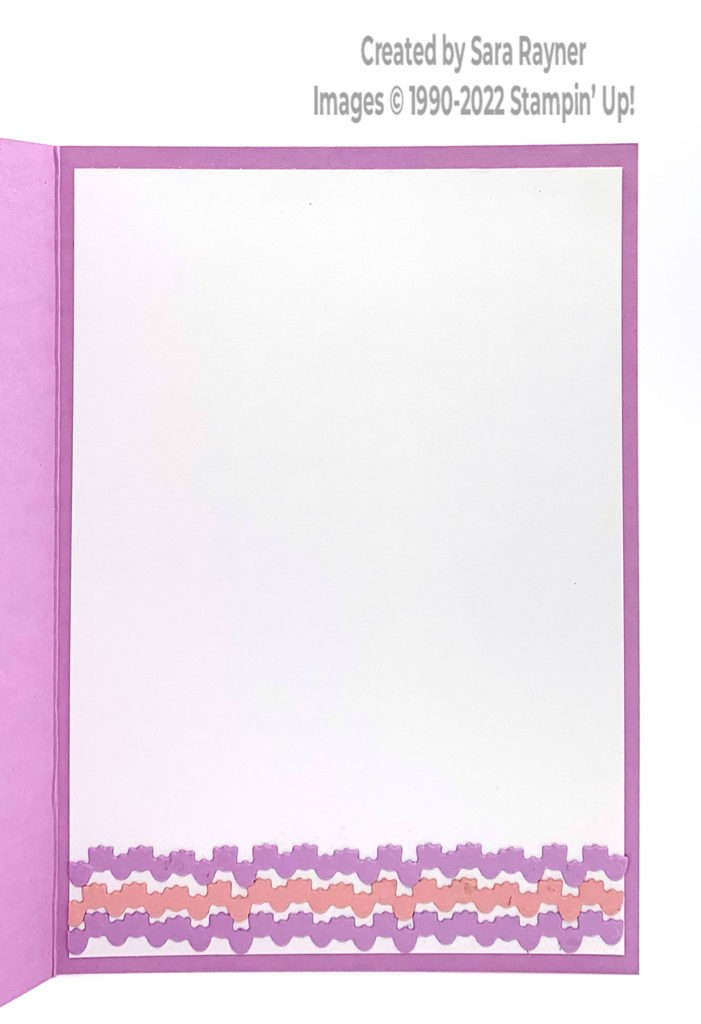
On the Basic White insert, adhere rows of tulips die cut from Fresh Freesia and Blushing Bride card using the border die from the Windmill Fields die set.
Thanks for stopping by.
Sara xx
Buy the supplies for this Tulip Fields card in my online shop.


0 Comments