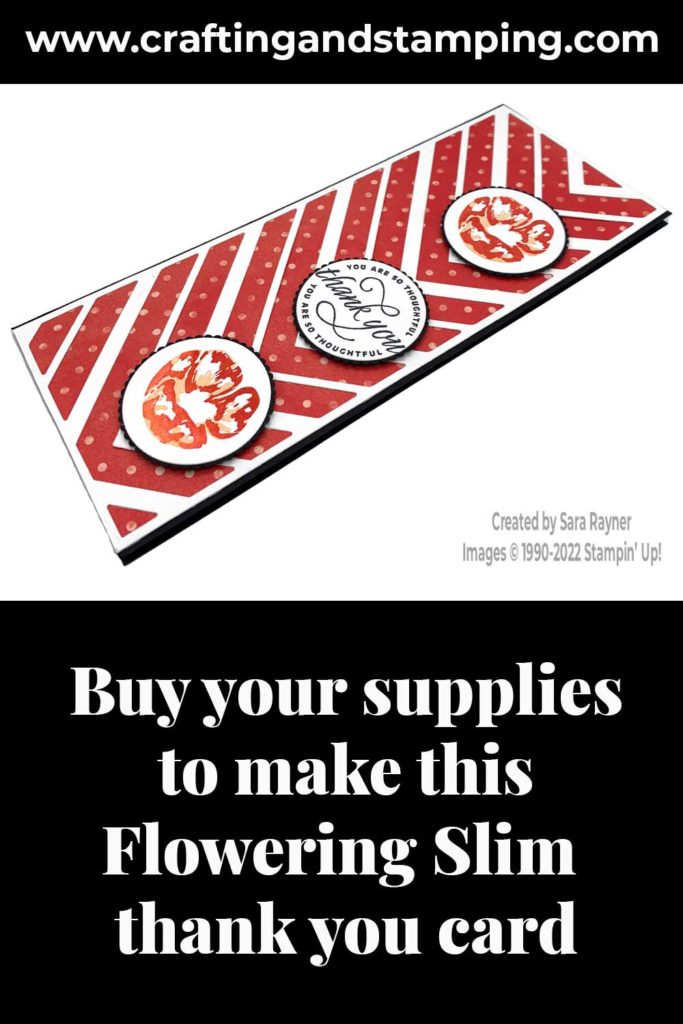
Today’s tutorial is for a Slim thank you card. We made a version of this card at our last Paper Dolls team meeting (with each team member stamping their own images). It was the leftover pieces from this card that I used to make this quick frame card.
In the tutorial below, I take you step by step through creating the Slim thank you card. I also have a supply list for purchasing anything anything you don’t already own.
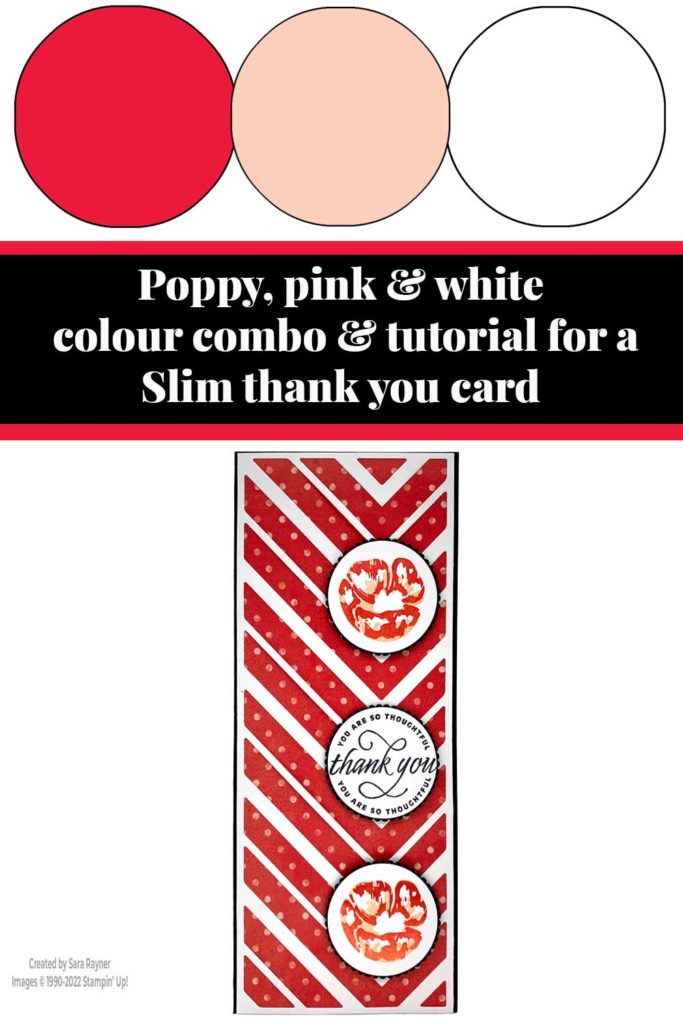
Colour Combo
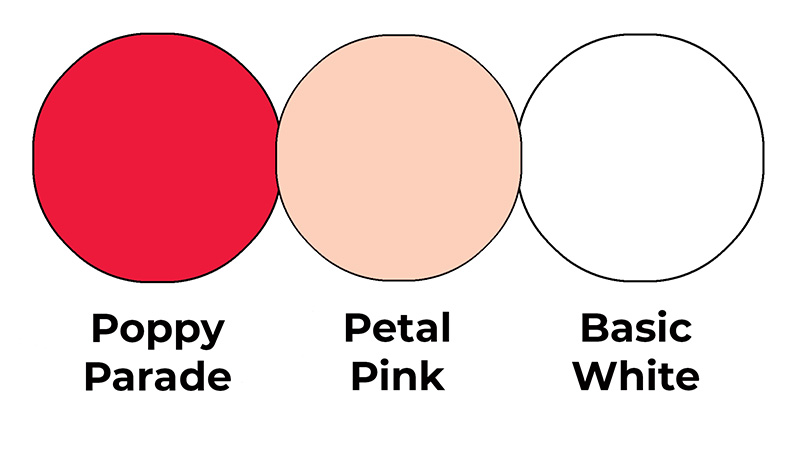
The colour combo mixes Poppy Parade, Petal Pink and Basic White.
Slim thank you card
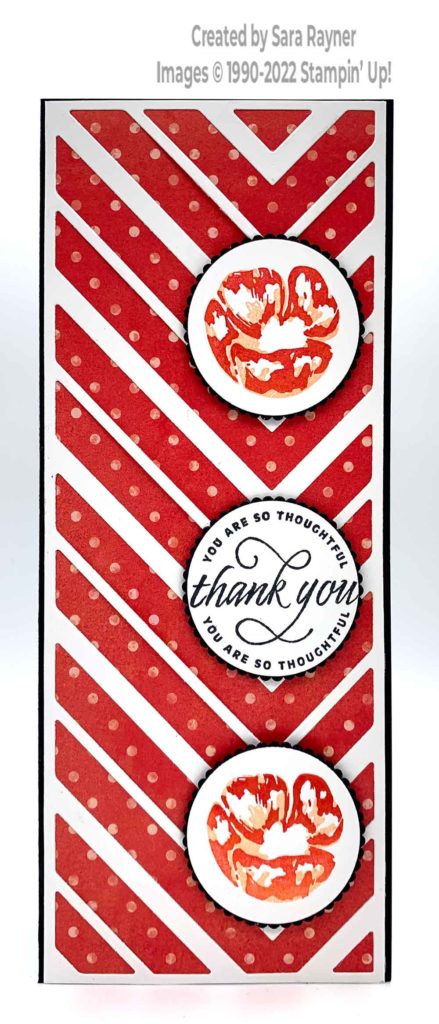
Start with a tall slim card of Basic Black. Mat with a slim panel of Flowering Fields DSP. Using the Slim Card dies, die cut a card front layer of Basic White. Adhere direct to the DSP layer. Using the Layering Circle dies, die cut three plain circles from Basic White card and three scalloped circles from Basic Black card. Using Poppy Parade ink, stamp the “thinner” tulip from the Flowering Tulips set onto two of the plain circles. Add the more solid tulip over the top of each with Petal Pink ink. Using Memento Black ink, stamp the thank you sentiment from the same set onto the third plain circle. Adhere each plain circle to a black scalloped circle and pop all of them up on the card front with dimensionals.
Here’s a short video sharing a few ways to use the leftover pieces from both this card front and the one I used for the birthday card here. Please subscribe to my Youtube channel to see my quick cards and quick tips each week
Slim thank you card insert
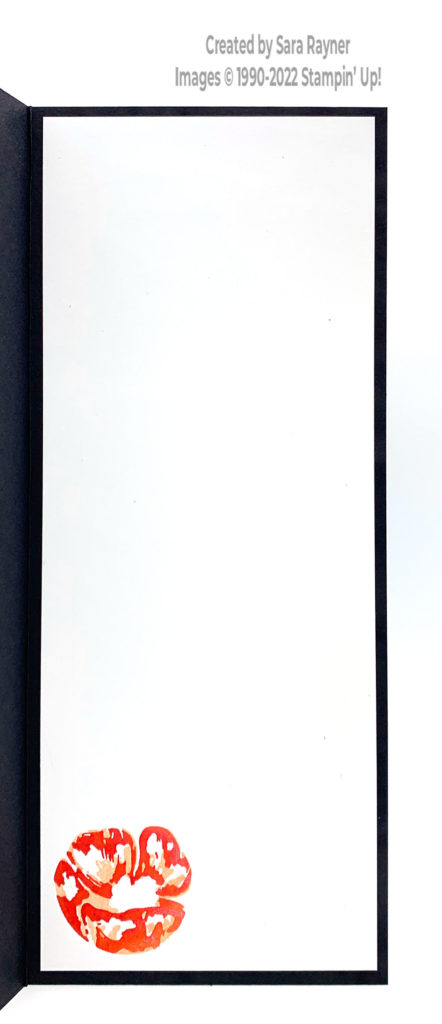
On the Basic White insert, stamp the tulip again with Poppy Parade and Petal Pink inks.
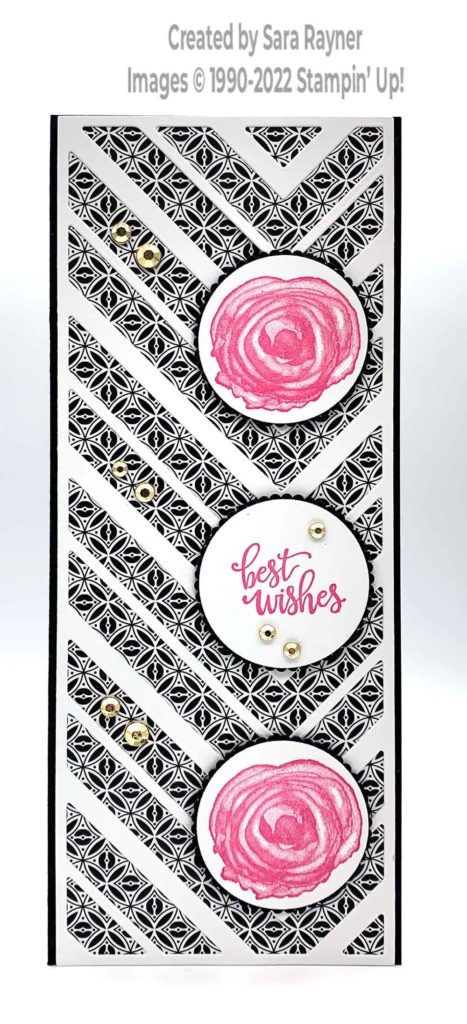
Here’s another version of the same card using the Artistically Inked stamp set, Pattern Party DSP and adding some Gilded Gems.
Thanks for stopping by.
Sara xx
Buy the supplies for this Slim birthday card in my online shop.


0 Comments