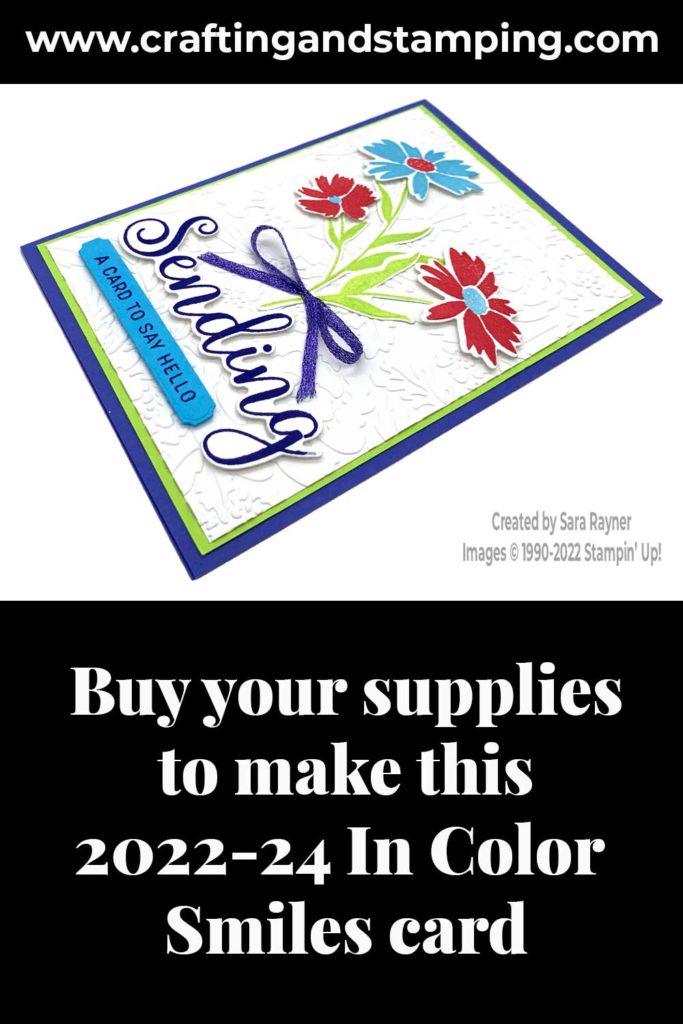
Today’s tutorial is for an In Color Smiles card. All five In Colors are used here with the Sending Smiles bundle.
I sent this card to my customers with their paper copy of the new catalogue.
In the tutorial below, I take you step by step through creating the In Color Smiles card. I also have a supply list for purchasing anything you don’t already own.
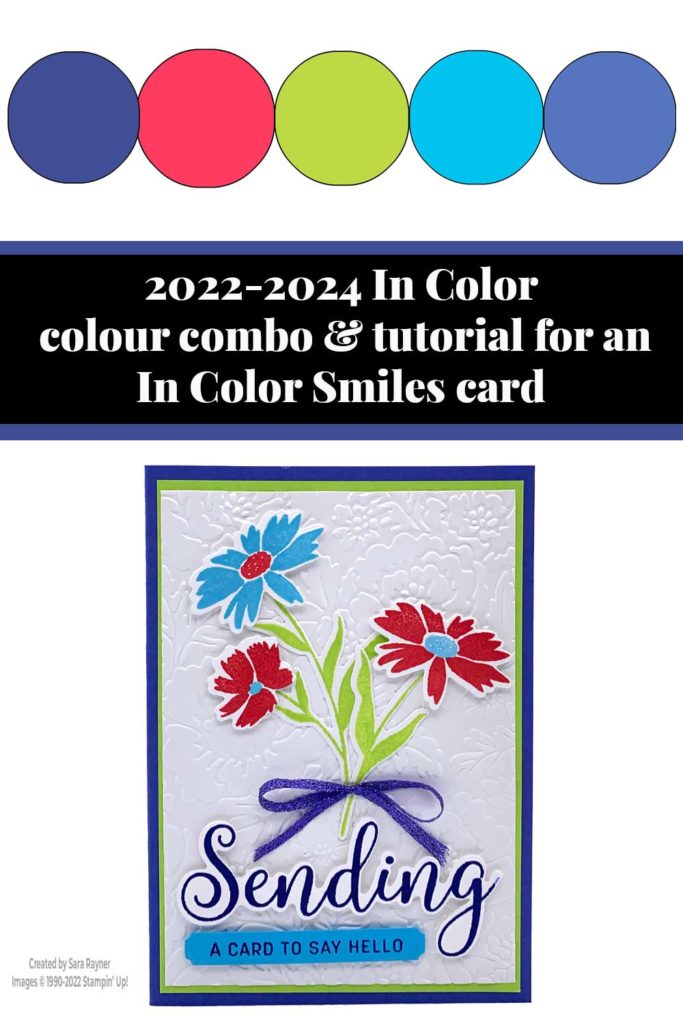
Colour Combo
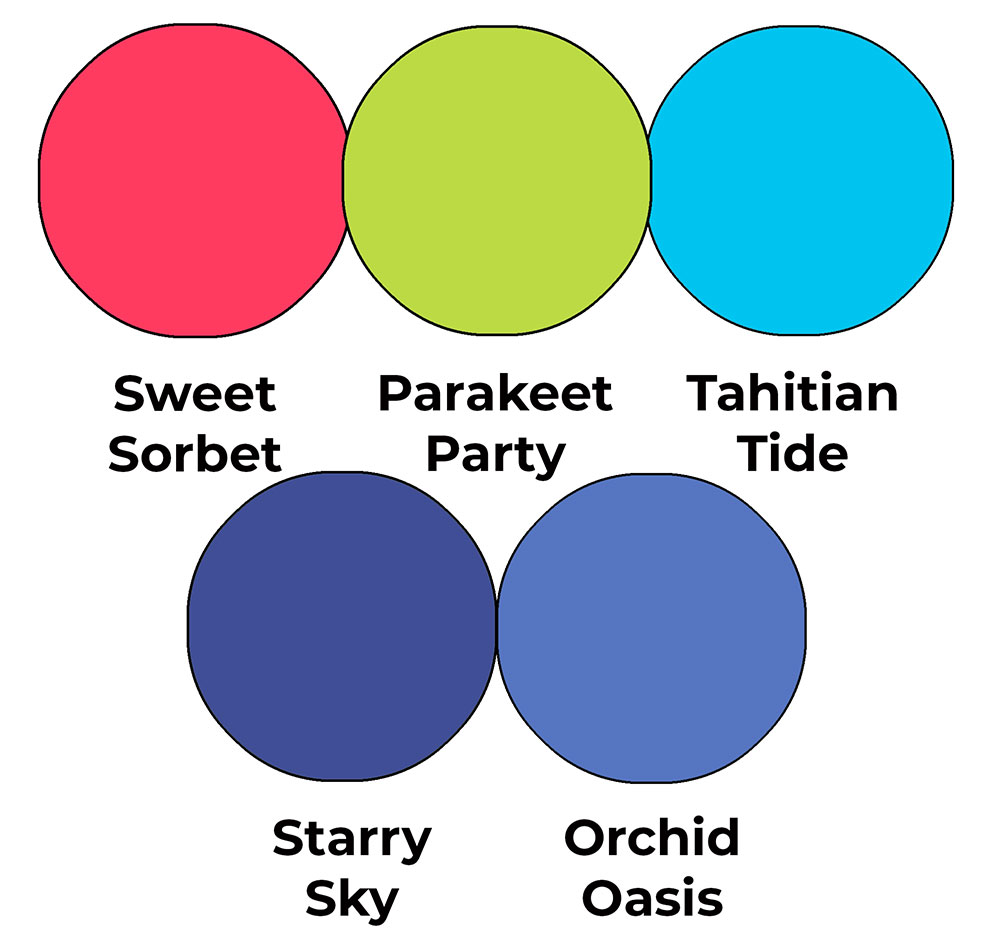
The colour combo mixes all five of the 2022-2024 In Colors – Sweet Sorbet, Parakeet Party, Tahitian Tide, Starry Sky and Orchid Oasis.
In Color Smiles card
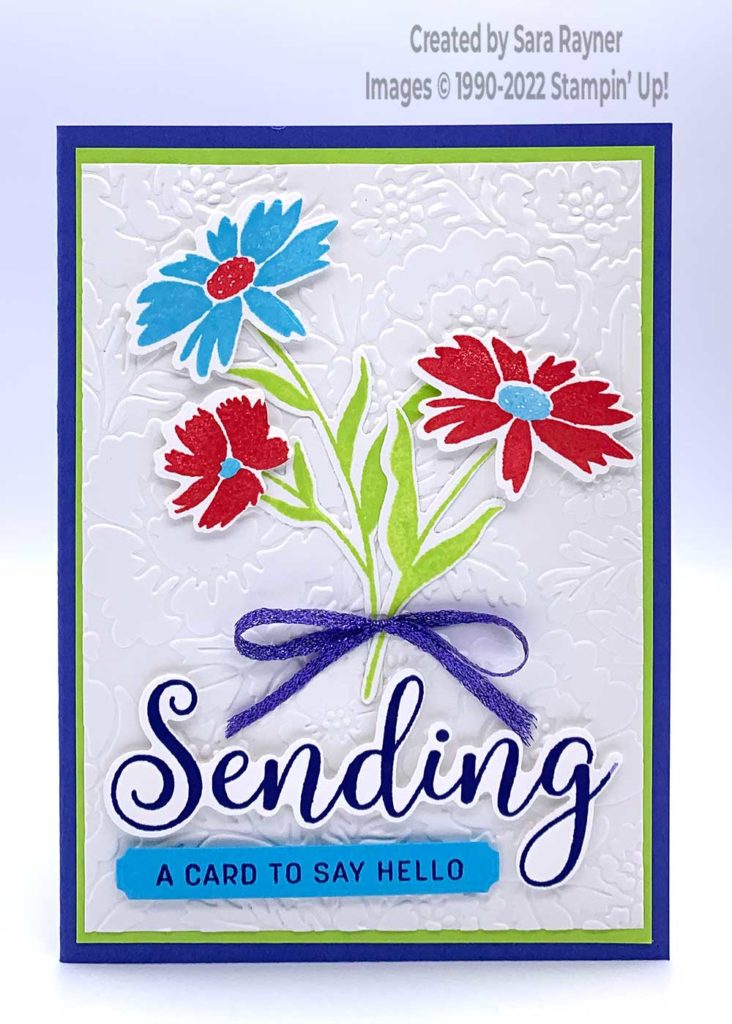
Start with an A6 portrait card of Orchid Oasis. Mat with Parakeet Party. After running a Basic White card front layer through the Pretty Flowers embossing folder, adhere direct to the card front. Using Parakeet Party ink, stamp a couple of stems from the Sending Smiles set onto Basic White card and die cut out with the matching Sending Dies. Adhere direct to the card front. Stamp a variety of flowers from the same set using Tahitian Tide and Sweet Sorbet inks. Die cut out and pop the flowers up over the top of the stems with dimensionals.
Using Starry Sky ink, stamp the “Sending” sentiment onto Basic White card. Die cut out and pop this sentiment up on the card front with dimensionals. Die cut a sentiment panel from Tahitian Tide card. Stamp another sentiment onto the panel with Starry Sky ink. Pop up on the card front with mini dimensionals. Tie a bow of Orchid Oasis Metallic Woven Ribbon and add over the stems with a Mini Glue Dot.
In Color Smiles card insert
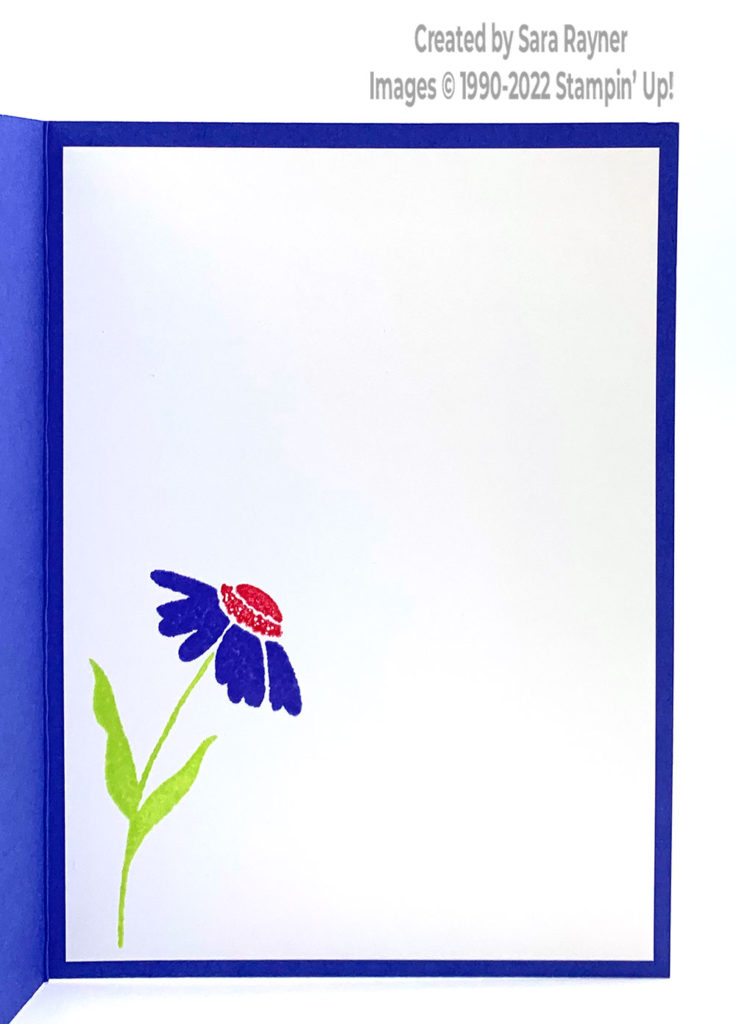
On the Basic White insert, using Parakeet Party ink, stamp a leafy stem. Add a flower with Orchid Oasis ink and finish with a flower centre of Sweet Sorbet ink.
Here is one of the mini batches of cards I sent out to my customers.

Thanks for stopping by.
Sara xx
Buy the supplies for this In Color Smiles card in my online shop.


0 Comments