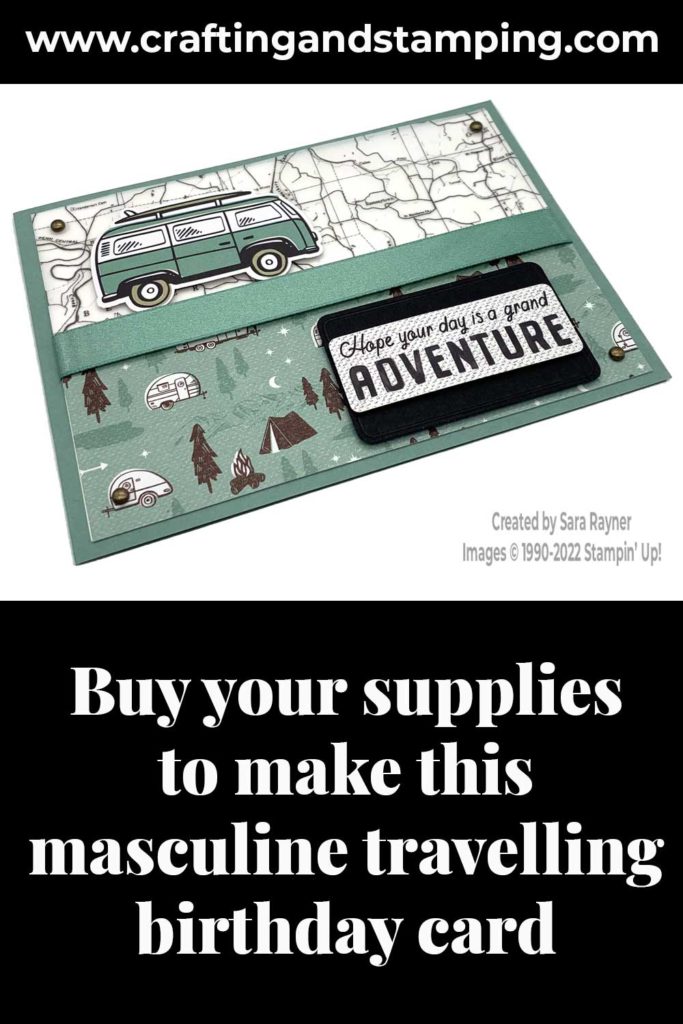
Today’s tutorial is for a masculine travelling birthday card. I’m combining Layering Designs Vellum with the He’s The Man suite to develop a travel theme.
In the tutorial below, I take you step by step through creating the travelling birthday card. I also have a supply list for purchasing anything you don’t already own.
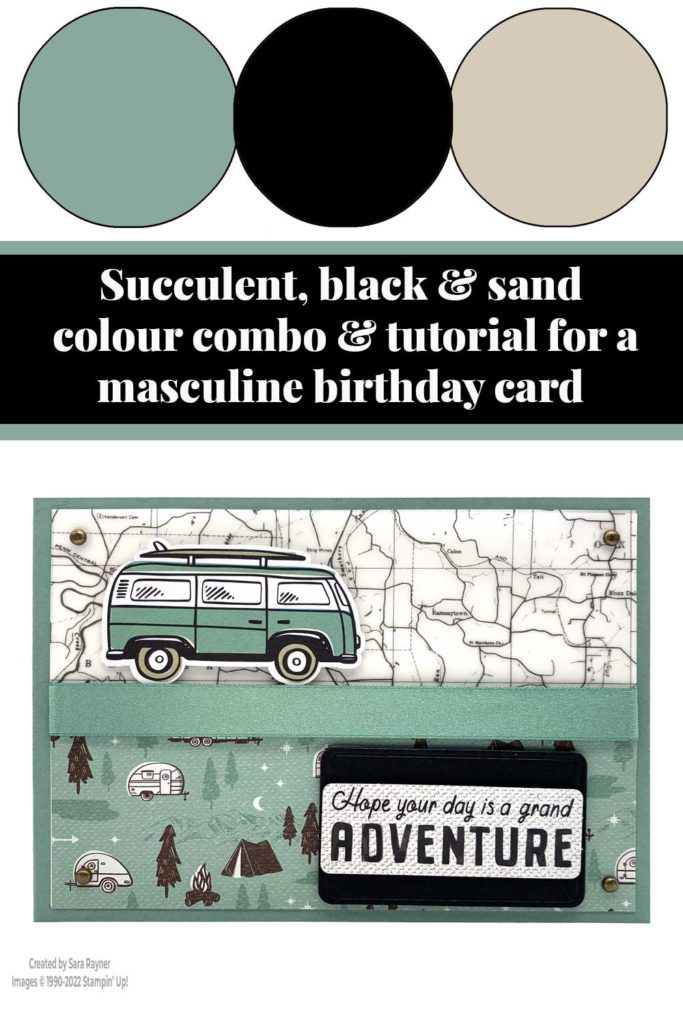
Colour Combo
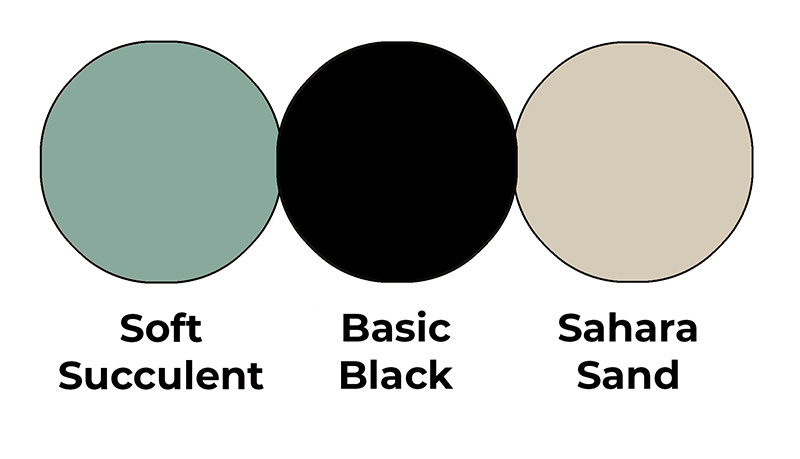
This colour combo mixes Soft Succulent, Basic Black and Sahara Sand.
Travelling birthday card
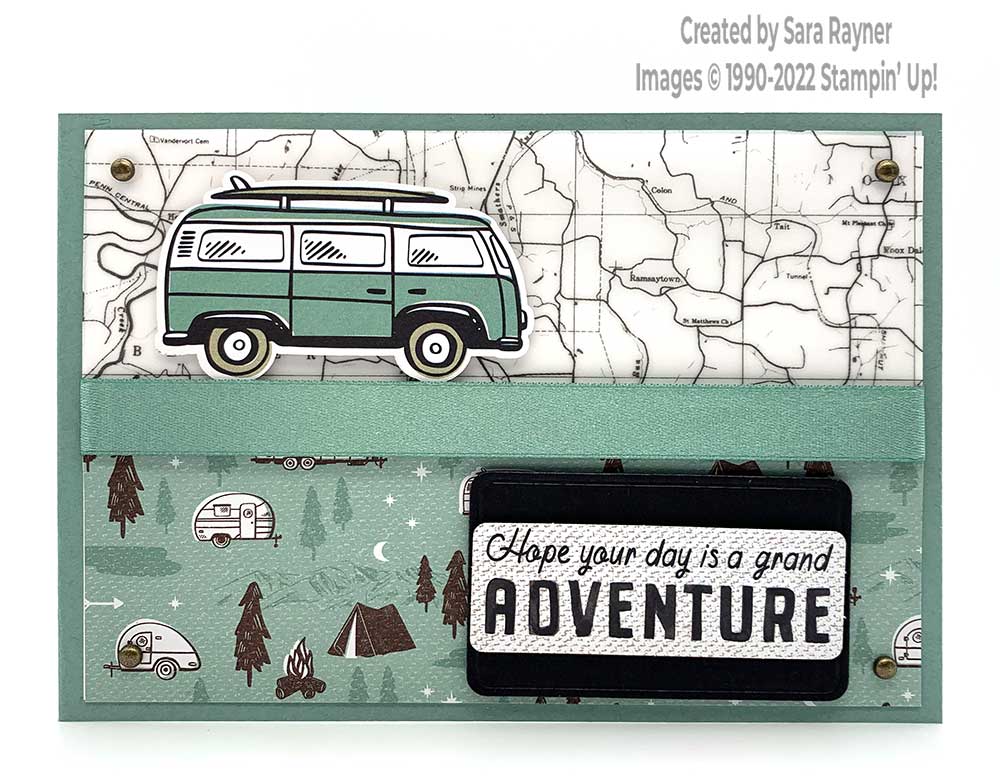
Start with an A6 landscape card of Soft Succulent. Cut a card front layer Basic White card. Adhere a panel of Layering Designs Vellum to the upper section of the card front layer (see video below for tips on hiding the adhesive). Add a panel of He’s The Man Specialty DSP to the lower section of the card front layer (overlapping the vellum). Wrap Soft Succulent Satin Shimmer Ribbon around the card front layers, over the join between the vellum and the DSP and secure on the reverse. Adhere the layers direct to the card front.
Press a sentiment and campervan from the die cut sheet of He’s The Man Specialty DSP. Pop the campervan up on the upper left card front with dimensionals. Die cut a rounded rectangle from Basic Black Card with the All That dies. Pop the sentiment up on the black die cut with dimensionals and then onto the lower right card front with more dimensionals. Finish by adding Rustic Metallic Adhesive-backed Dots to the corners of the card front.
Here’s a short video showing how I hid the adhesive so that it doesn’t show through the vellum. Please subscribe to my Youtube channel to see my quick cards and quick tips each week.
Travelling birthday card insert
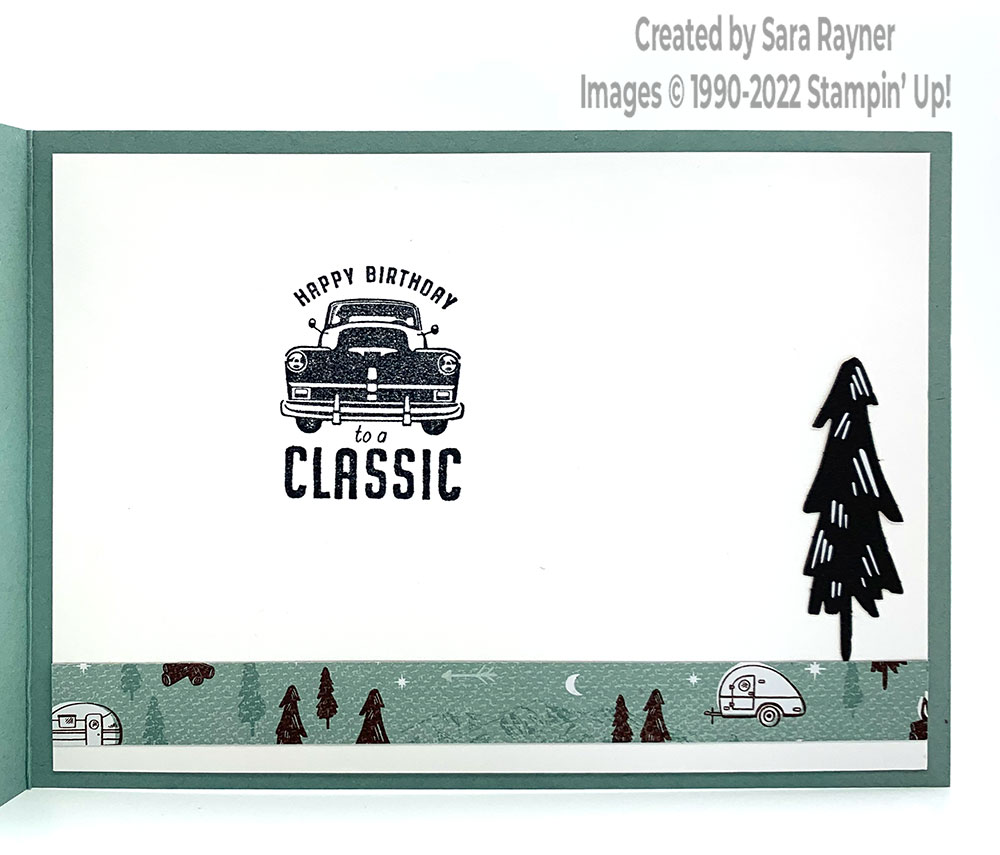
On the Basic White insert, using Memento Black ink, stamp the birthday sentiment from the He’s All That set. Add a border of He’s The Man DSP across the base. Press out a tree from the DSP and adhere direct to the insert.
Thanks for stopping by.
Sara xx
Buy the supplies for this travelling birthday card in my online shop.


0 Comments