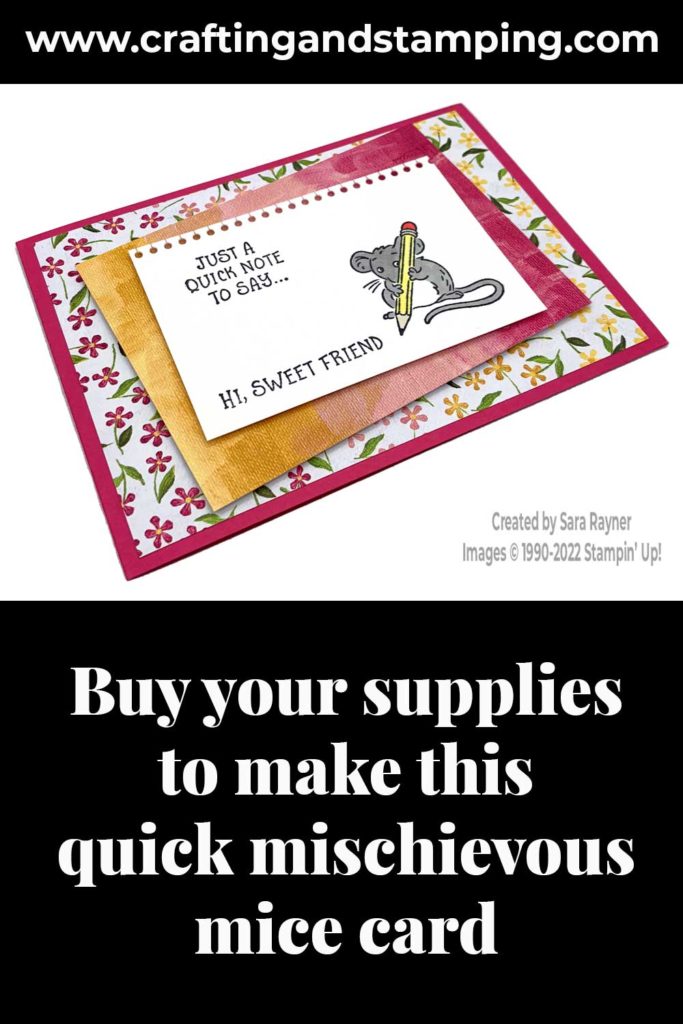
Today’s tutorial is for a quick Mischievous Mice card. The Mischievous Mice set is exclusive to customers who host a party/class or simply shop the minimum qualifying amount on their own or with friends.
Each week over on my Facebook page (please pop over and Like or Follow) I choose a product pick of the week to feature. This week, it’s the Mischievous Mice stamp set. I’ll have a selection of tutorials for you throughout the week, that share different ideas for using these cute stamps.
In the tutorial below, I take you step by step through creating the quick Mischievous Mice card. I also have a supply list for purchasing anything anything you don’t already own.
Colour Combo
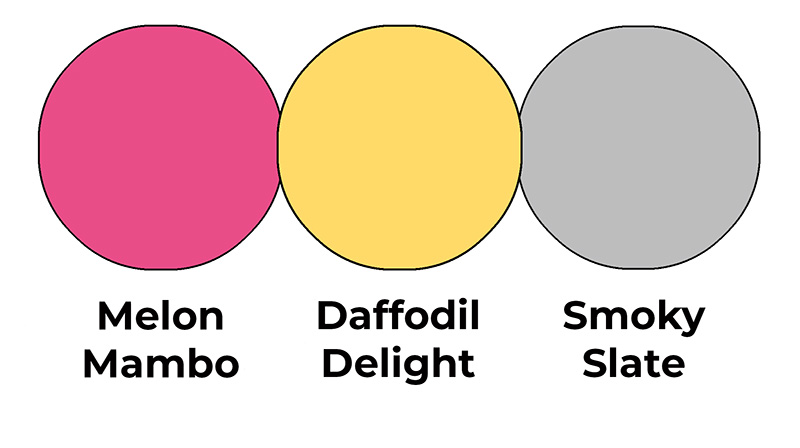
The colour combo mixes Melon Mambo, Daffodil Delight and Smoky Slate.
Quick Mischievous Mice card
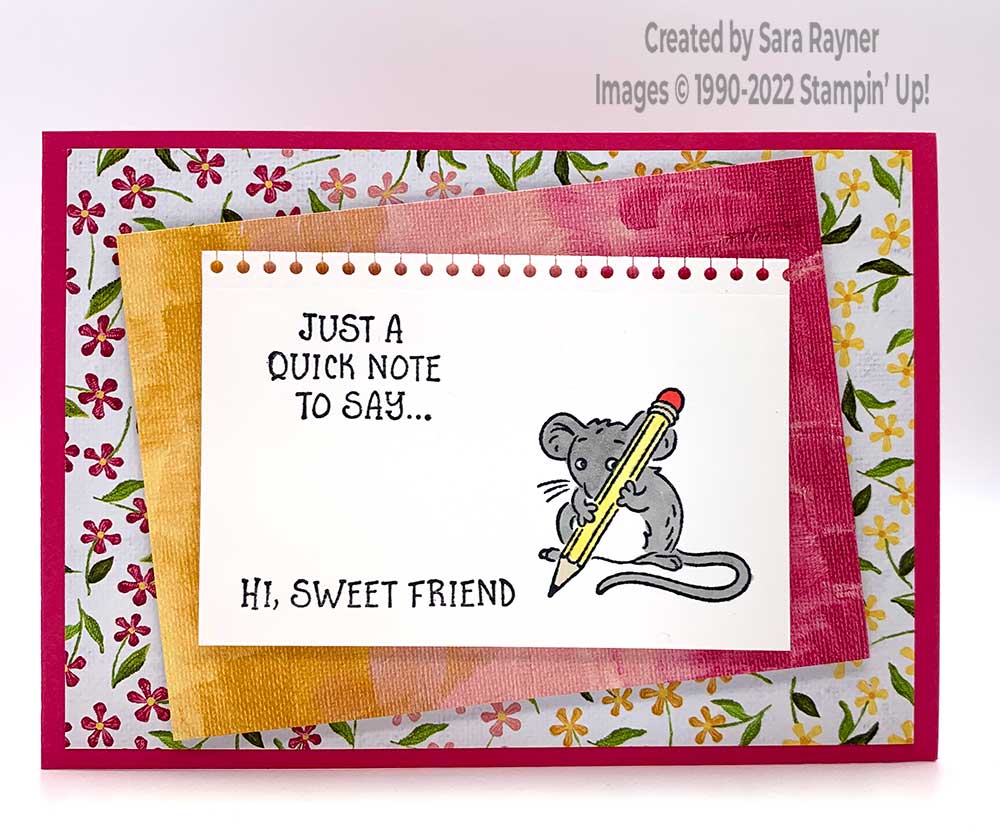
Start with an A6 landscape card of Melon Mambo. Cut a card front layer (5-1/2″ x 3-7/8″) of Hues of Happiness DSP. Adhere direct to the card front. Turn the remainder of the pattern sheet over and cut a panel (4-1/2″ x 3-1/4″) from it. Pop this up at an angle on the card front with dimensionals. Cut a card front layer (3-3/4″ x 2-1/2″) of Basic White card. Die cut the top of the layer with notebook edging die from the Blossoming Happiness die set. Using Memento Black ink, stamp the mouse with pencil image and two sentiments from the Mischievous Mice stamp set. Colour the stamped image with Smoky Slate, Daffodil Delight, Crumb Cake and Poppy Parade Blends. Pop the stamped panel up on the card front with dimensionals.
Here’s a short video showing how this quick card comes together. Please subscribe to my Youtube channel to see my quick cards and quick tips each week.
Quick Mischievous Mice card insert
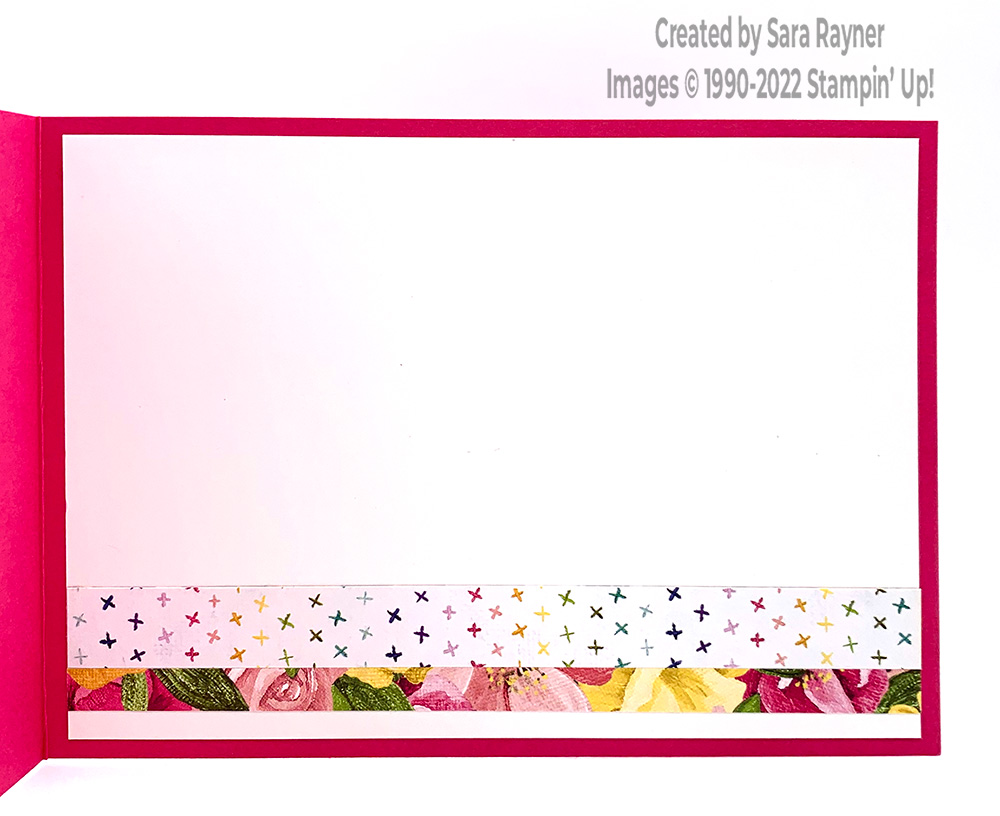
On the Basic White insert, add borders of two more different patterns of Hues of Happiness DSP across the base.
Thanks for stopping by.
Sara xx
Buy the supplies for this quick Mischievous Mice card in my online shop.


0 Comments