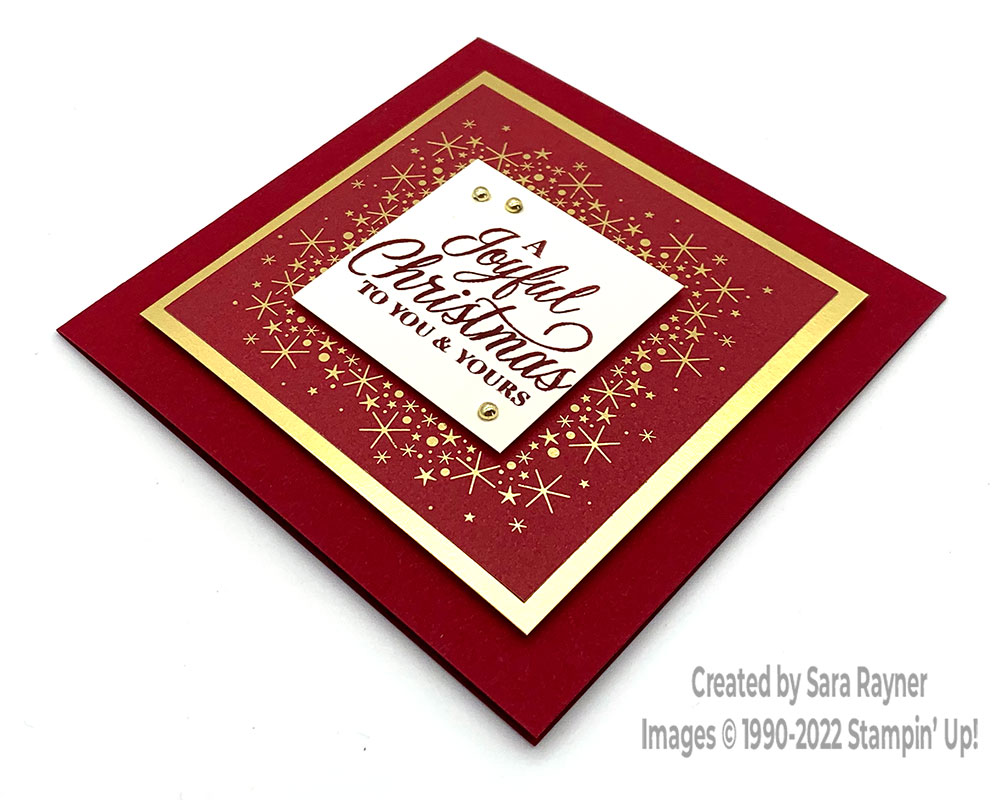
Today’s tutorial is for a quick Lights Aglow Christmas card.
Usually, each week over on my Facebook page (please pop over and Like or Follow) I choose a product pick of the week to feature. However, as our new July-December Catalogue and our Summer Sale-a-bration both launch on Friday (1 July), I’m sharing projects that all include a sneak peek of what we have coming up for you. Some projects may only include one sneak peek, others may have more, so please stop by regularly to check.
Sneak Peek
The sneak peeks on this card are the Lights Aglow DSP and Festive Pearls. The Merriest Moments stamp set is a returning favourite from last year.
In the tutorial below, I take you step by step through creating the quick Lights Aglow Christmas card.
Colour Combo
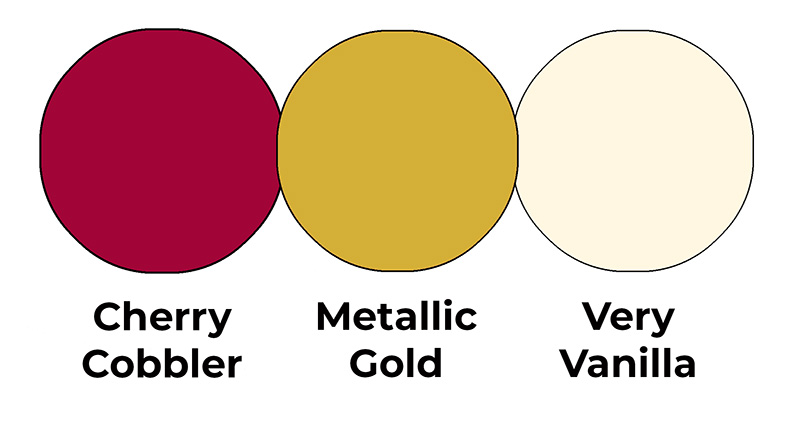
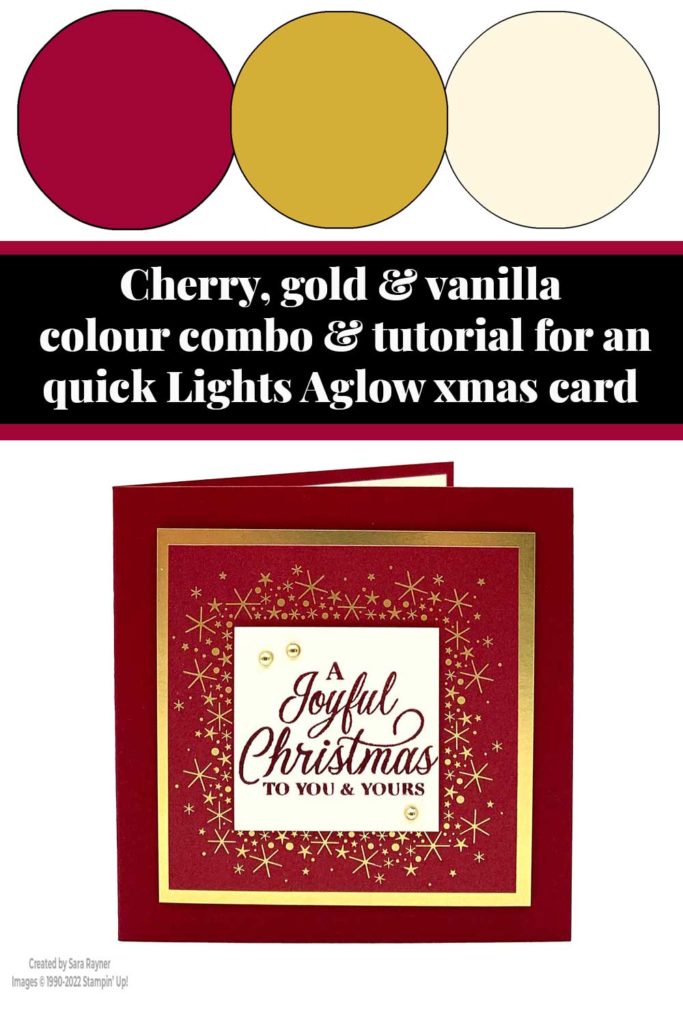
This colour combo mixes Cherry Cobbler, Metallic Gold and Very Vanilla.
Quick Lights Aglow Christmas card
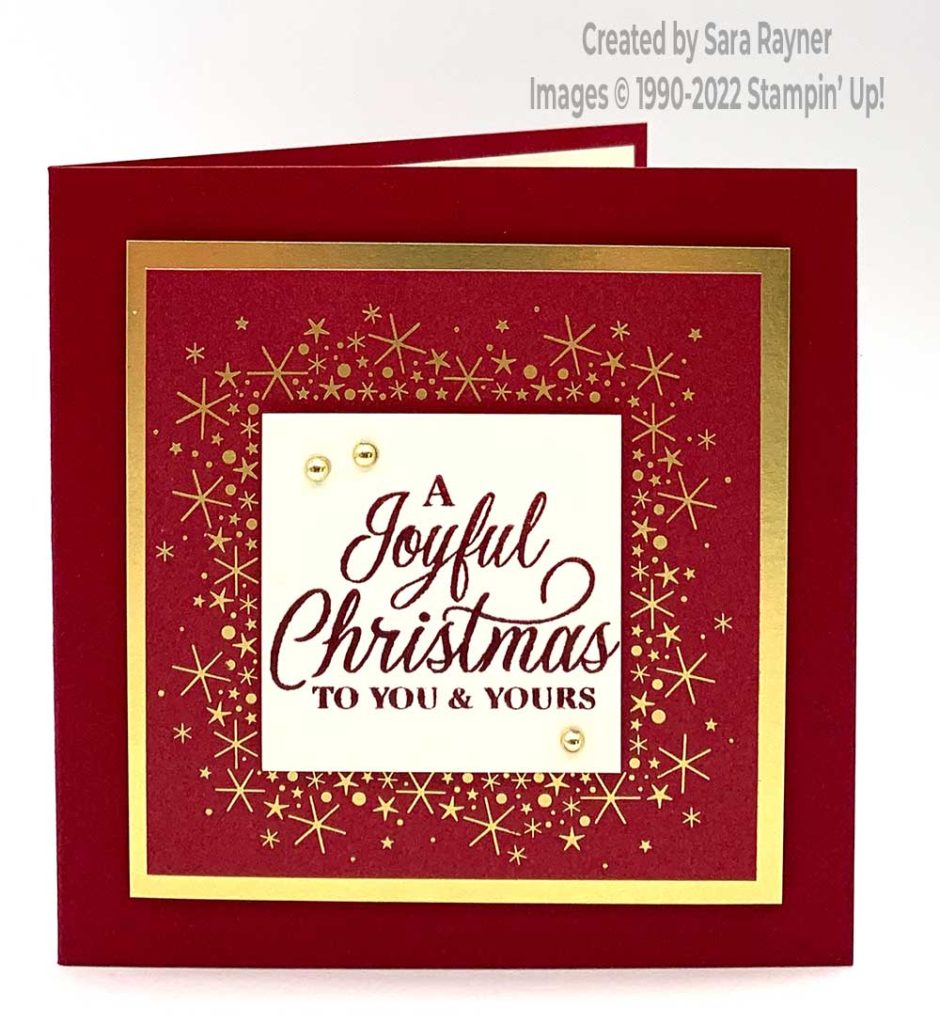
Start with a 4″ square card of Cherry Cobbler. Trim the Lights Aglow 6″ x 6″ DSP into four 3″ x 3″ pieces and retain the square centre piece. Mat this DSP square onto a 3-1/4″ square of Gold Foil. Cut a 1-3/4″ square of Very Vanilla card. Using Cherry Cobbler ink, stamp a sentiment from the Merriest Moments set onto the vanilla label. Pop the sentiment up on dimensionals in the centre of the DSP and then pop all the layers up on dimensionals on the card front. Finish with Festive Pearls.
Here’s a short video showing how this quick card comes together. Please subscribe to my Youtube channel to see my quick cards and quick tips each week.
Quick Lights Aglow Christmas card insert
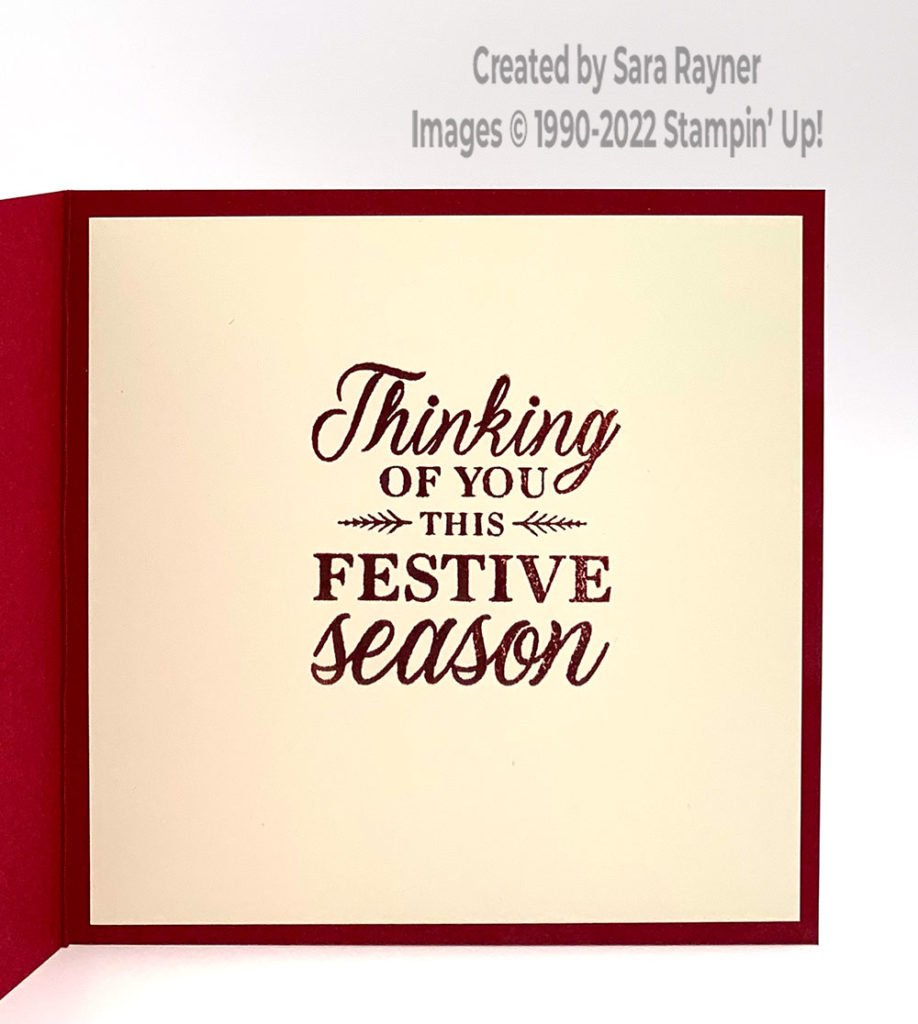
On the Very Vanilla insert, using Cherry Cobbler ink, stamp another sentiment from the Merriest Moments set.
Thanks for stopping by.
Sara xx


Great card. I hate wasting special paper, so I would’ve cut a 2” or 2 1/4” square from the gold to use elsewhere s as t some point.
I agree Susan and I’ve done that in the past too 😊