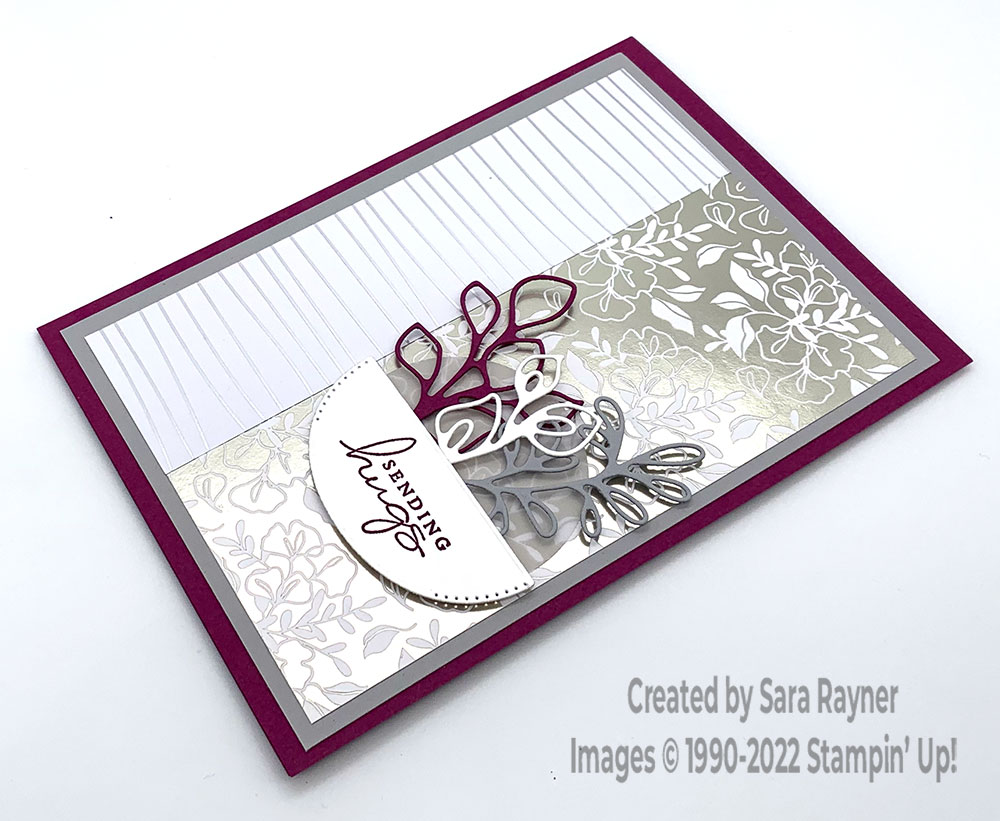
Today’s tutorial is for a Splendid hugs card. This was the card I sent out to my customers with their copies of the July-December Catalogue and the Summer Sale-a-bration (both launch on Friday 1 July). The card uses supplies from both.
Sneak Peek
The sneak peeks on this card are the Splendid Thoughts bundle, Splendid Day Specialty DSP and the Sale-a-bration freebie – Silver & Gold DSP.
In the tutorial below, I take you step by step through creating the Splendid hugs card.
Colour Combo
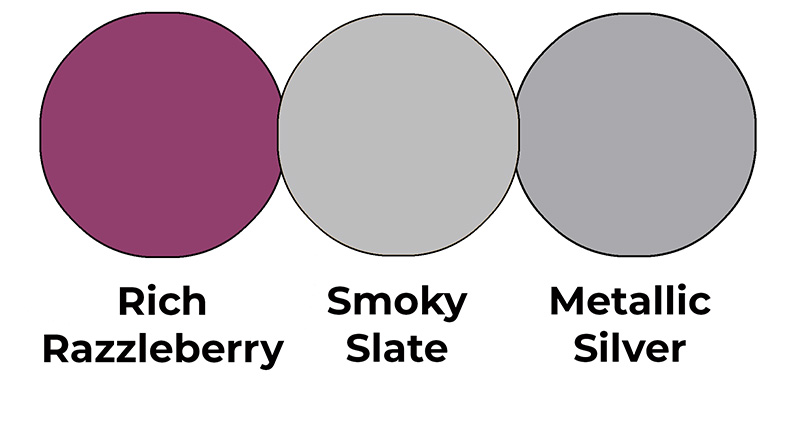
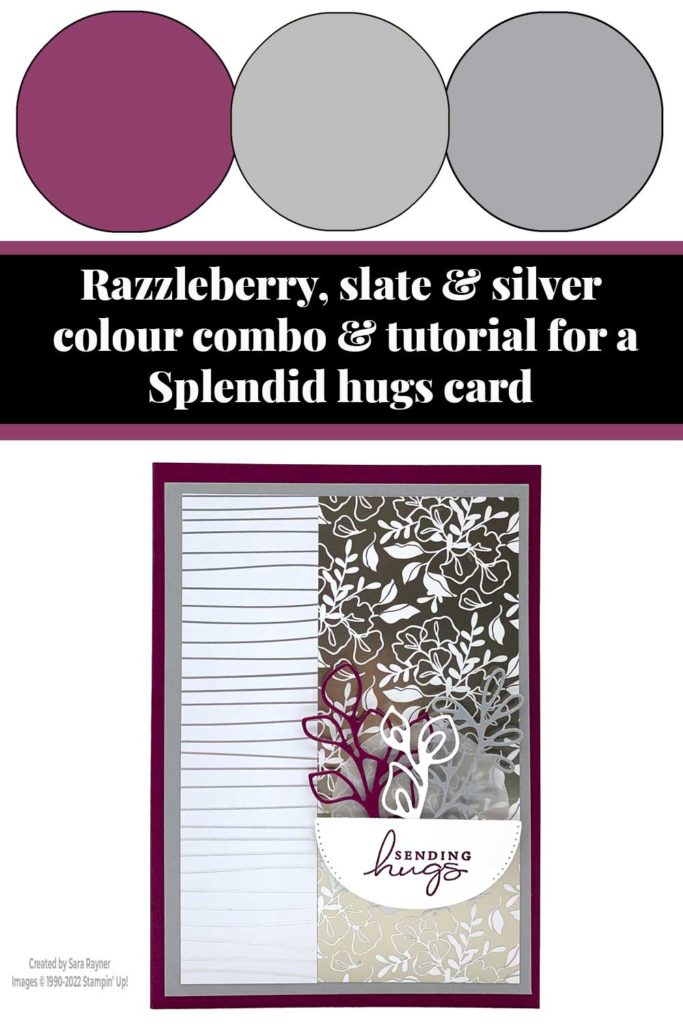
This colour combo mixes Rich Razzleberry, Smoky Slate and Metallic Silver.
Splendid hugs card
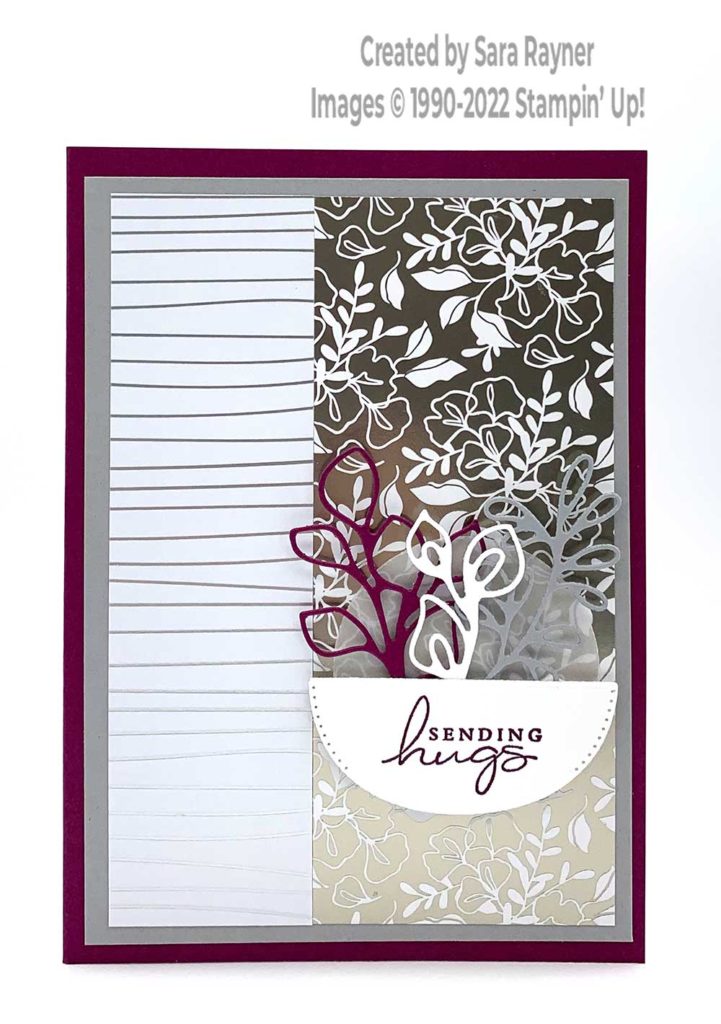
Start with an A6 portrait card of Rich Razzleberry. Mat with Smoky Slate card. Cut a panel of the Sale-a-bration Silver DSP and a slightly wider one of Splendid Day Specialty DSP, (the pattern on this is Sahara Sand foil rather than Silver but this still works). Adhere the panels direct to the card front. Using Layering Circle dies, die cut a plain circle from Vellum Cardstock. Adhere this direct over the floral foiled DSP. Using the Splendid Stems dies to die cut a planter from Basic White card. Stamp a sentiment from the Splendid Thoughts set onto the planter with Rich Razzleberry ink. Die cut three different outline stems, one each from Rich Razzleberry, Basic White and Smoky Slate card. Adhere them direct to the reverse of the planter. Pop this up on the card front, over the top of the vellum circle, with dimensionals.
Splendid hugs card insert
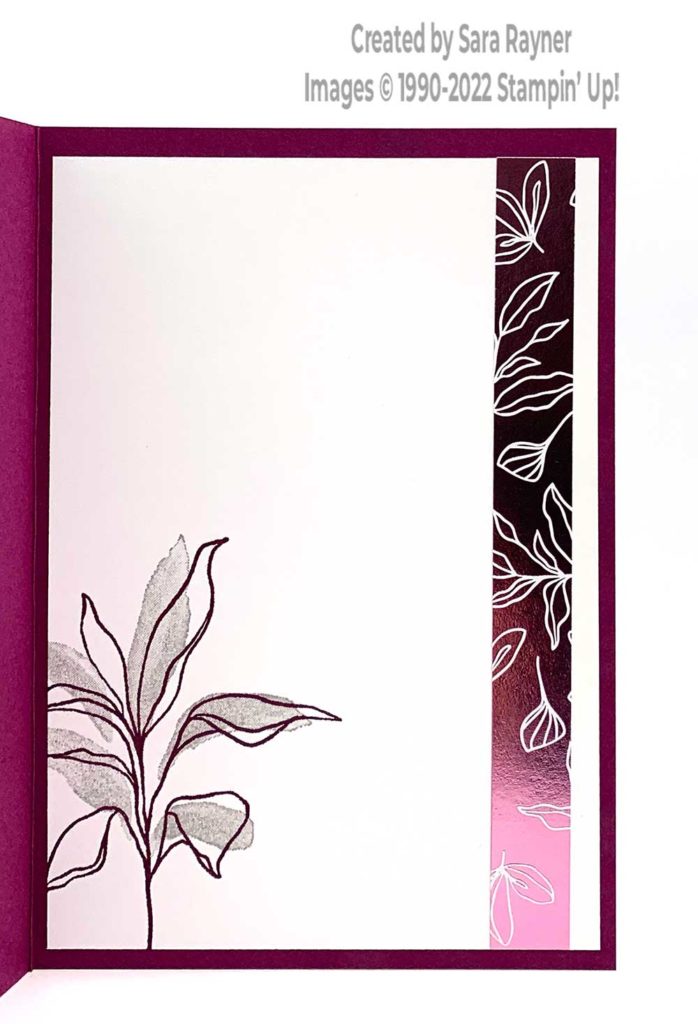
On the Basic White insert, using Rich Razzleberry ink, stamp an outline image from the Splendid Thoughts set. Stamp the solid image over the top with Smoky Slate ink (the images don’t fir exactly, they are designed to give a more abstract look). Add a border of the Fresh Freesia pattern of Splendid Day Specialty DSP down the right hand side.
Thanks for stopping by.
Sara xx


0 Comments