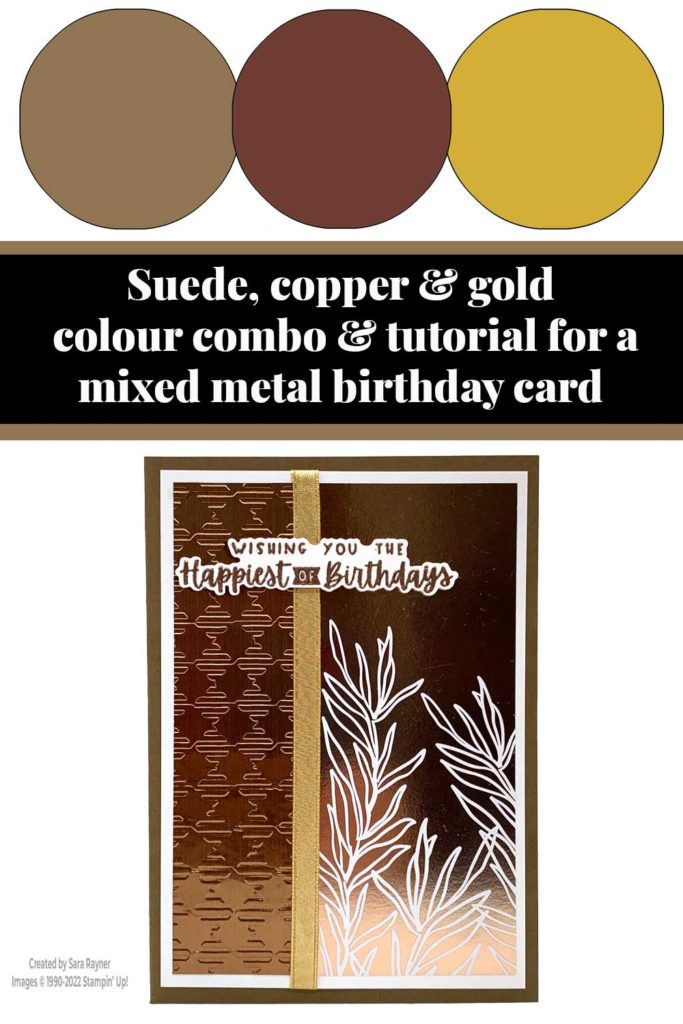
Today’s tutorial is for a mixed metal birthday card. This time we’re combining the Brushed Metallic cardstock with a foiled DSP, gold ribbon and copper heat embossing.
The Brushed Metallic cardstock has been added to the Sale-a-bration offer and is free with a £45 purchase during Sale-a-bration. The Gingham embossing folder has also been added to the Sale-a-bration offer but the Metallic cardstock would cost more to purchase and so may be better value for you.
In the tutorial below, I take you step by step through creating the mixed metal birthday card. I also have a supply list for purchasing anything you don’t already own (the order code for the Brushed Metallic cardstock is 153524).
Colour Combo
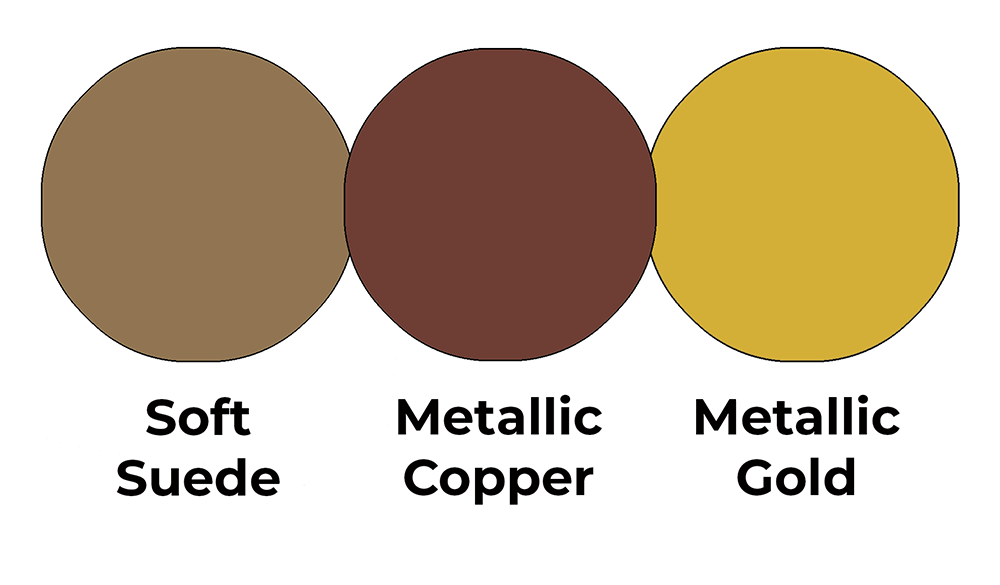
This colour combo mixes Soft Suede, Metallic Copper and Metallic Gold.
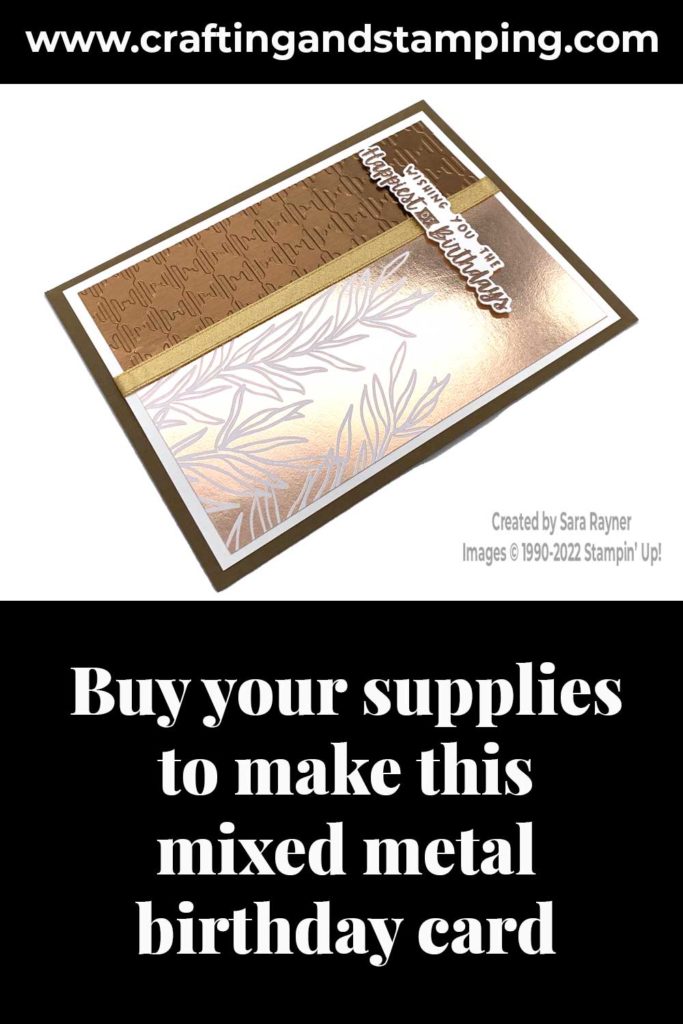
Mixed metal birthday card
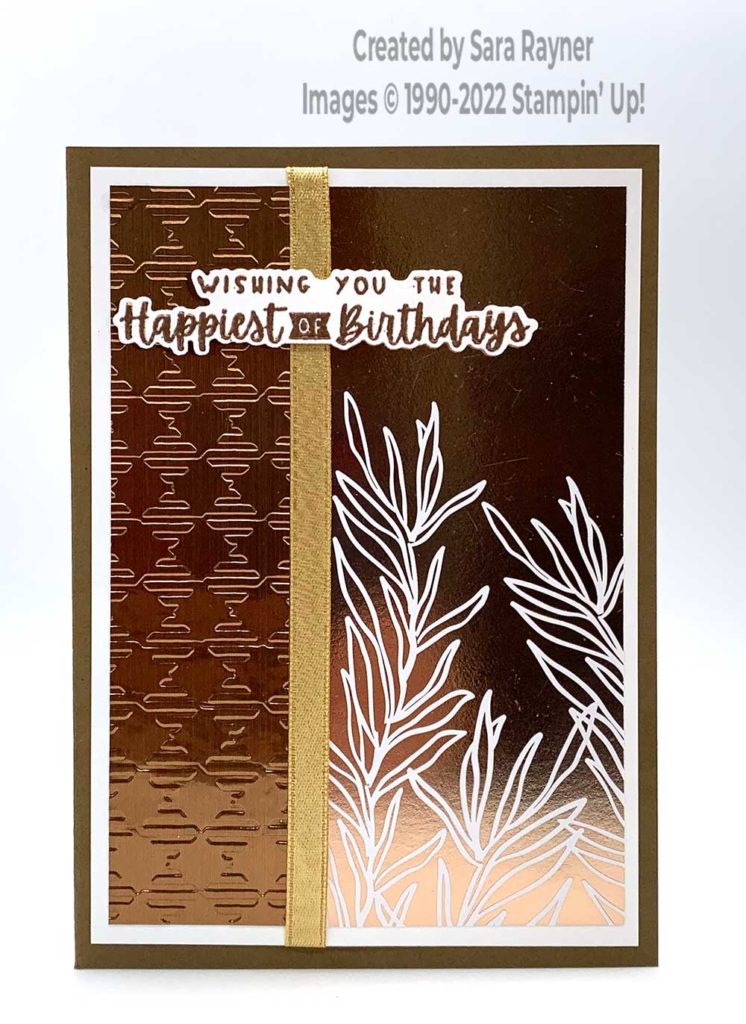
Start with an A6 portrait card of Soft Suede. Cut a card front layer of Basic White. Add a panel of copper patterned Splendid Day Specialty DSP on the right side. Cut a narrow panel of Brushed Metallic cardstock in Copper and run the panel through the Gingham embossing folder to give it texture. Adhere direct to the left side of the Basic White card front layer. Wrap Gold Shimmer Ribbon over the join between the textured metal and the DSP and secure on the reverse. Adhere the layers direct to the card front.
Prepare a scrap of Basic White card with an Embossing Buddy to ensure that the surface is fully dry and oil free. Stamp the sentiment from the Charming Sentiments set using Versamark ink. Cover with Copper Stampin’ Emboss Powder and pour away any excess. If there are any loose specks of powder that are not part of the sentiment, brush these away with the Crafting Brush. Use a Heat Tool to set the powder, moving on to the next section as soon as the powder turns glossy. Allow to cool for a few minutes. Die cut out with the co-ordinating Sentiment Silhouettes dies. Pop up on the card front with mini dimensionals.
Mixed metal birthday card insert
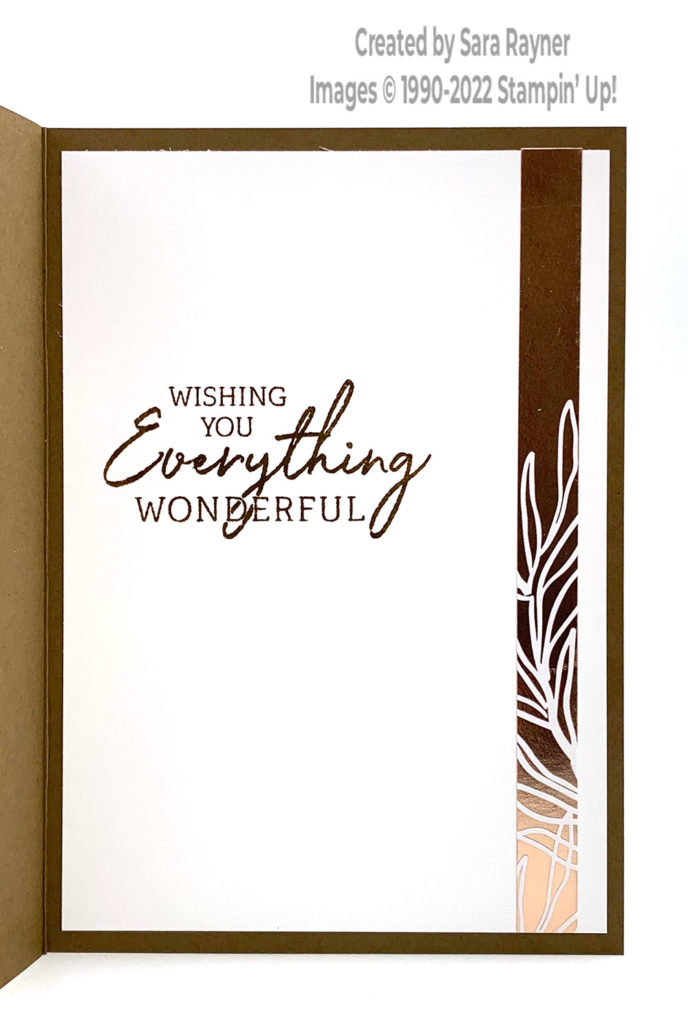
On the inside, using Soft Suede ink, stamp another sentiment from the Charming Sentiments set. Add a border of Splendid Day Specialty DSP down the right side.
Thanks for stopping by.
Sara xx
Buy the supplies for this mixed metal birthday card in my online shop (the order code for the Brushed Metallic cardstock is 153524).


0 Comments