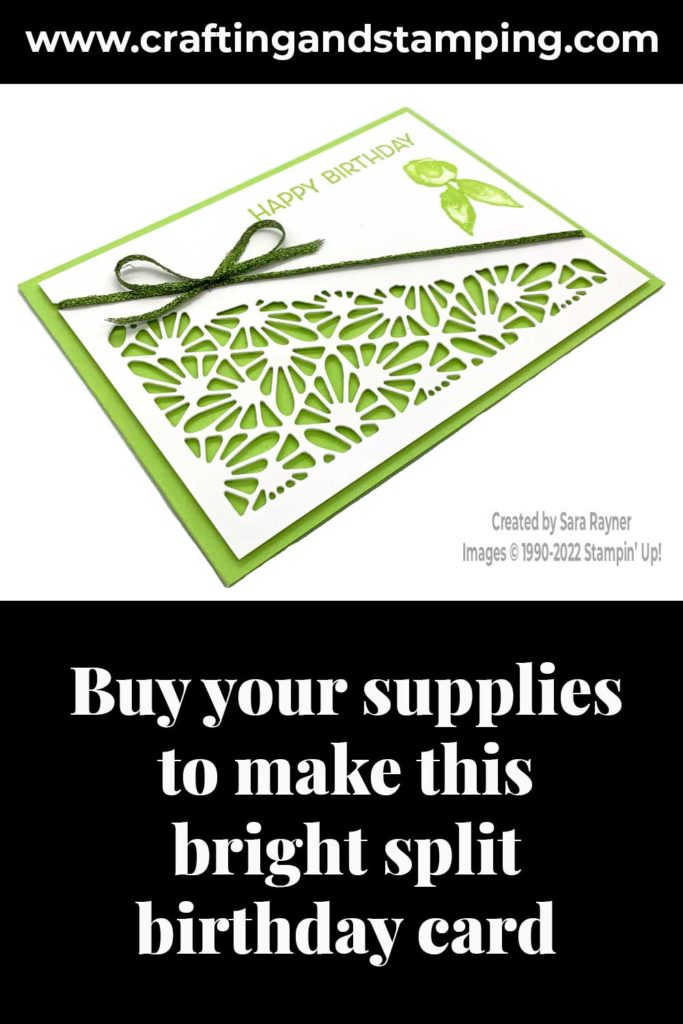
Today’s tutorial is for a bright split birthday card. It uses a simple layout and colour scheme to highlight the pretty die cut pattern.
This was one of the make and takes at my last Paper Dolls meeting. We make four projects each time and the meeting is recorded in case team members can’t make the meeting or want to replay it afterwards. Please email me if you’d like more information.
Don’t forget that today is the last day of our Summer Sale-a-bration. Last chance to put in an order and snag your freebies!
In the tutorial below, I take you step by step through creating the bright split birthday card. I also have a supply list for purchasing anything you don’t already own.
Colour combo
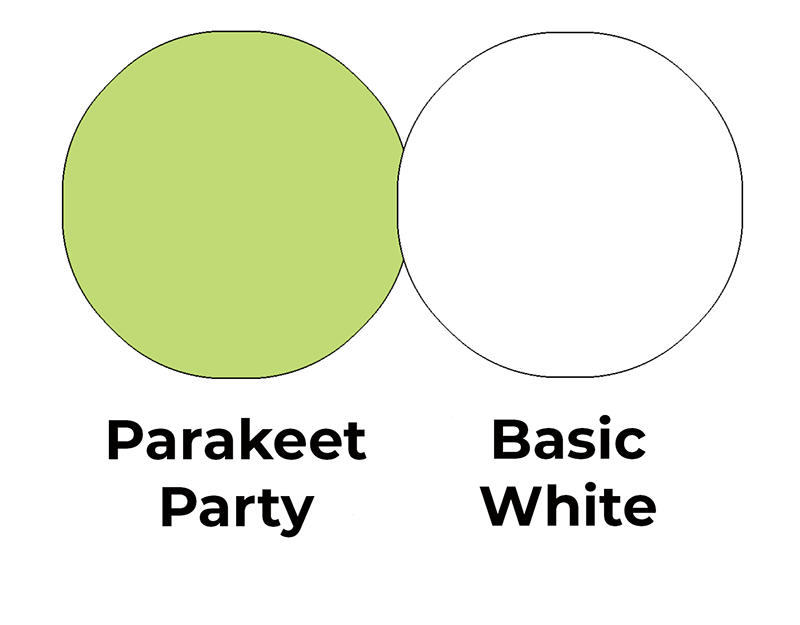
This monochromatic colour combo uses only Parakeet Party and Basic White.
Bright split birthday card
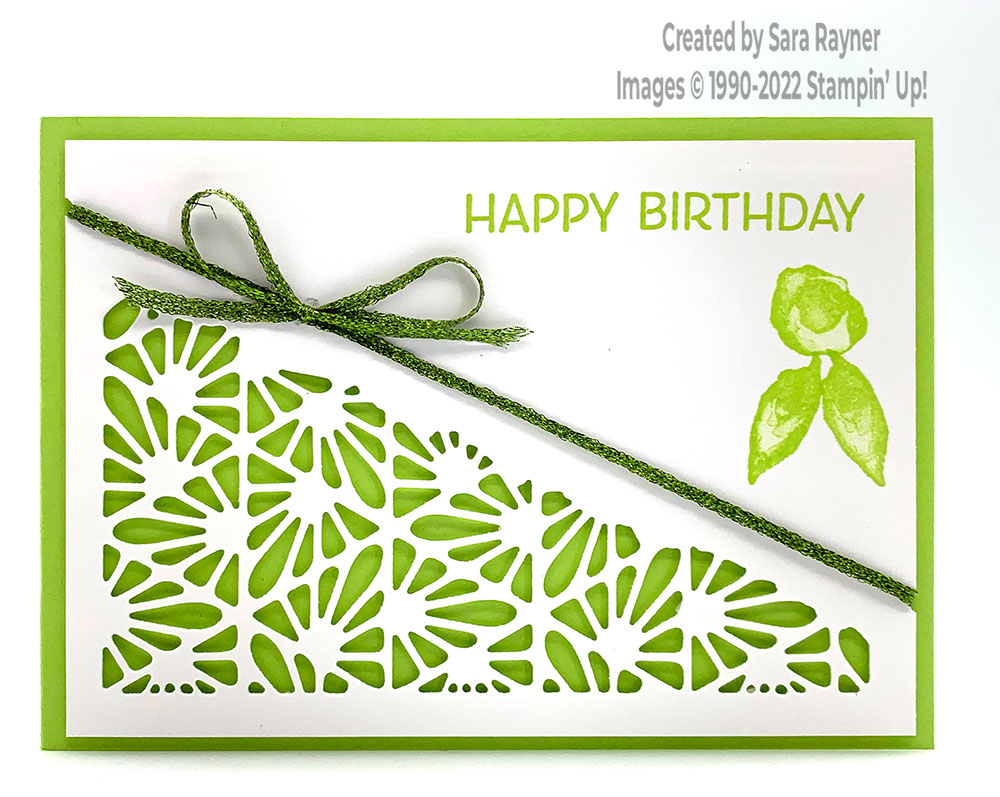
Start with an A6 landscape card of Parakeet Party. Cut a card front layer (5-1/2″ x 3-7/8″) of Basic White card. Using the triangle design from the Split Card Textures set, die cut the design at the base of the layer. Stamp a birthday sentiment from the Artistically Inked set at the top right of the layer with Parakeet Party ink. Use the same ink and stamp set to add a small flower and two leaves below the sentiment. Wrap Parakeet Party Metallic Woven Ribbon around the layer. (Tip – I used a ruler to mark either side of the layer in line with the die cut design and then use a small hole punch to create a half hole. This holds the ribbon in place and stops it from sliding down the card front). Add a bow of the same ribbon with a Mini Glue Dot. Pop the decorated layer up on the card front with dimensionals.
Bright split birthday card insert
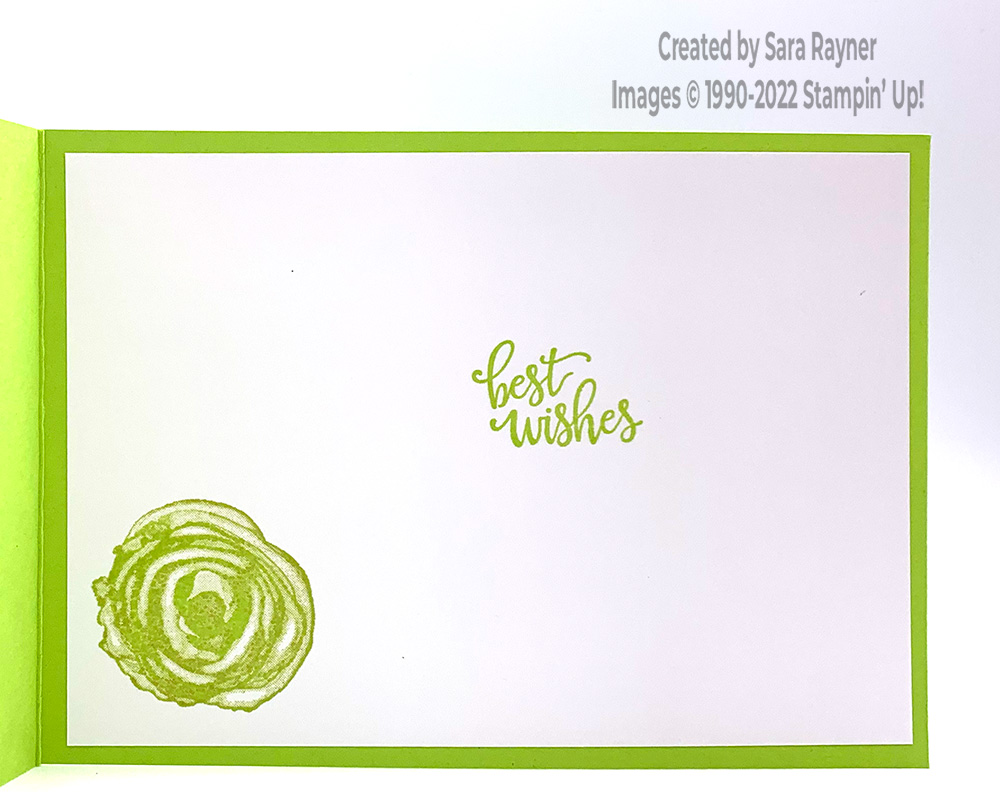
On the Basic White insert, using Parakeet Party ink, stamp another sentiment from the Artistically Inked set. Add a flower in the bottom left corner.
Thanks for stopping by.
Sara xx
Buy the supplies for this bright split birthday card in my online shop.


0 Comments