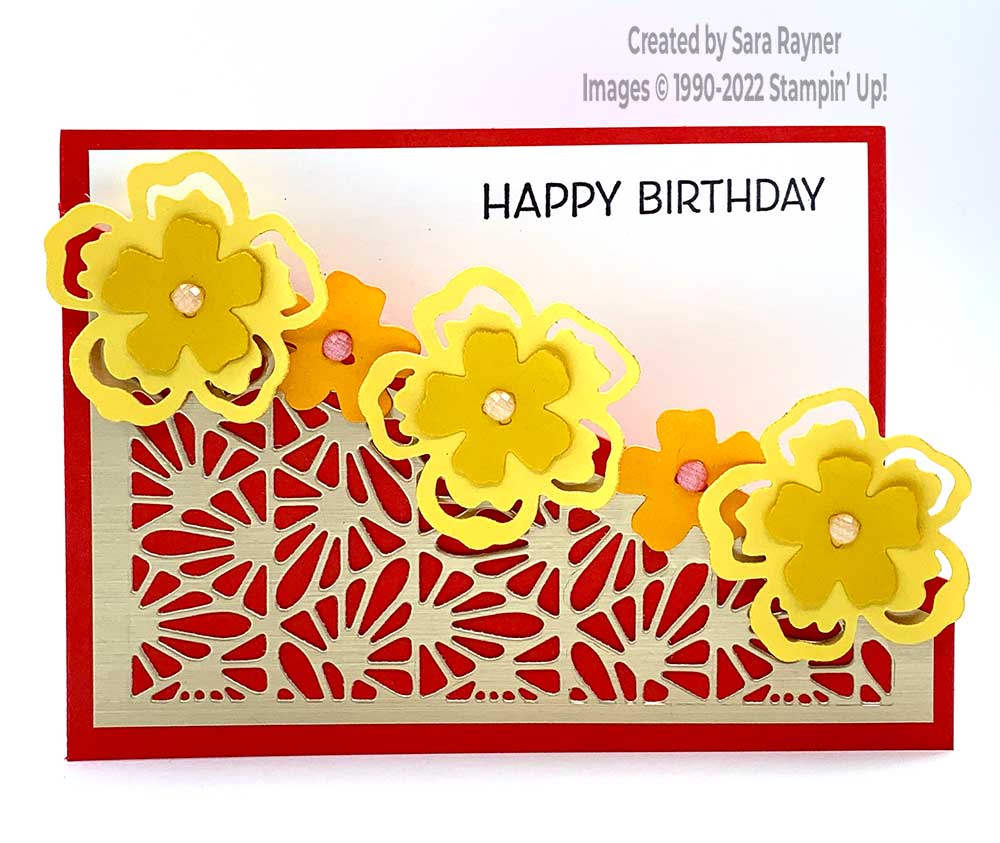
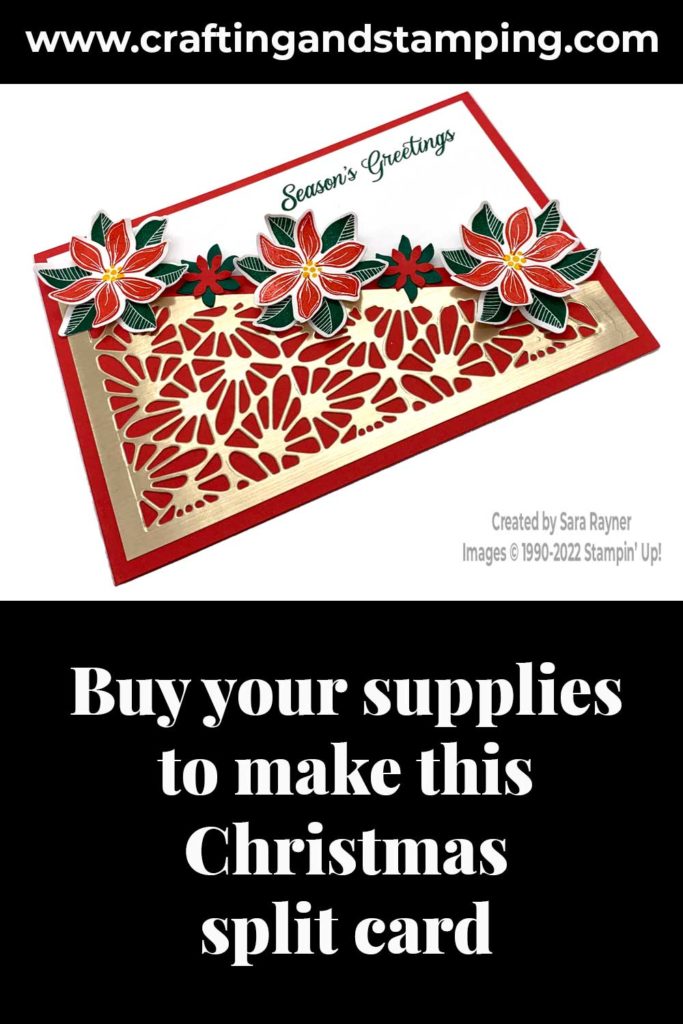
Today’s tutorial is for a Christmas split card. This is a card layout design that I used for a recent team swap. I made a couple of switches for this card though. I changed the colour combo slightly and used poinsettias to create a Christmas version. Scroll down to see the original birthday card.
In the tutorial below, I take you step by step through creating the Christmas split card. I also have a supply list for purchasing anything you don’t already own.
Colour Combo
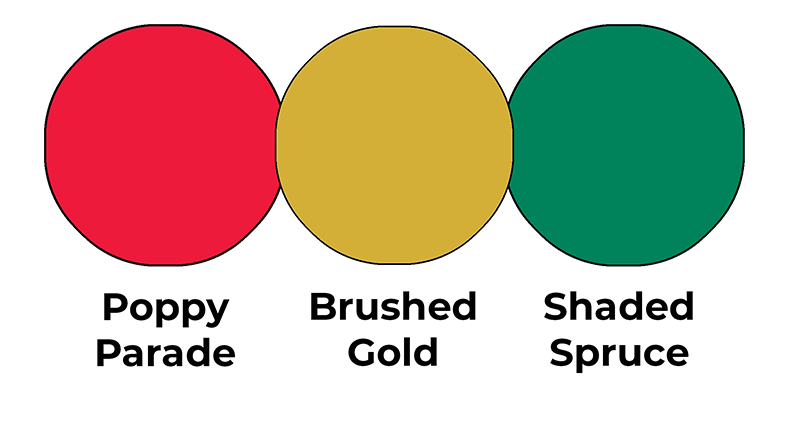
This colour combo mixes Poppy Parade, Brushed Gold and Shaded Spruce.
Christmas split card
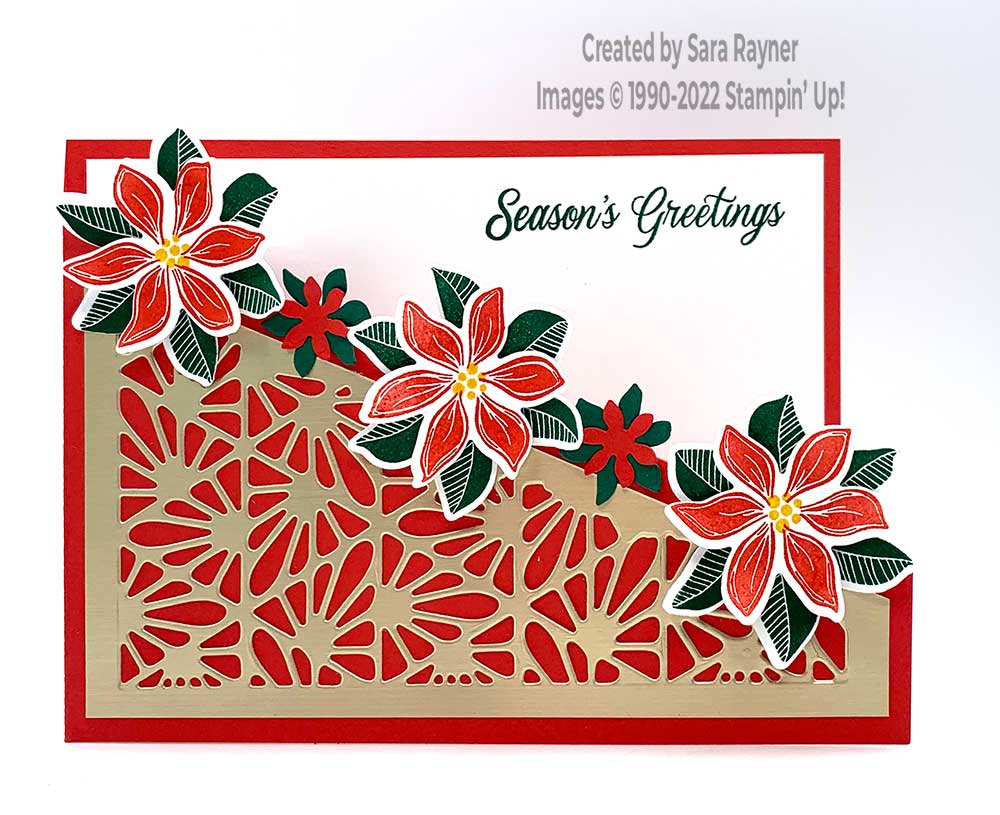
Start with an A6 landscape card of Poppy Parade. Cut a card front layer (5-1/2″ x 3-7/8″) of Brushed Gold. Mark at 3-1/8″ on the left short edge and 3/4″ on the right short edge (if working from the front side of the foil – see video to flip over and work from the back). Cut from one mark to the other. Using the triangle design from the Split Card Textures set, die cut the design from the card front layer (you will have a second foil layer to use on another card).
Mark at 1/2″ on the folded left side of the Poppy Parade card base and at 1-1/8″ on the open left side. With the card open, cut from one mark to the other. Cut down, along the fold, from the top of the card to the start of the diagonal cut and cut away. Adhere the die cut Foil layer direct to the card front.
Using Shaded Spruce ink, stamp three sets of poinsettia leaves from the Merriest Moments set onto Basic White card. Stamp three sets of poinsettia petals with Poppy Parade ink and add the dotted centres with Crushed Curry ink. Die cut out all the stamped leaves and petals with the Merriest Frames Hybrid Embossing Folder pack (this includes the embossing folder and the dies). Use the teeny flower dies from the set to die cut leaves and petals (two of each) from Shaded Spruce and Poppy Parade card. Curl all the leaves and petals. Adhere mini flowers together direct and stack stamped flowers with dimensionals. Adhere the flowers direct to the diagonal top of the card front.
Here’s a short video showing how to create the split card base and card front layer. Please subscribe to my Youtube channel to see my quick cards and quick tips each week.
Christmas split card insert
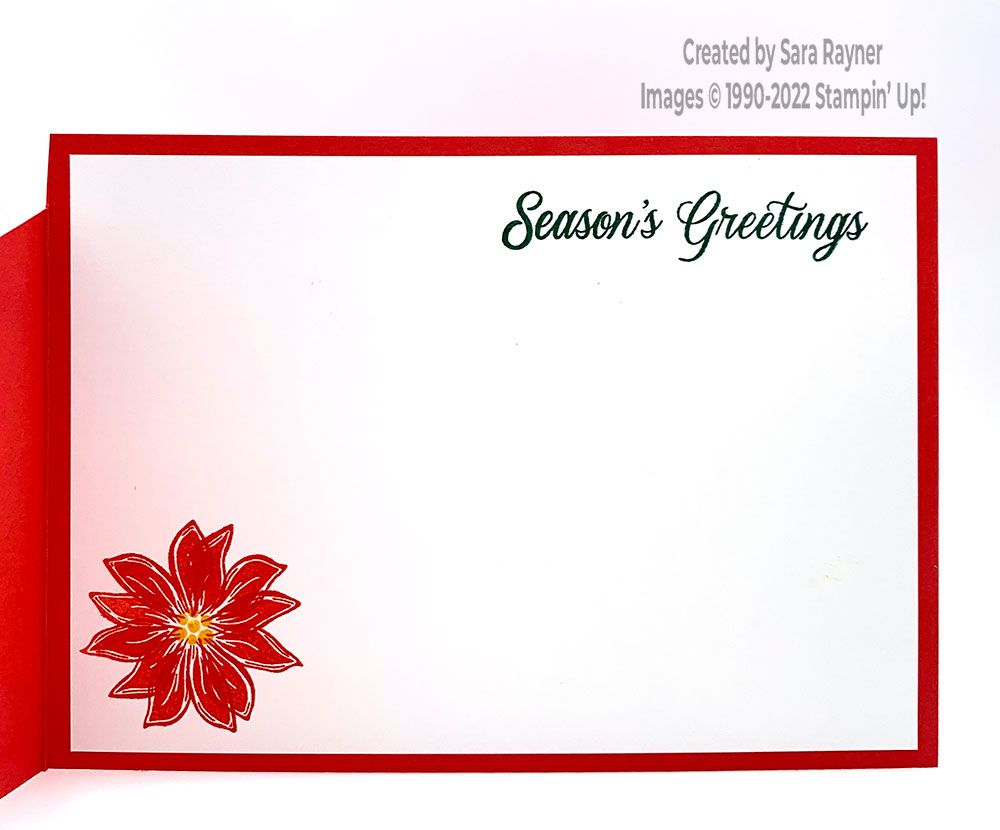
On the Basic White insert, stamp a sentiment from the Merriest Moments set at the top right of the layer with Shaded Spruce ink. Using Poppy Parade ink, stamp the poinsettia petals twice in the lower left corner, offsetting them. Add the dotted centre with Crushed Curry ink. Tip – when writing or stamping on the insert, take care to note which portion will still be seen when the card is closed.
This is the birthday version of the card that I swapped with my team. I used Summer Shadows dies for the flowers here.
Thanks for stopping by.
Sara xx
Buy the supplies for this Christmas split card in my online shop.


0 Comments