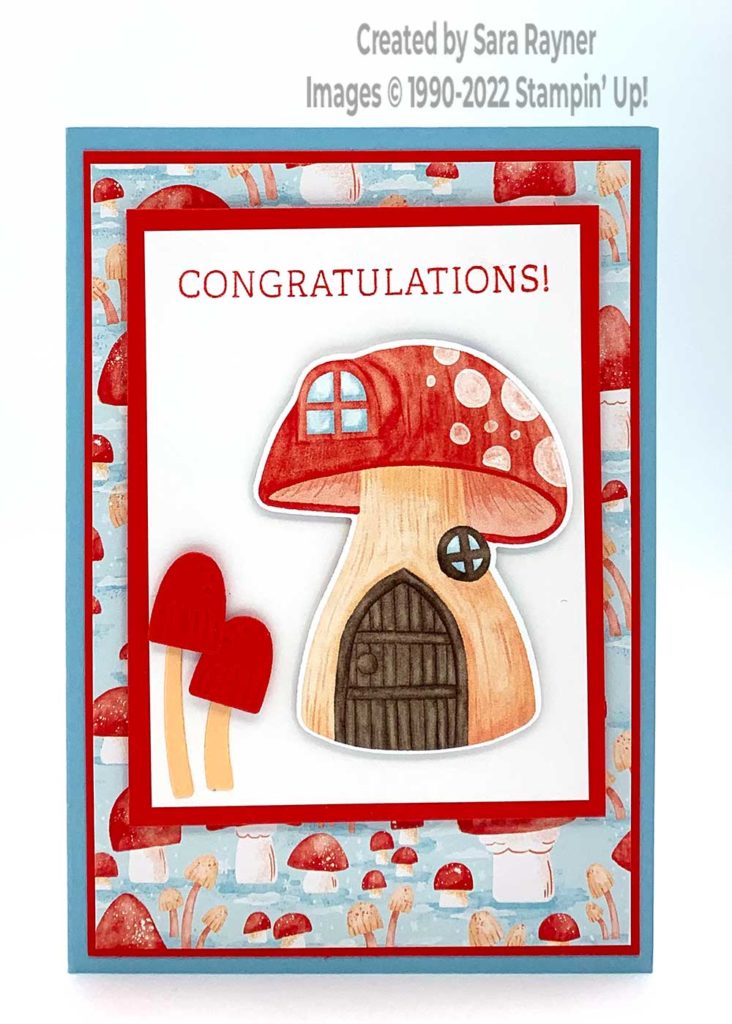
Today’s tutorial is for a new (gnome) home card. Although the Storybook Gnomes suite is primarily for winter and Christmas, it can also be used for other occasions. I figured that the toadstool house would make a great new home card (especially if you missed out on the Rings of Love DSP in our Summer Sale-a-bration).
As I’m featuring the Gnomes dies this week, I die cut the toadstool house from the Storybook Gnomes DSP. Another option is to stamp the same house from the Kindest Gnomes set and colour it in.
In the tutorial below, I take you step by step through creating the new (gnome) home card. I also have a supply list for purchasing anything you don’t already own.

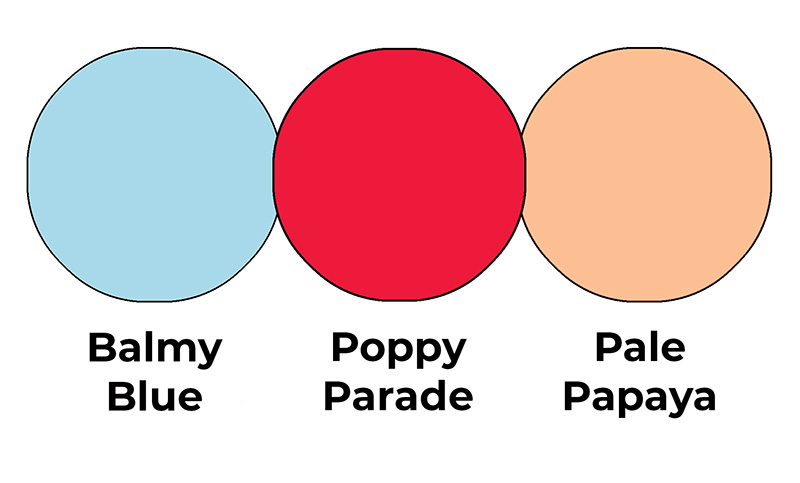
Colour Combo

This colour combo mixes Balmy Blue, Poppy Parade and Pale Papaya.
New (gnome) home card

Start with an A6 portrait card of Balmy Blue. Mat a card front layer of Storybook Gnomes DSP onto Poppy Parade card and adhere direct to the card front. Using Poppy Parade ink, stamp a sentiment from the Charming Sentiments set onto a panel of Basic White card. Mat onto Poppy Parade card. Using the Gnomes dies, die cut two toadstool stems from Pale Papaya card and adhere them direct to the lower left corner of the Basic White panel. Die cut two toadstool heads from Poppy Parade card and pop up over the stems with mini dimensionals. Using the same die set, die cut a large toadstool house from the Storybook Gnomes DSP. Pop this up on the panel with dimensionals. Pop the whole panel up on the card front with dimensionals.
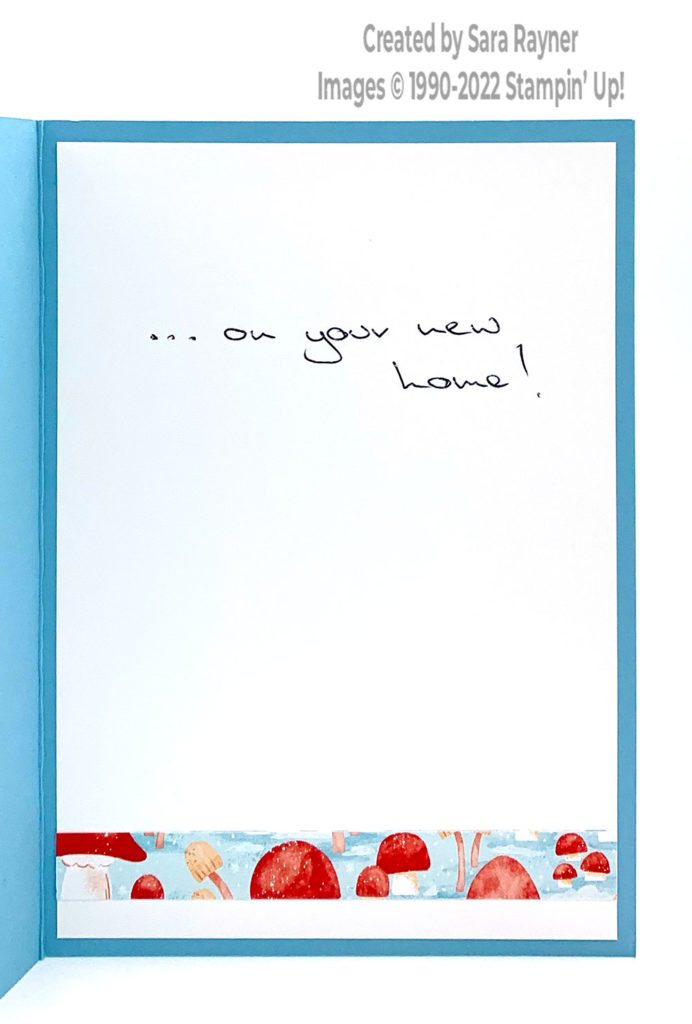
New (gnome) home card insert

Add a border of the same Storybook Gnomes DSP used on the card front along the base of the insert. I added a handwritten message inside to extend the congratulations sentiment stamped on the front.
Thanks for stopping by.
Sara xx
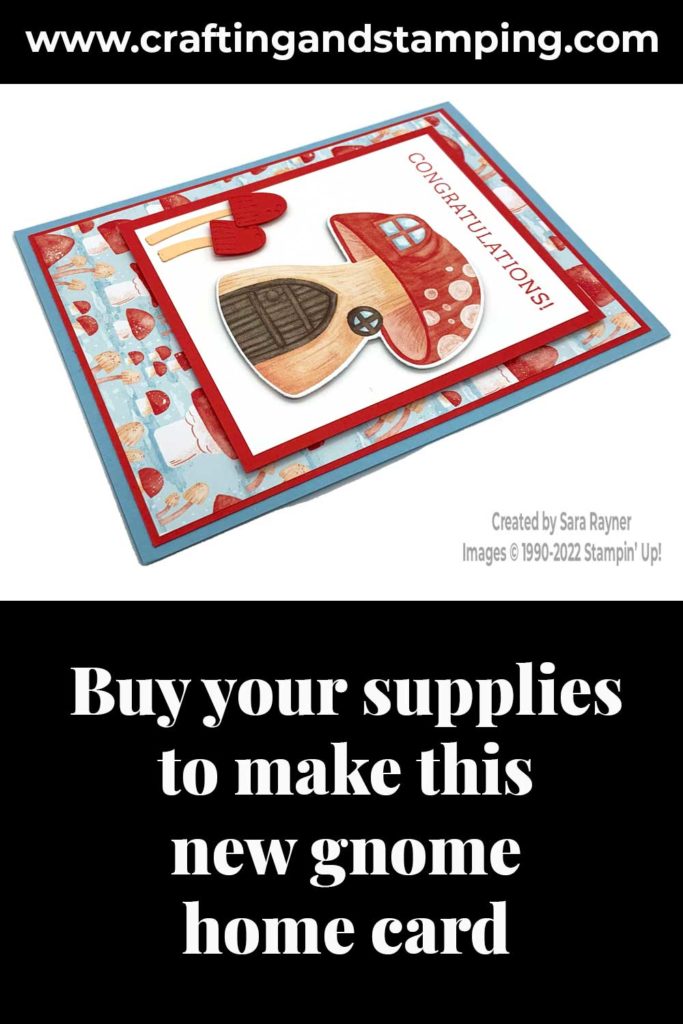
Buy the supplies for this new (gnome) home card in my online shop.


0 Comments