Today’s tutorial is for a quick Snowflake Vellum card. This time we’re using the small flocked flecks pattern.
Each week over on my Facebook page (please pop over and Like or Follow) I choose a product pick of the week to feature. This week, it’s the Snowflake Specialty Vellum. The vellum pack includes six 12″ x 12″ sheets; three different snowflake designs in white vellum and the same in iridescent foil.
In the tutorial below, I take you step by step through creating the quick Snowflake Vellum card. I also have a supply list for purchasing anything you don’t already own.
Colour Combo
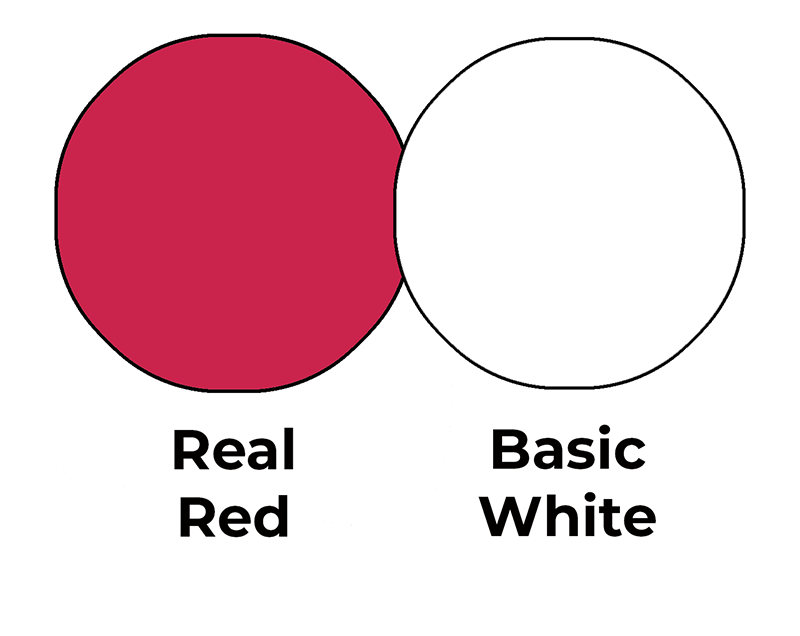
This monochromatic colour combo uses only Real Red and Basic White.
Quick Snowflake Vellum card
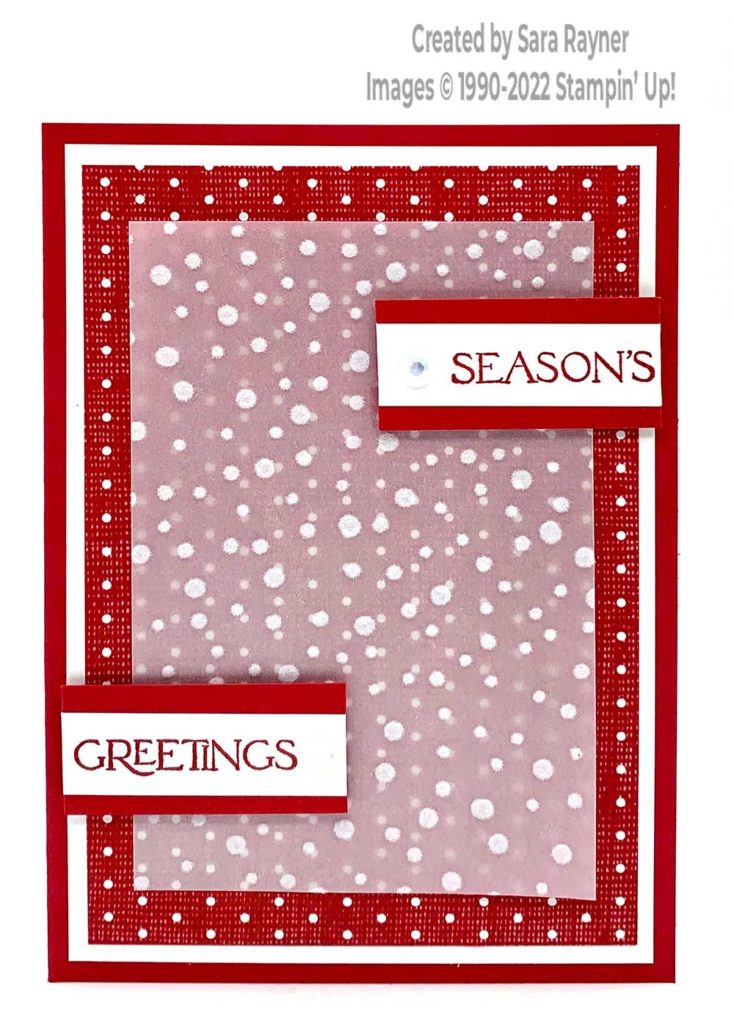
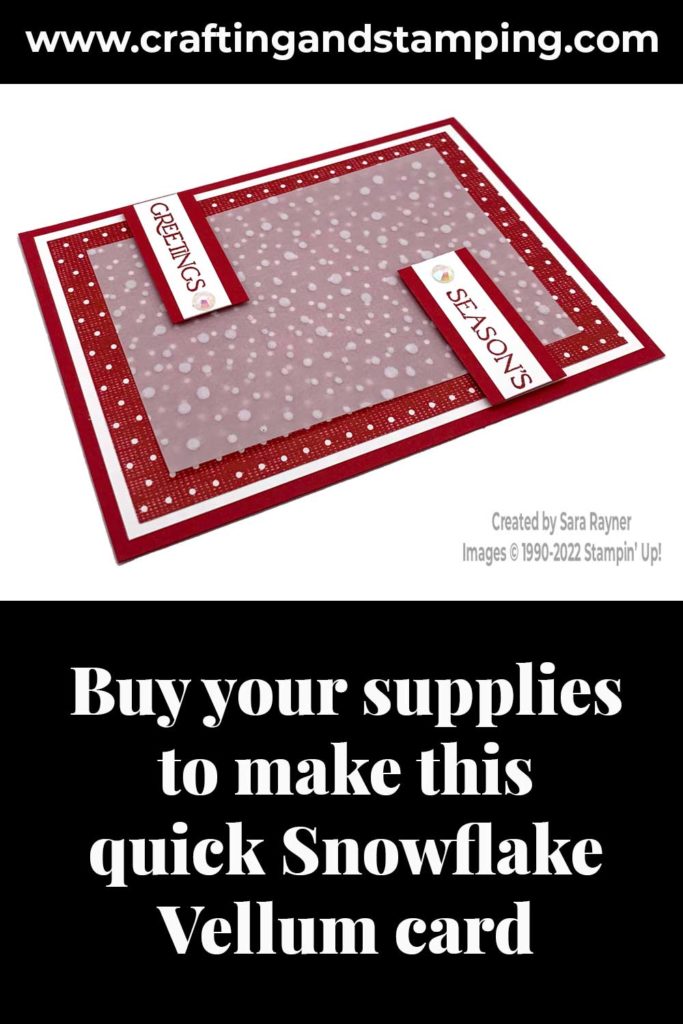
Start with an A6 portrait card of Real Red. Mat with a card front layer (3-7/8″ x 5-1/2″) of Basic White card and then a layer (3-5/8″ x 5-1/4″) of Sweetest Christmas DSP. Cut a panel (3″ x 4-1/2″) of Snowflake Specialty Vellum. Using Real Red ink, stamp a sentiment from the Brightest Glow set onto a 1/2″ deep strip of Basic White card. Mat onto a 7/8″ deep strip of Real Red card. Trim apart the sentiment leaving a little extra white space before and after the sentiment. Use the trimmed sentiment strips to determine the placement of adhesive behind the vellum. Adhere the vellum direct to the card front. Pop the sentiments up over the adhesive using dimensionals. Finish the sentiment strips with Iridescent Rhinestones.
Here’s a short video showing how this quick card comes together. The video includes a BIG mistake that I made, which is why the sentiment is somewhat badly placed 😂. I decided not to redo the video and kept the mistake in, so that you can get it right first time. Please subscribe to my Youtube channel to see my quick cards and quick tips each week.
Quick Snowflake Vellum card insert



0 Comments