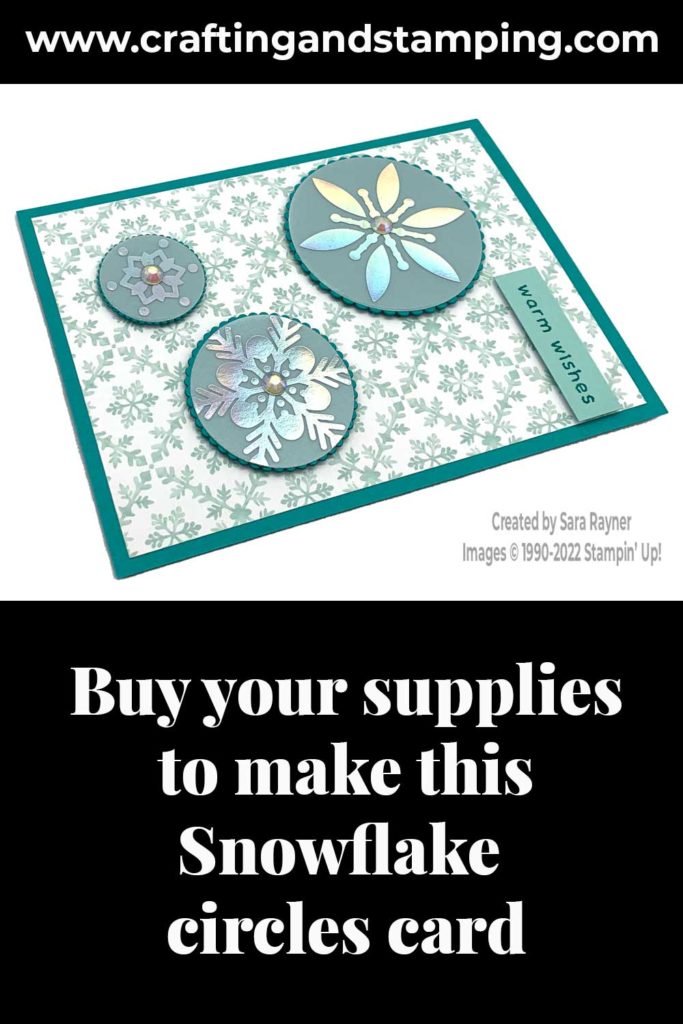
Today’s tutorial is for a Snowflake circles card. Here we’re using two of the Iridescent snowflake patterns.
The snowflake background is from the Storybook Gnomes DSP. This is a great set of patterns as it has a variety of snowflakes to choose from. As well as the Bermuda Bay/Pool Party combos, there are also Pacific Point/Balmy Blue patterns too.
In the tutorial below, I take you step by step through creating the Snowflake circles card. I also have a supply list for purchasing anything you don’t already own.
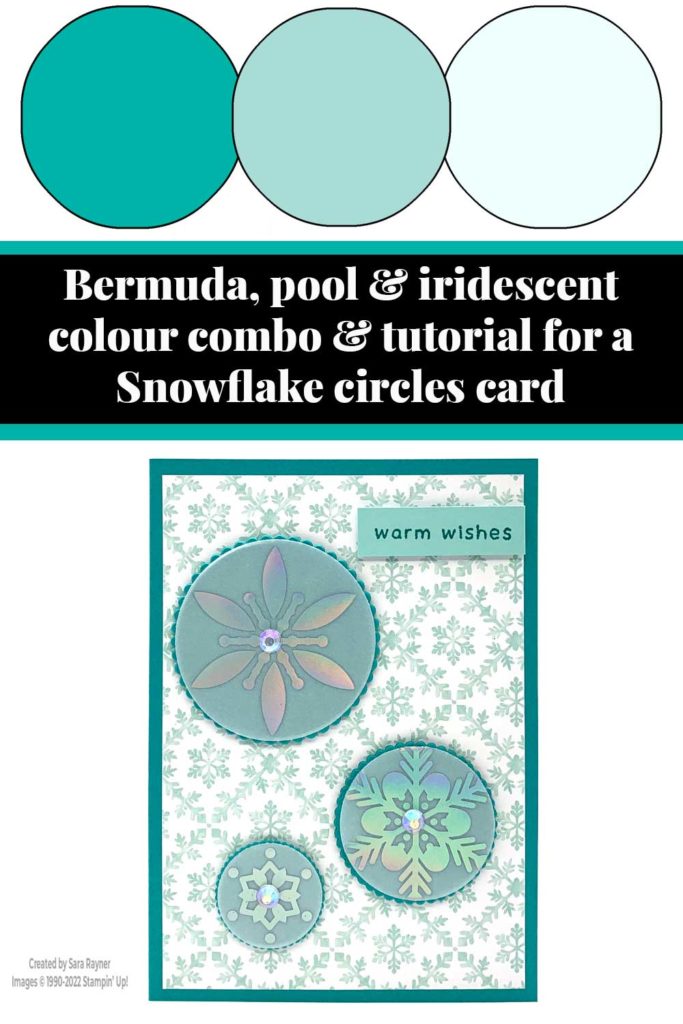
Colour Combo
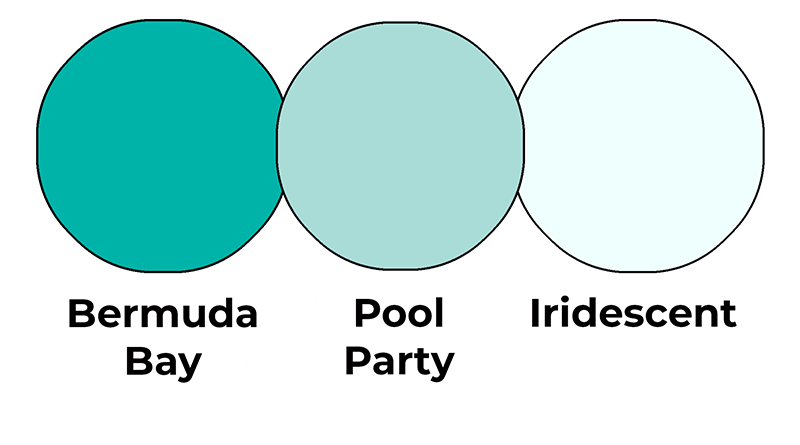
This colour combo mixes Bermuda bay, Pool Party and Iridescent.
Snowflake circles card
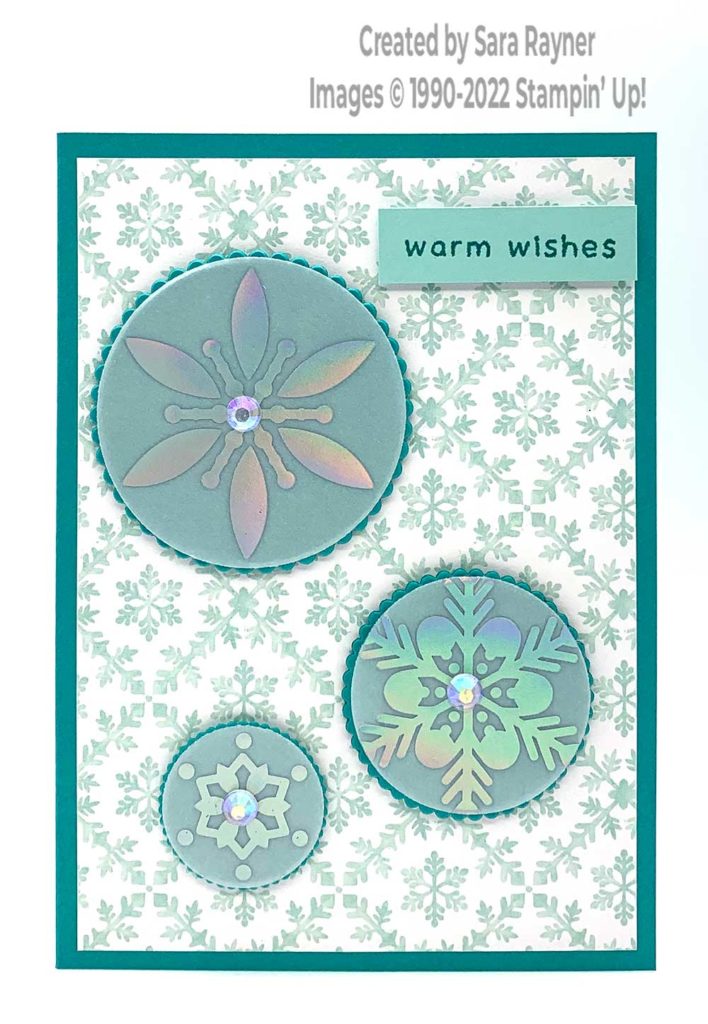
Start with an A6 portrait card of Bermuda Bay. Mat with a card front layer (3-7/8″ x 5-1/2″) of Storybook Gnomes DSP. Using Layering Circle dies, die cut three different size snowflakes from the Iridescent patterns of Snowflake Specialty Vellum. Die cut each scalloped circle just larger than the plain circle from Bermuda Bay card. Add the vellum circle to each scalloped circle using a single Mini Glue Dot in the centre of each. Arrange the circles on the card front with dimensionals. Finish the centre of each snowflake with an Iridescent Rhinestone. Using Bermuda Bay ink, stamp a sentiment from the Kindest Gnomes set onto a strip of Pool Party card. Pop the sentiment up at the top of the card with dimensionals.
Here’s a short video with a few tips on segmenting elements from a bold pattern. Please subscribe to my Youtube channel to see my quick cards and quick tips each week.
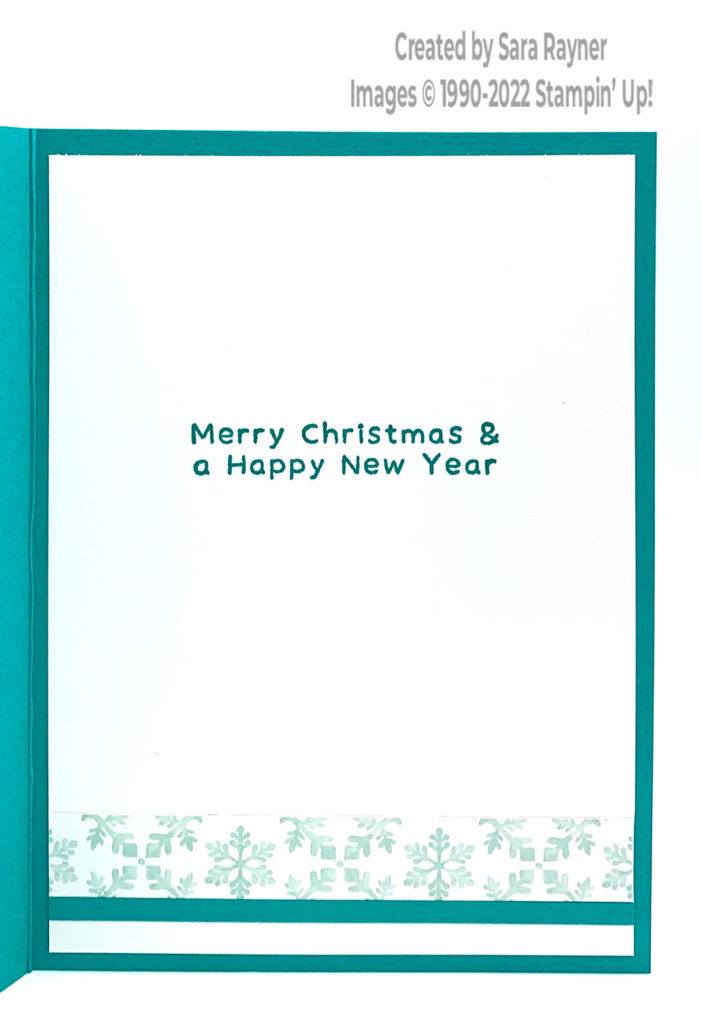
Snowflake circles card insert


0 Comments