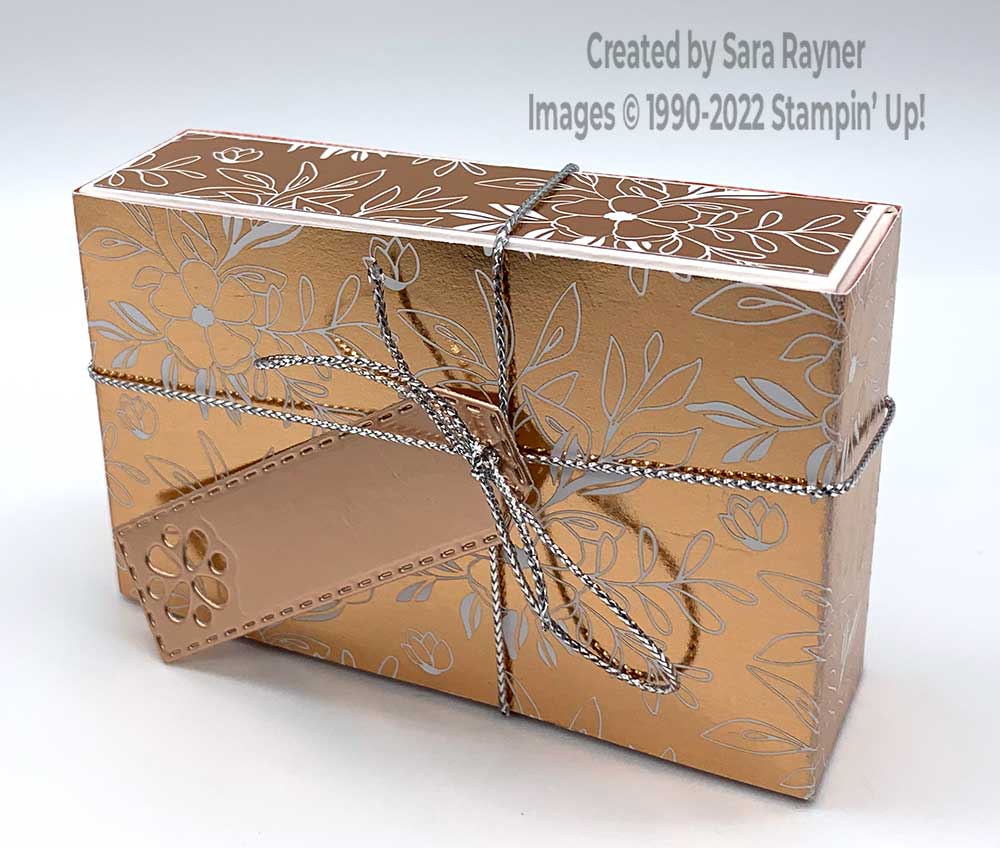
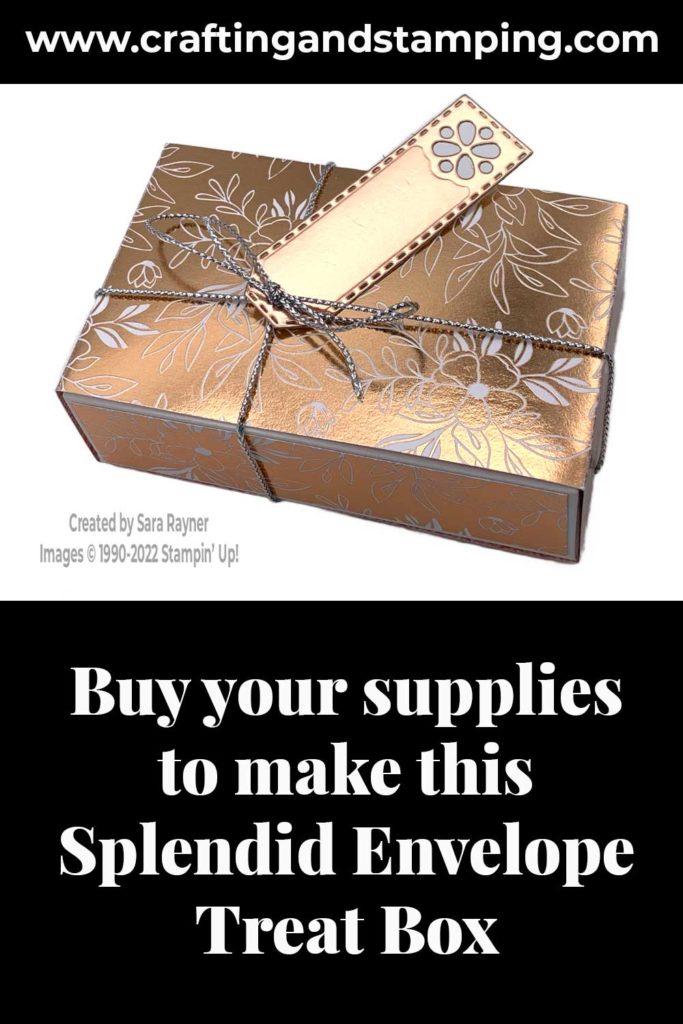
Today’s tutorial is for a Splendid Envelope Treat Box. I’m adding a wrap (as we did on our Christmas version here) and also decorating the box sides for a more polished finish.
Use these boxes year round, for any occasion, simply by changing up the decoration.
In the tutorial below, I take you step by step through creating the Splendid Envelope Treat Box. I also have a supply list for purchasing anything you don’t already own.
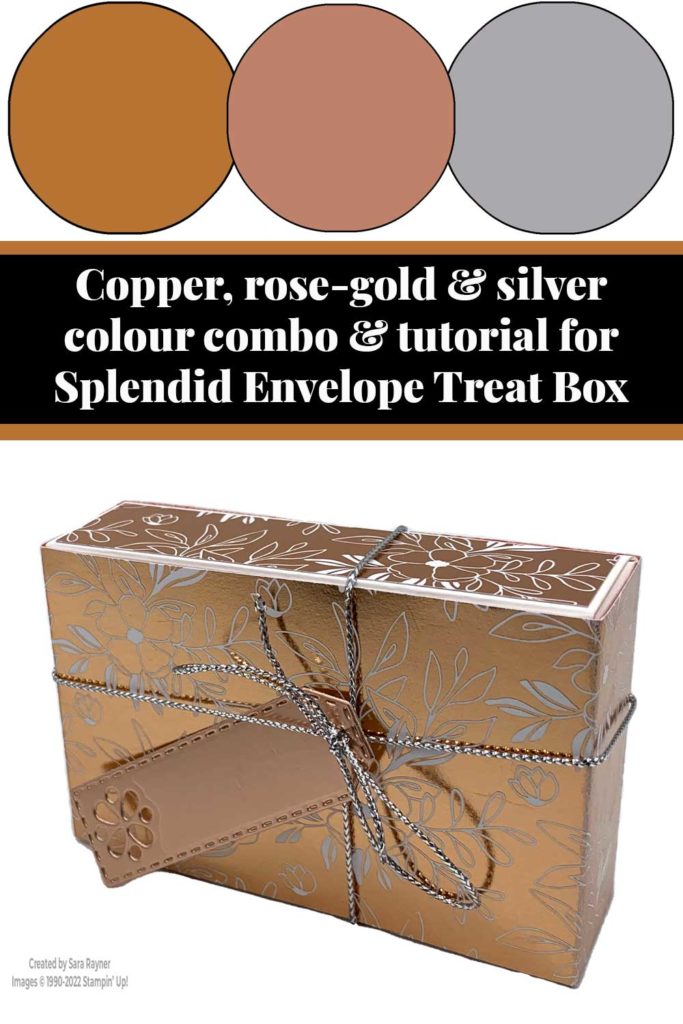
Colour Combo
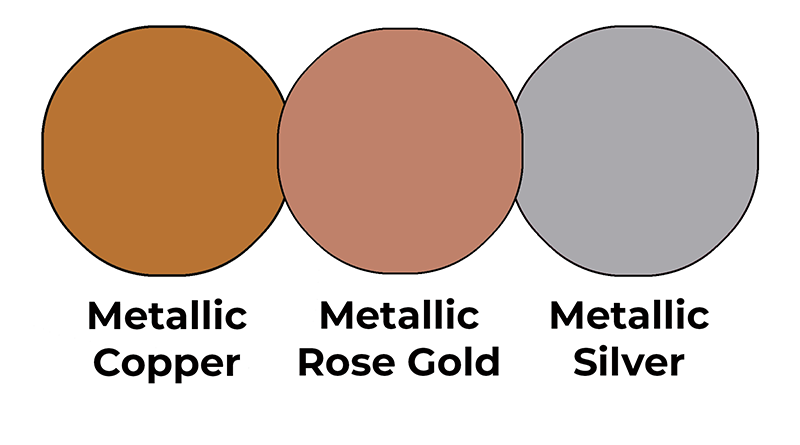
This colour combo mixes Metallic Copper, Metallic Rose Gold and Metallic Silver.
Splendid Envelope Treat Box
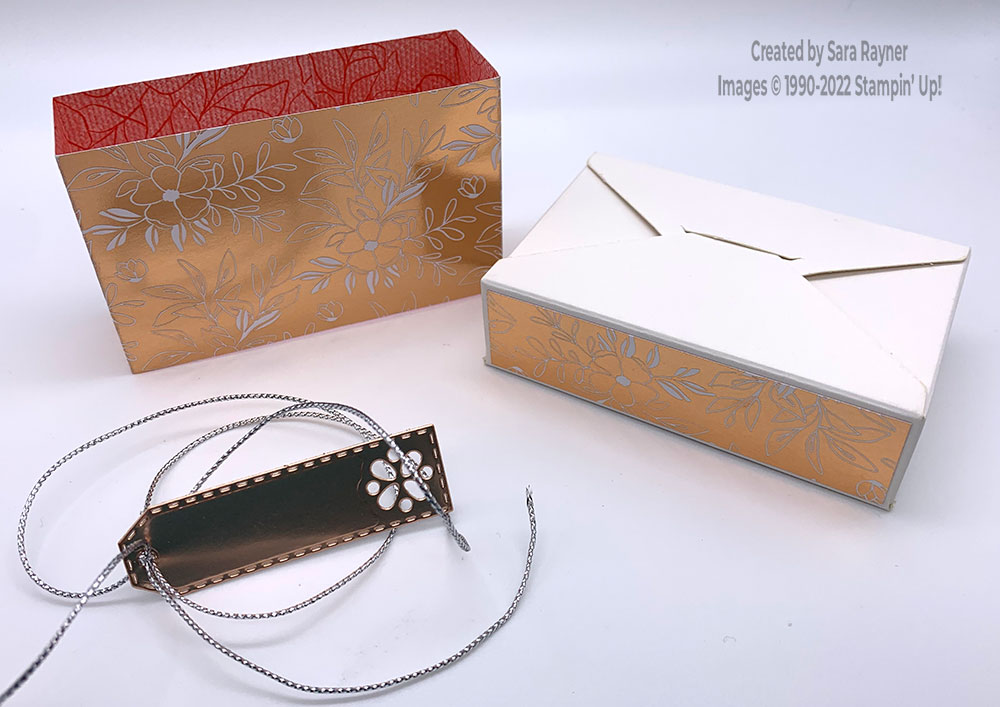
Trim two strips (7/8″ x 3-3/8″) of Splendid Day Specialty DSP. Adhere these direct to the outside box sides (same side as the sticky tabs) whilst the box is still flat.
Pre-fold the Envelope Treat Box along all the scorelines. Fold the tabs into the centre and peel off the tape backing. Fold up the box sides, aligning the edges to adhere. Close the box ready for the next stage.
Cut a strip of Splendid Day Specialty DSP 2-1/4″ x approx 10-1/2″. Dry fit the strip around the closed treat box (see the video below), ensuring there is a little “play” ie. it is not wrapped too tightly. Adhere the ends together around the back of the box. Using the Designer Tags dies, die cut a small skinny tag from matte Rose Specialty Paper. Thread silver Elegant Trim through the tag and tie around the box, finishing with a small bow.
Here’s a short video with a few tips on adding a wrap to a box. Please subscribe to my Youtube channel to see my quick cards and quick tips each week.
You don’t need any sweet treats to be pre-wrapped before putting them inside as our boxes are food safe. I filled this one with jelly beans.
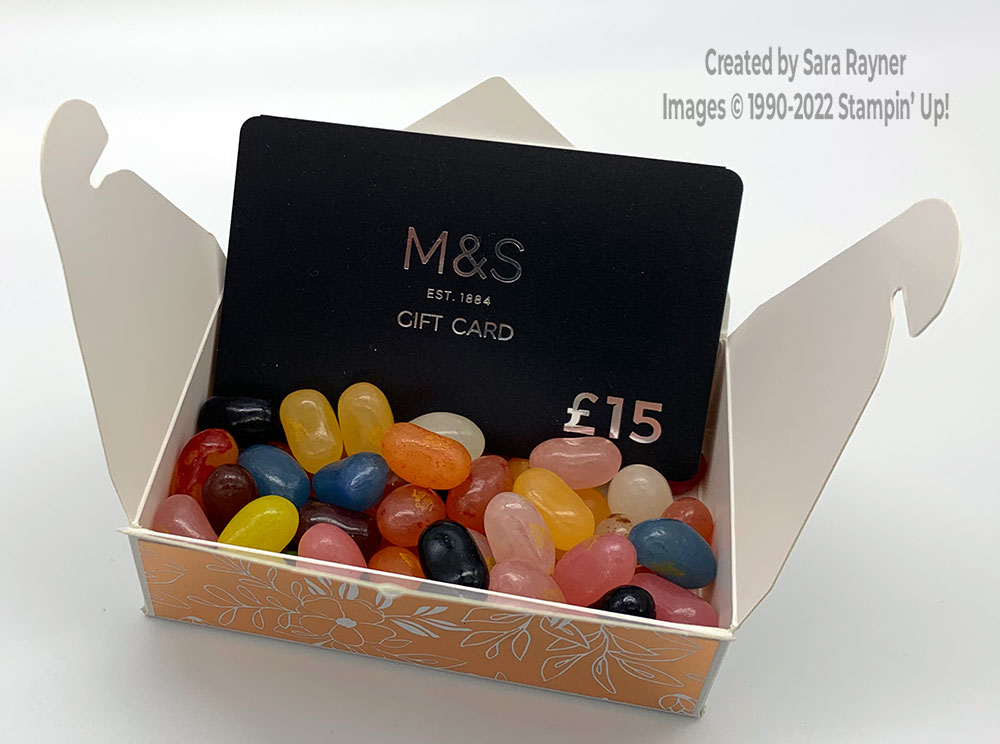
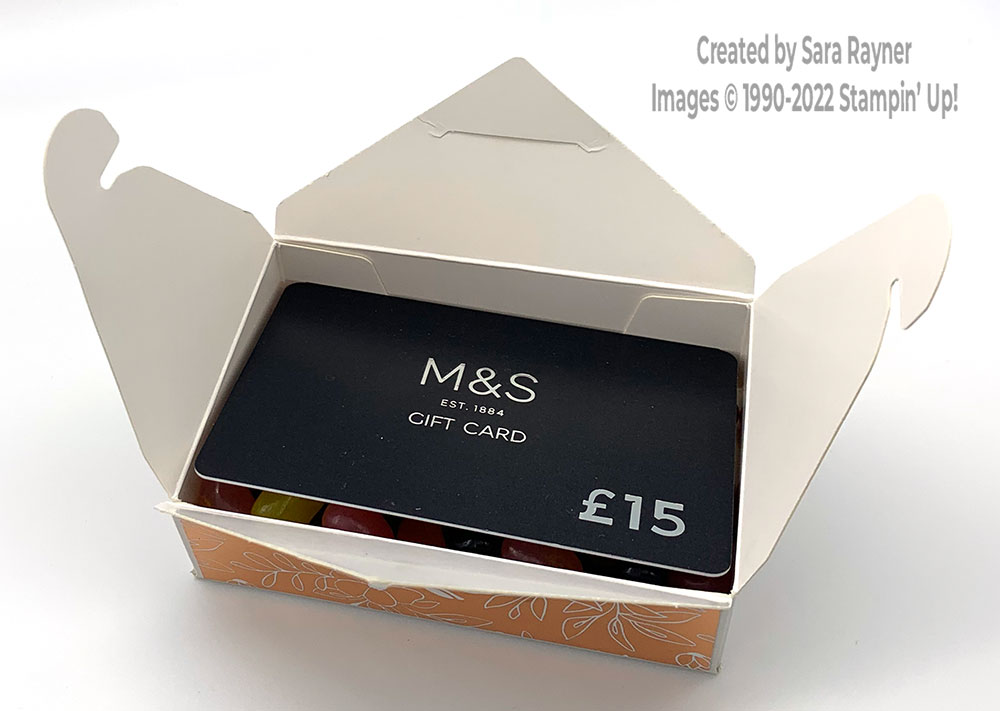
I will add a gift card on top (this isn’t the real one). It fits perfectly.


0 Comments