This was one of the make and take cards at our Paper Dolls meeting last month.
Here we’re using the Real Red Glimmer Paper with the Sweetest Christmas DSP but this would work with any striped (or even plain) DSP.
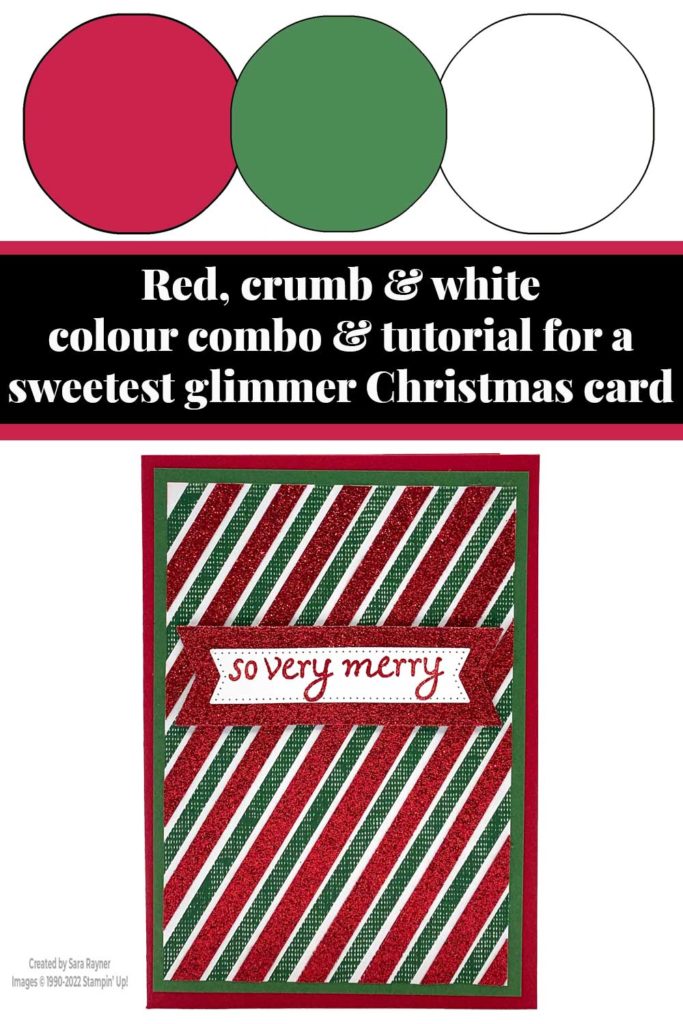
Colour Combo
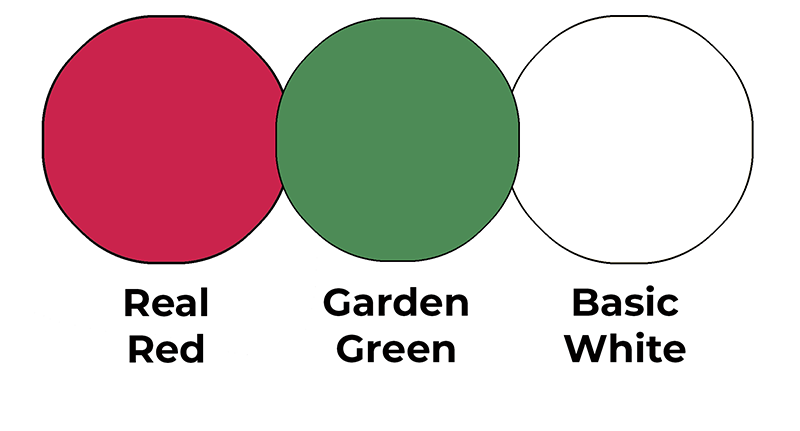
This colour combo mixes Real Red, Garden Green and Basic White.
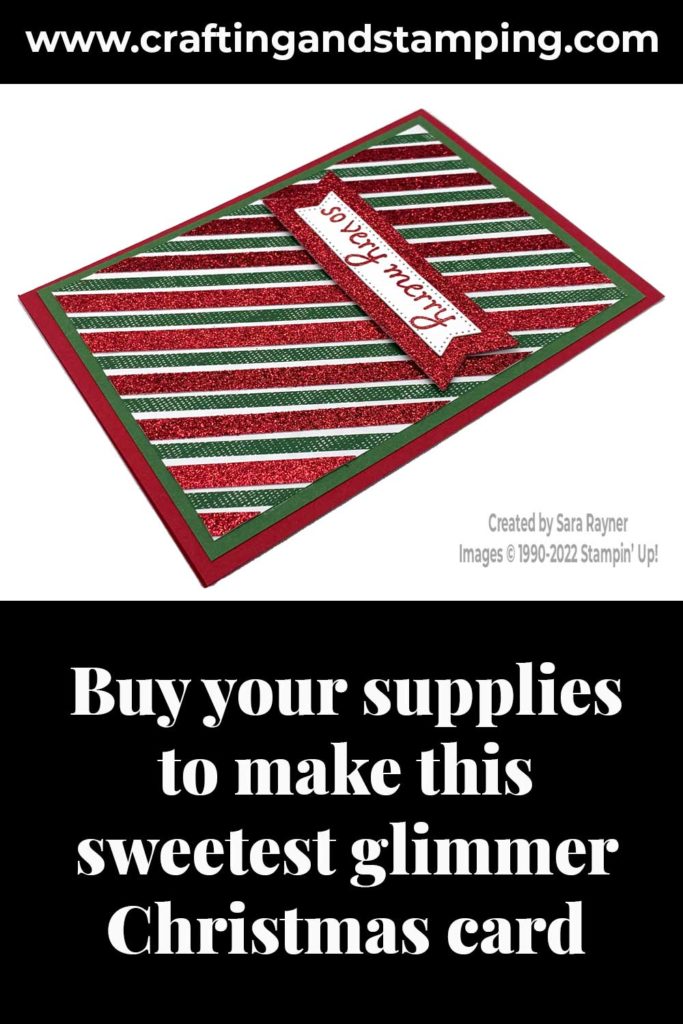
Sweetest glimmer xmas card
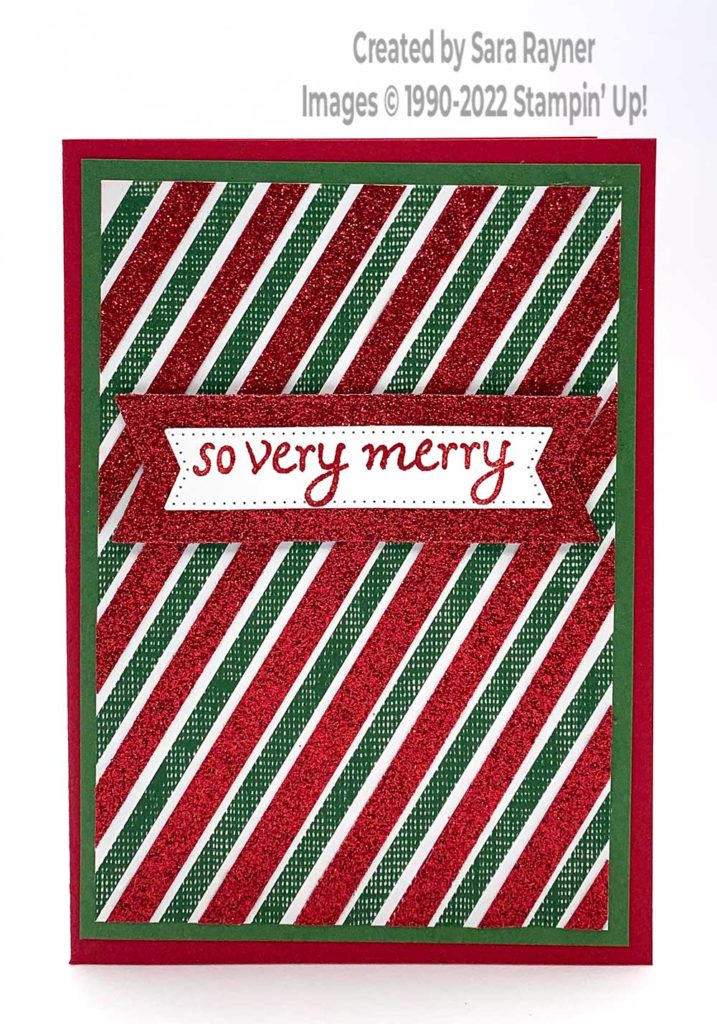
Start with an A6 portrait card of Real Red. Cut a 3-5/8″ x 5-1/4″ card front layer of Sweetest Christmas DSP. Cut 1/4″ strips of Real Red Glimmer Paper. Adhere the strips in line with the pattern of DSP. The strip is not long enough to span the longest diagonal, so snip apart at the point your sentiment will be and adhere with a space. Flip the DSP layer over and trim away any excess (cut off pieces may fit the shorter diagonal patterns). Adhere the DSP card front layer direct to a 3-7/8″ x 5-1/2″ card front layer of Garden Green card. Adhere direct to the card base.
Using the Stylish Shapes dies, die cut a small banner from Basic White card and a larger one from Real Red Glimmer Paper. Using Real Red ink, stamp a sentiment from the Trees for Sale set onto the white banner. Adhere direct to the glimmer paper banner. Pop the layered banners up on the card front with dimensionals, covering the gap in the glimmer paper.
Sweetest glimmer xmas card insert
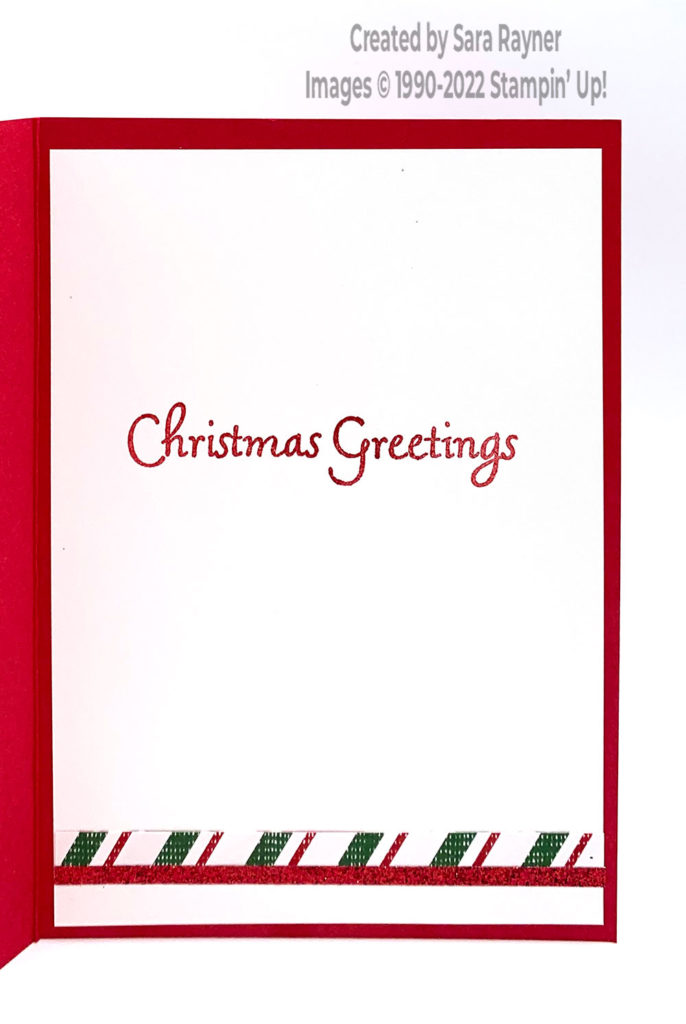
On the Basic White insert, using Real Red ink, stamp another sentiment from the Trees for Sale set. Add borders of Sweetest Christmas DSP and Real Red Glimmer Paper at the base.
Thanks for stopping by.
Sara xx
Buy the supplies for this sweetest glimmer xmas card in my online shop.


0 Comments