Each week over on my Facebook page (please pop over and Like or Follow) I choose a product pick of the week to feature. This week, it’s the Real Red & Burlap Ribbon Combo Pack. I’ll have tutorials for you this week, that share different ideas for using the ribbons individually and in combination.
I decorated just the Burlap Ribbon, with punched bunnies, to create this Ribbon-Wrapped Bag last week.
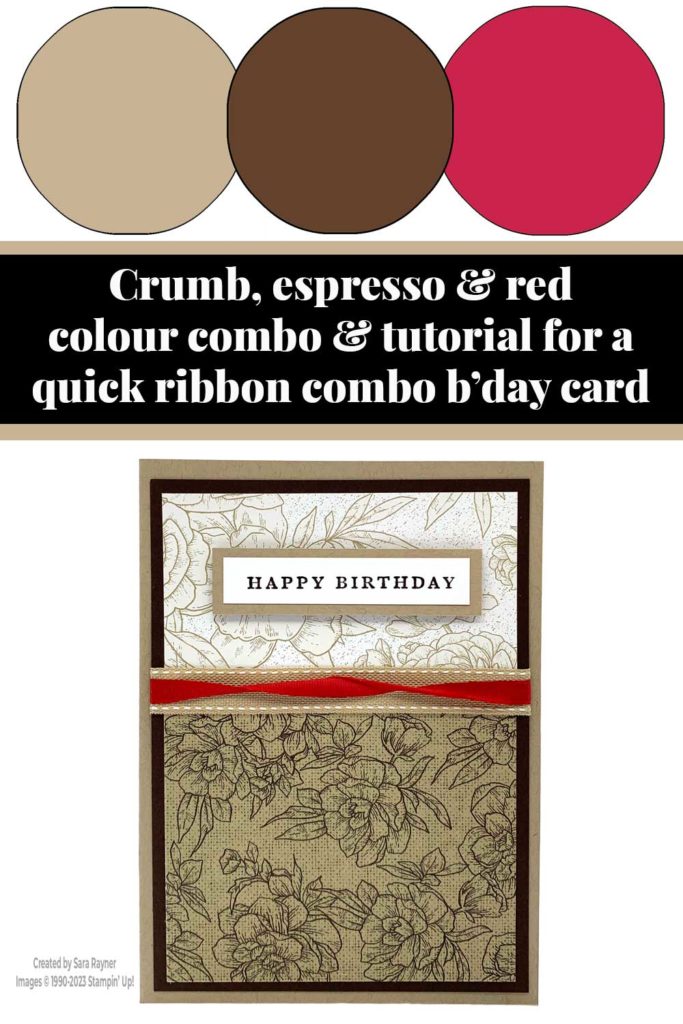
Colour Combo
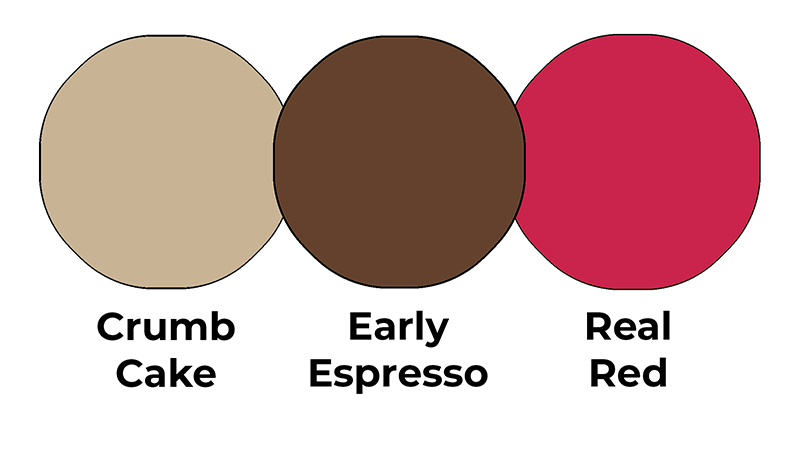
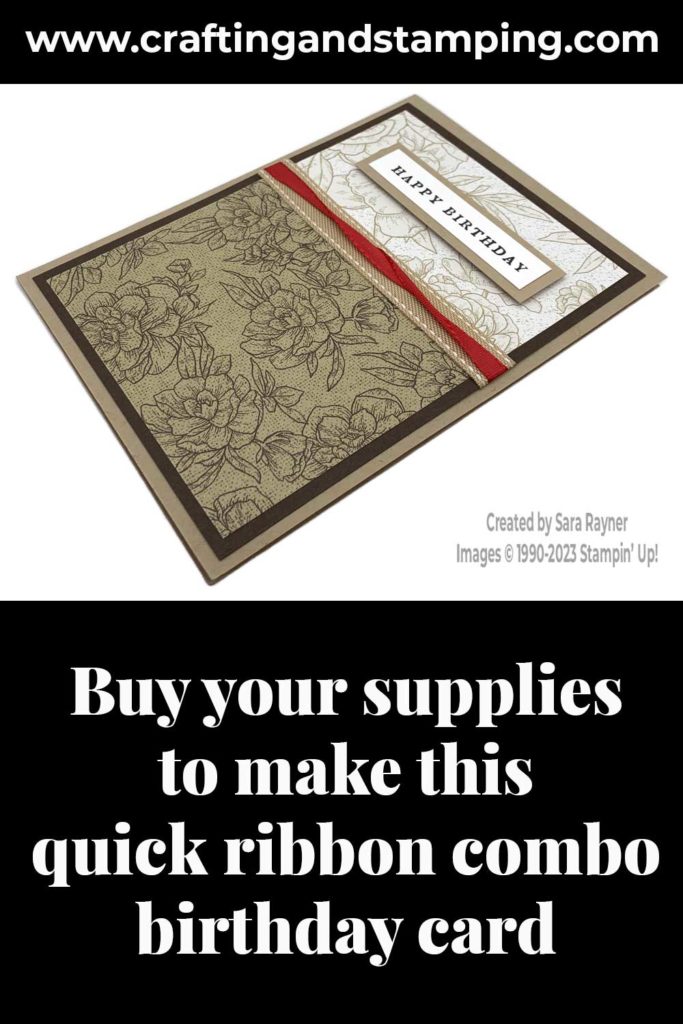
This colour combo mixes Crumb Cake, Early Espresso and Real Red.
Quick ribbon combo card
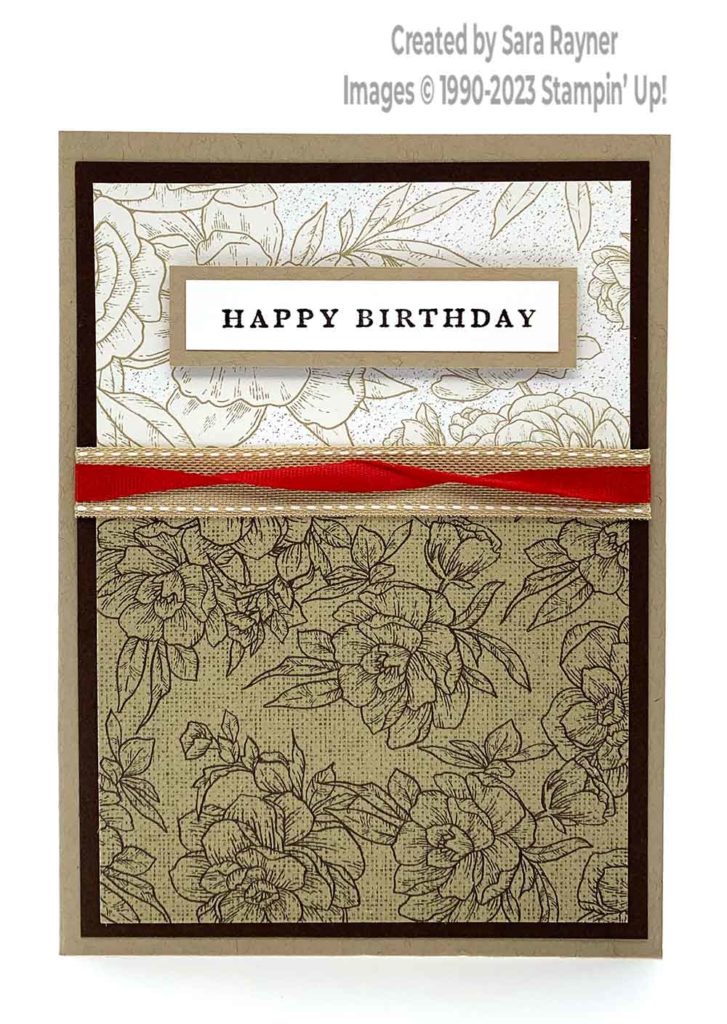
Start with an A6 portrait card of Crumb Cake. Cut a card front layer (5-1/2″ x 3-7/8″) of Early Espresso card. Adhere a 3-5/8″ x 3-1/4″ panel of darker Abigail Rose DSP direct to the base of the card front layer, keeping the base and side margins even. Cut the next layer (3-5/8″ x 2″) of an lighter pattern of Abigail Rose DSP. Adhere direct to the top of the card front layer, keeping the top and side margins even.
Wrap a piece of the Burlap Ribbon from the Real Red & Burlap Ribbon Combo Pack over the join in the DSP and secure on the reverse. Adhere a piece of the Real Red Ribbon on the reverse, centring it over the Burlap Ribbon. Create a couple of twists in the ribbon before securing the other end on the reverse of the card front layer. Adhere the layers direct to the card front.
Using Early Espresso ink, stamp a sentiment from the Cottage Rose set onto a 1/2″ x 2-1/2″ strip of Basic White card. Mat onto a 3/4″ x 2-3/4″ strip of Crumb Cake. Pop the sentiment up on the card front with dimensionals.
Here’s a short video showing how this quick card comes together. Please subscribe to my Youtube channel to see my quick cards and quick tips each week.
Quick ribbon combo card insert
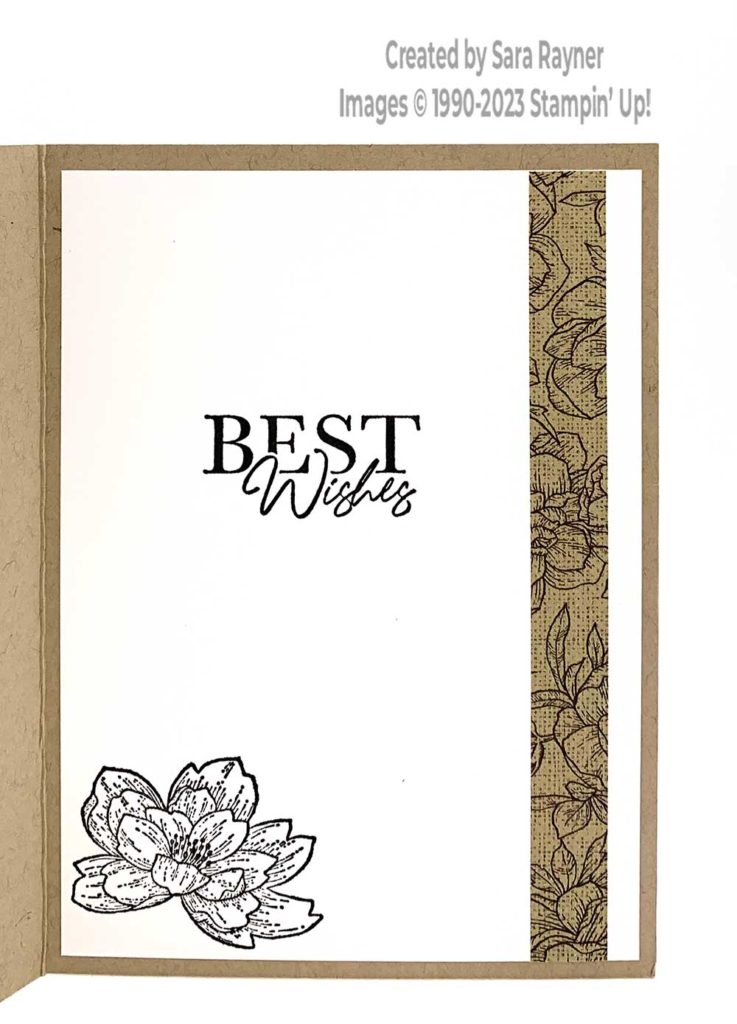
On the Basic White insert, using Early Espresso ink, stamp a sentiment from the Cottage Rose set a little left of centre and a flower in the lower left corner. Add a border of Abigail Rose DSP down the right side.
Thanks for stopping by.
Sara xx
Buy the supplies for this quick ribbon combo card in my online shop.


0 Comments