The Elegant Borders die used to shape the front panel is one of our Online Exclusives (ie. you won’t be able to find it in the paper catalogue).
Colour Combo
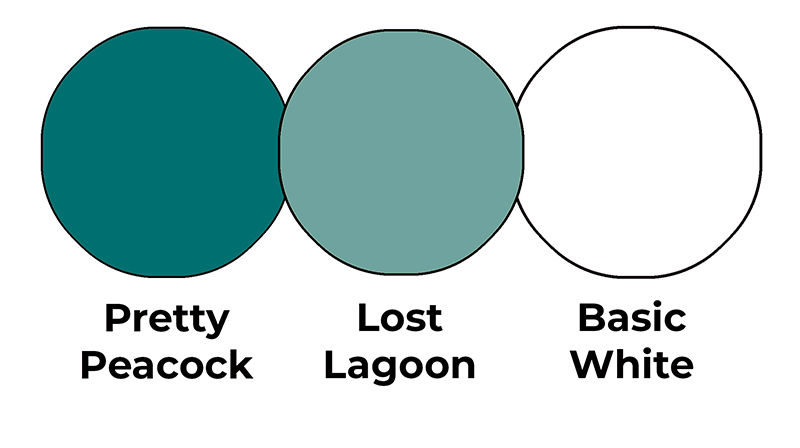
This colour combo mixes Pretty Peacock, Lost Lagoon and Basic White. The vellum does not look entirely white as it takes on the hue of whatever is behind it.
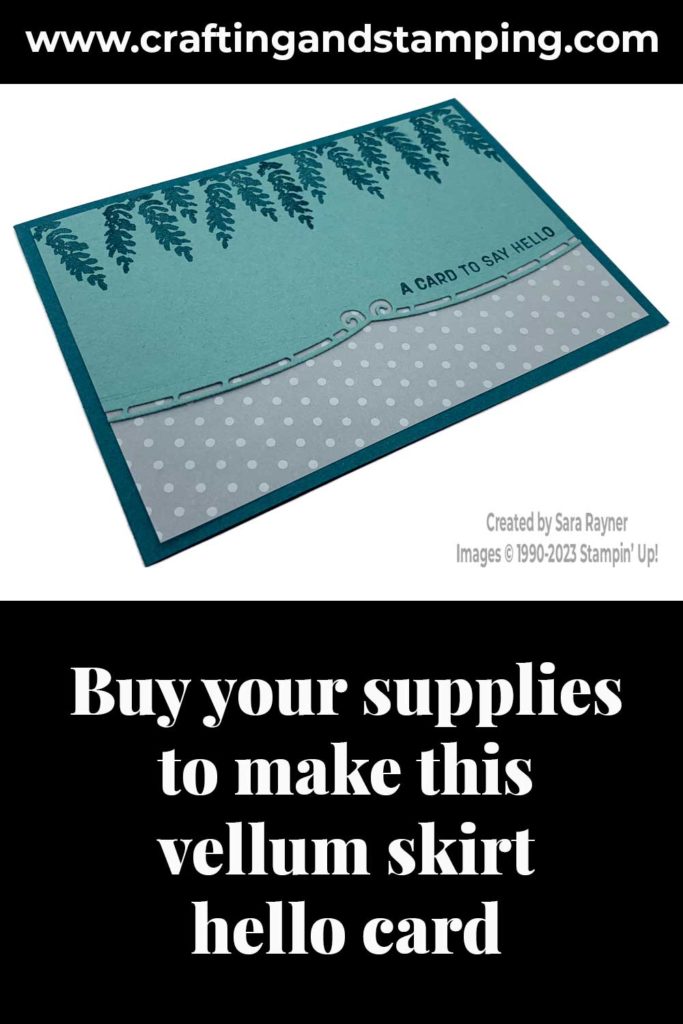
Vellum skirt hello card
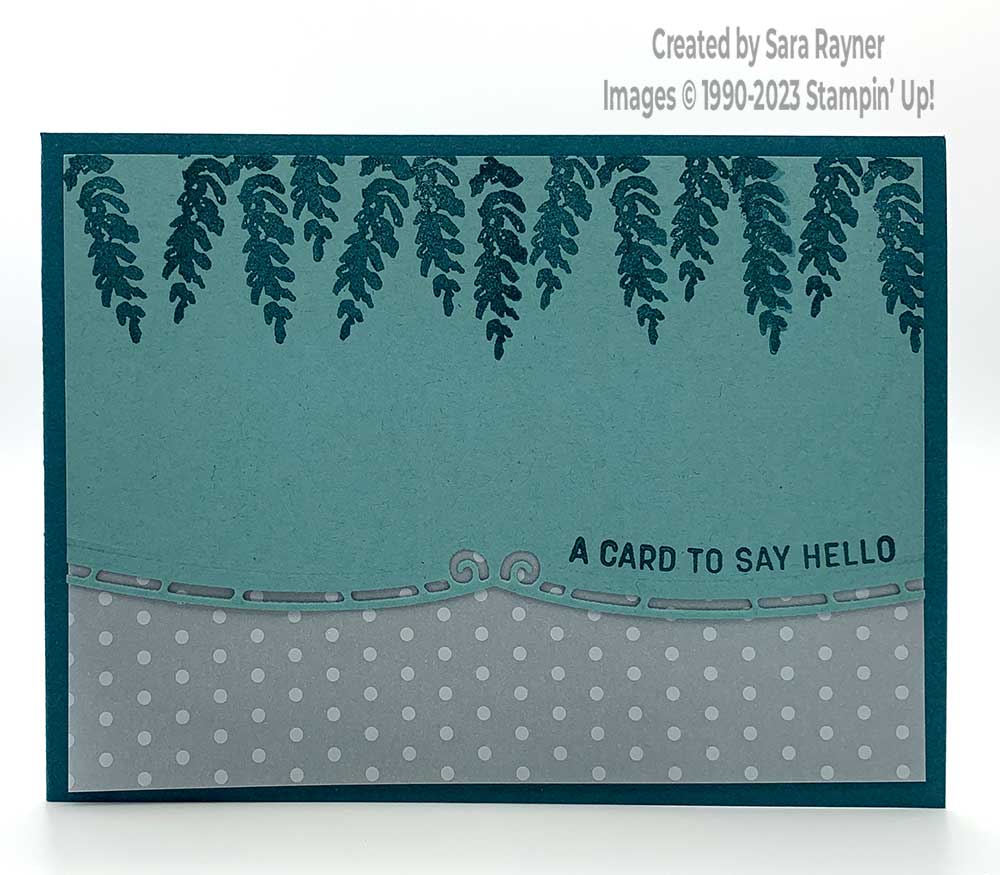
Start with an A6 landscape card of Pretty Peacock. Cut a (3-7/8″ x 5-1/2″) card front layer of Lost Lagoon card. Using the Elegant Borders dies, die cut a shaped border from the base of the card front layer. Bending the photopolymer stamp into a shallow curve, stamp a sentiment from the Sending Smiles stamp set above the cutaway curve of the card front layer with Pretty Peacock ink. Using the same Pretty Peacock ink, stamp the lavender/wisteria style flower heads hanging downwards, across the top of the card layer. Cut a (3″ x 5-1/2″) card front layer of Vellum Basics Specialty DSP. Adhere this behind the stamped layer so that the combined layers are 3-7/8″ deep. Adhere the card front layer direct to the card front (without adding any adhesive behind the vellum).
Vellum skirt hello card insert
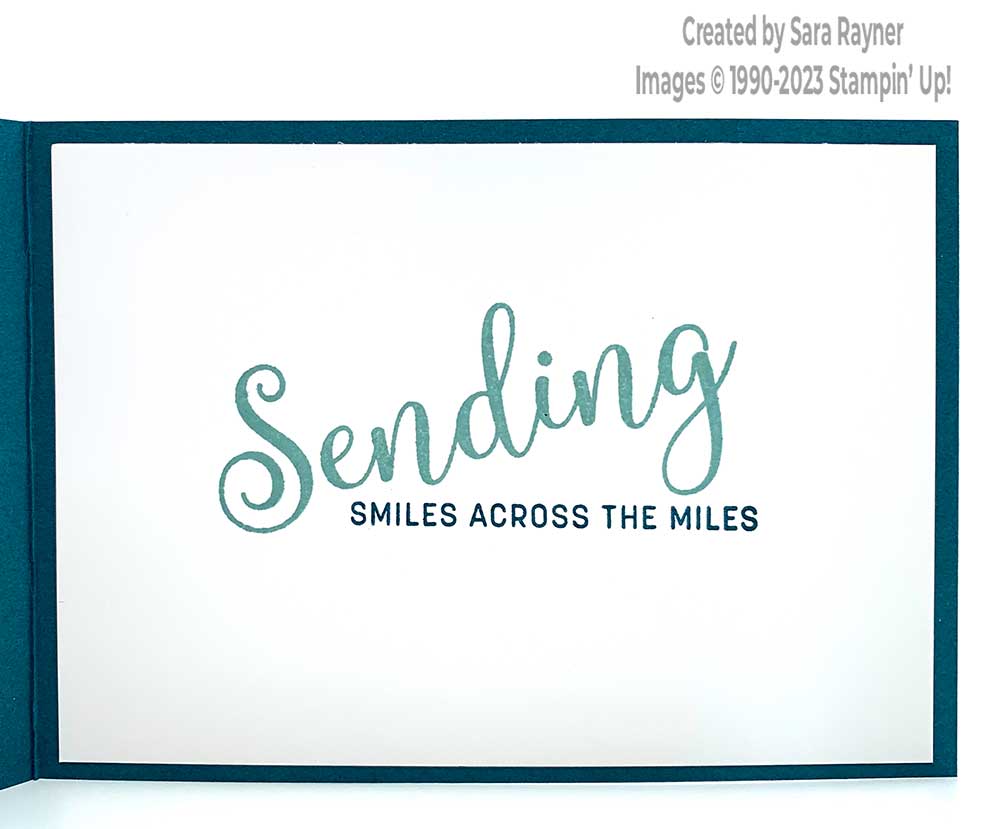
On the Basic White insert, using Lost Lagoon ink, stamp the “Sending” sentiment from the Sending Smiles stamp set at an angle. Add another sentiment from the same set below it in a horizontal line with Pretty Peacock ink.
Thanks for stopping by.
Sara xx
Buy the supplies for this vellum skirt hello card in my online shop.


0 Comments