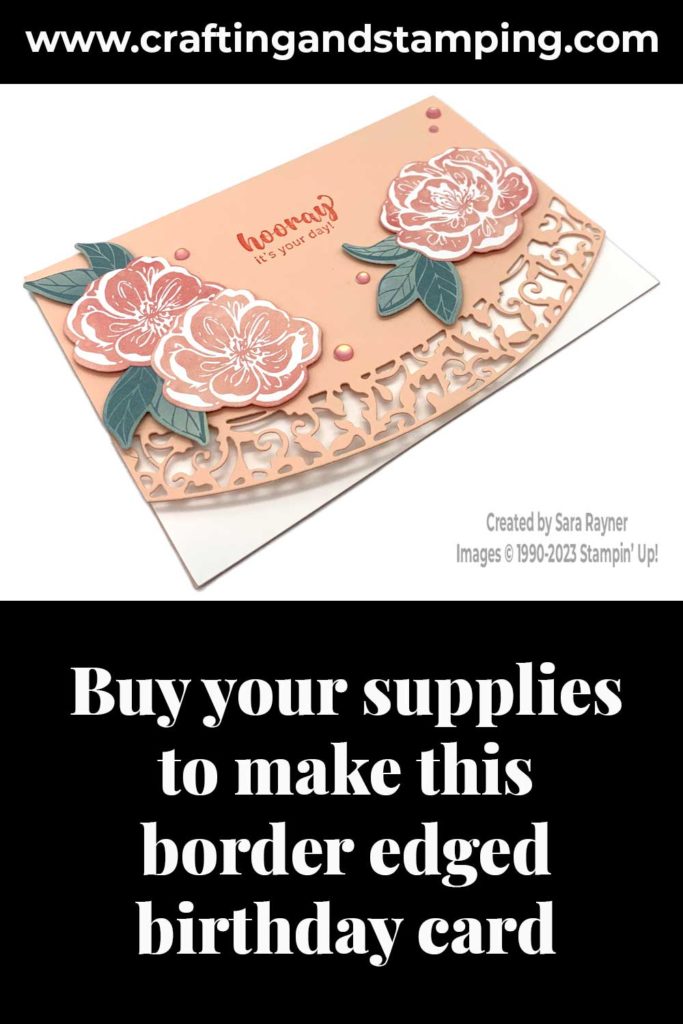
The card is decorated with flowers and leaves die cut from the Hello, Irresistible DSP. This is just one of the packs of DSP which has 15% off this month!
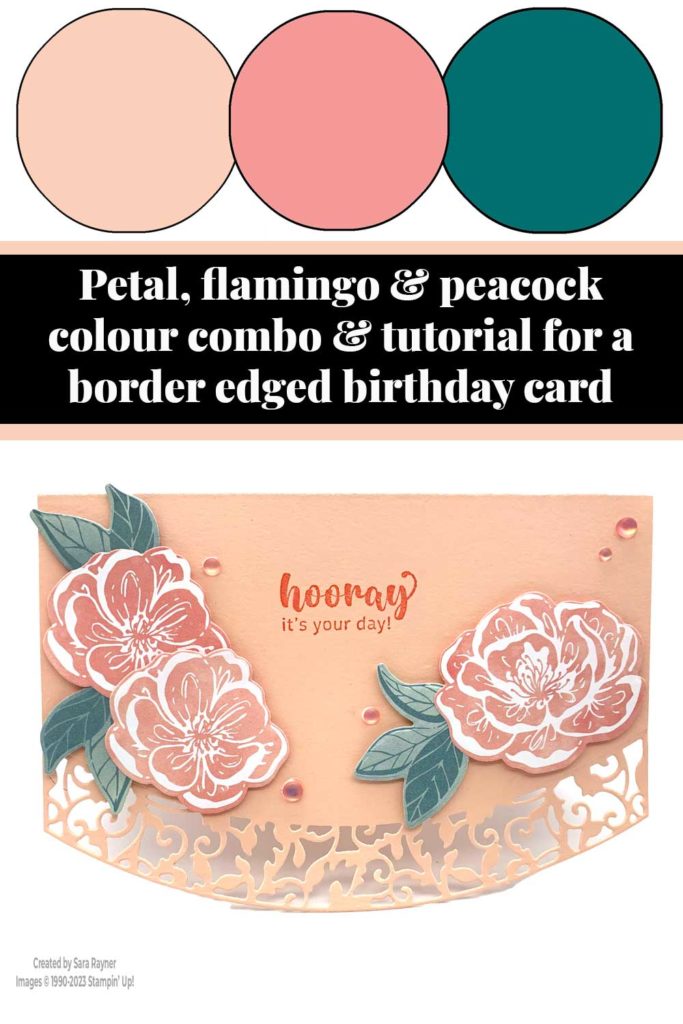
Colour Combo
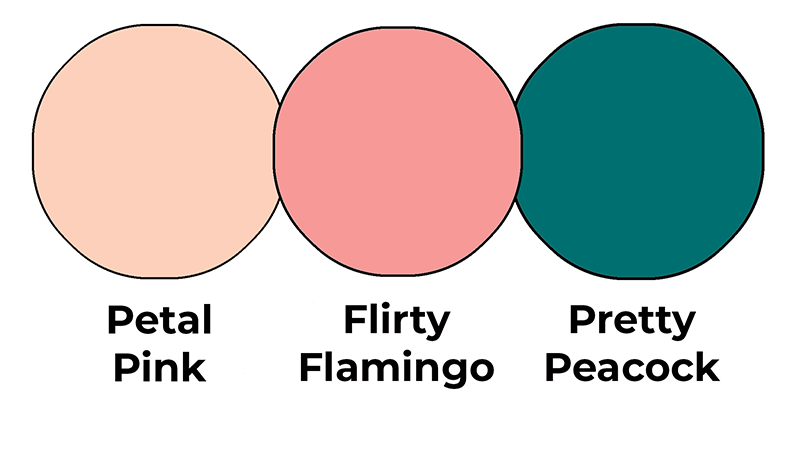
This colour combo mixes Petal Pink, Flirty Flamingo and Pretty Peacock.
Border edged birthday card
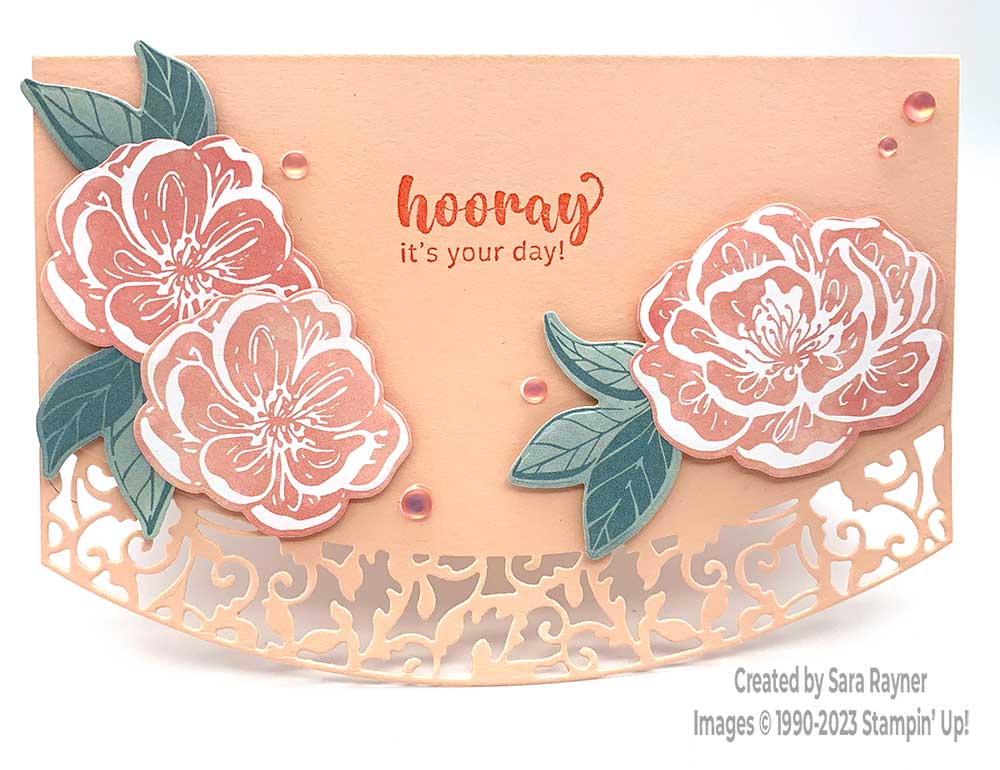
Start with an A6 landscape tent card of Petal Pink. Using the Elegant Borders dies, die cut right at the base edge of the card front (see video) to create the lacy border. Stamp a sentiment from the Irresistible Blooms set direct to the card front with Flirty Flamingo ink. Using the Irresistible Blooms dies, die cut 1 large and 2 medium flowers from the DSP and 2 duos and 1 trio of leaves from the DSP. Pop these up on the card front with dimensionals and mini dimensionals, layering the flowers and tucking the leaves under. Finish with Loose Frosted Dots.
Here’s a short video with tips for edging with border dies. Please subscribe to my Youtube channel to see my quick cards and quick tips each week.
Border edged birthday card insert
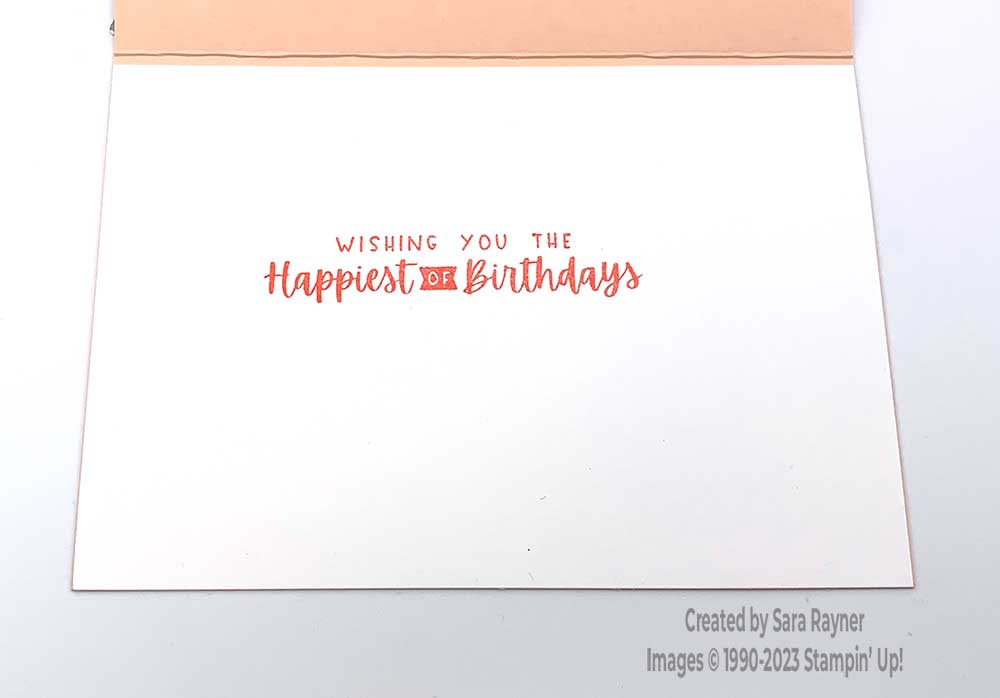
On the Basic White insert, using Flirty Flamingo ink, stamp a sentiment from the Charming Sentiments set.
Thanks for stopping by.
Sara xx
Buy the supplies for this border edged birthday card in my online shop.


0 Comments