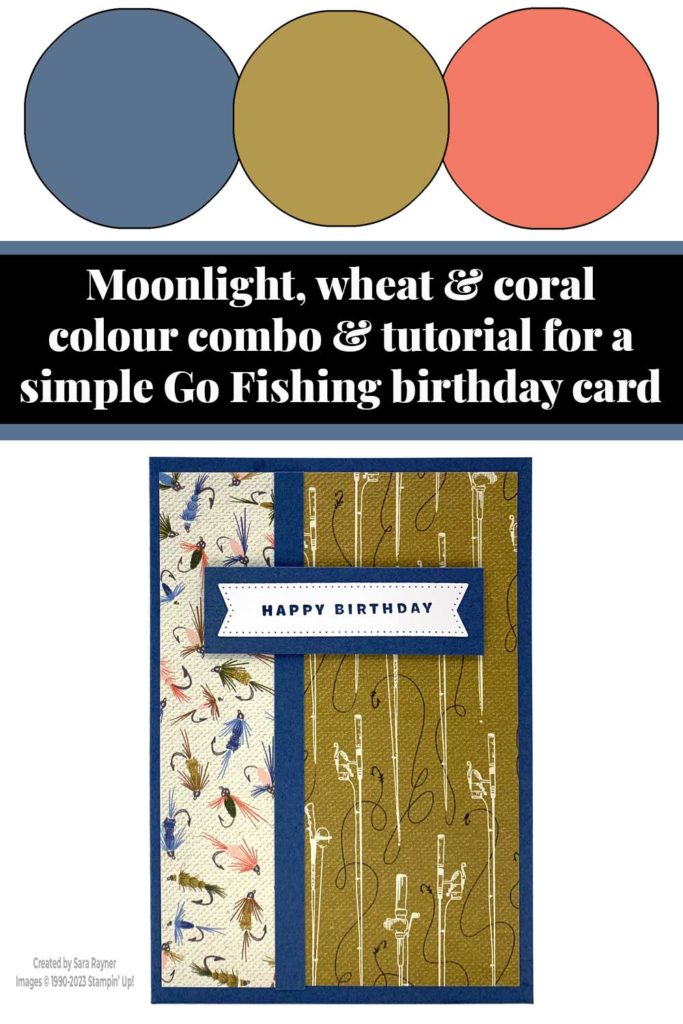
Colour Combo
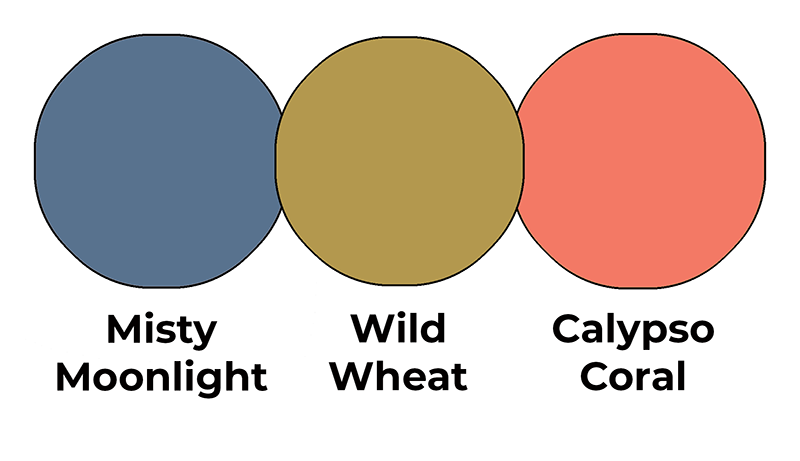
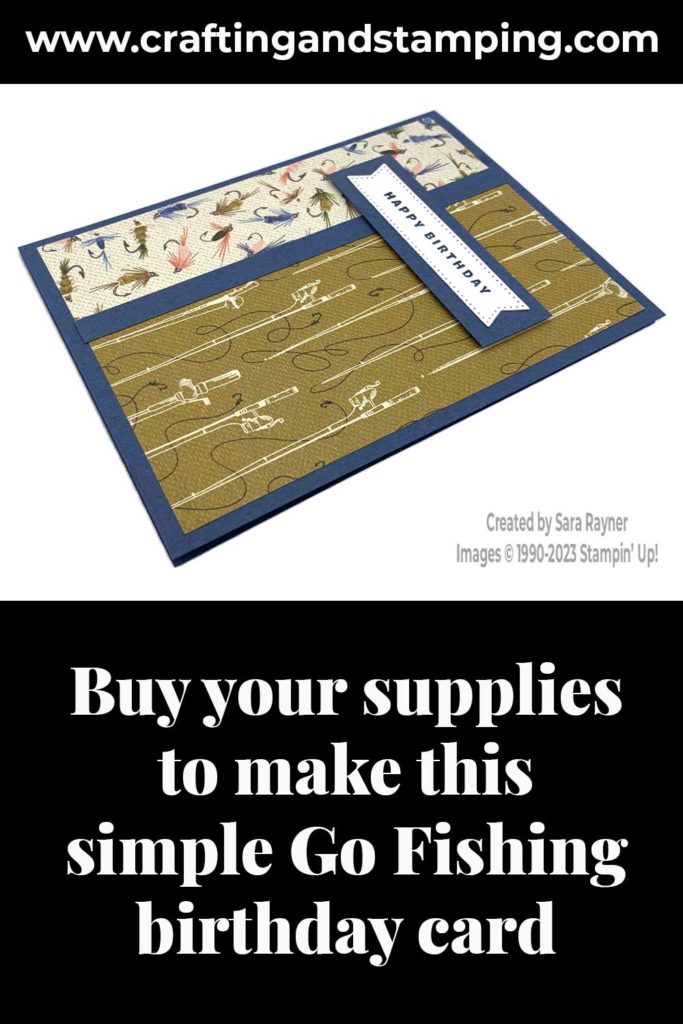
This colour combo mixes Misty Moonlight, Wild Wheat and just a teeny splash of Calypso Coral from the fishing flies pattern. This adds a little brightness to an otherwise sombre colour combo.
Simple Go Fishing birthday card
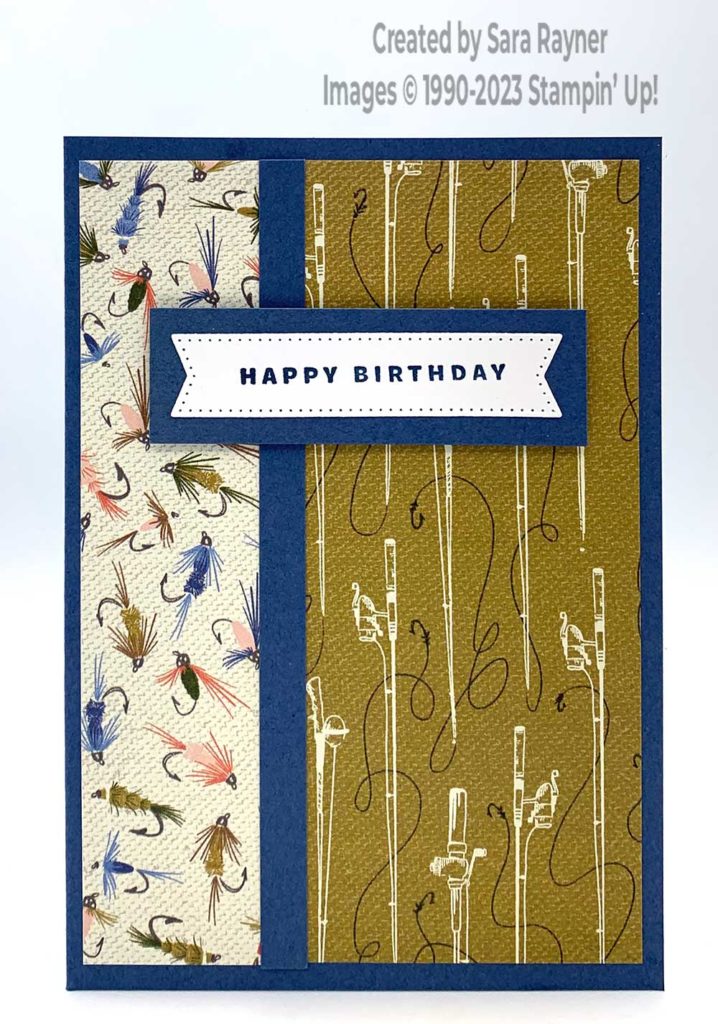
Start with an A6 portrait card of Misty Moonlight. Cut a (2-1/2″ x 5-1/2″) card front layer of one pattern of Let’s Go Fishing DSP to the right side of the card front (keeping right, top and bottom margins even. Cut a (1-3/8″ x 5-1/2″) card front layer of a lighter pattern of Let’s Go Fishing DSP to the left side of the card front (keeping left, top and bottom margins even). Adhere a skinny strip of Misty Moonlight card over the join in the DSP. Using Stylish Shapes dies, die cut a stitched, flagged label from Basic White card. Stamp a sentiment from the Something Fancy stamp set onto the white label with Misty Moonlight ink. Mat it direct to Misty Moonlight card and then pop up on the card front with dimensionals.
Simple Go Fishing birthday card insert
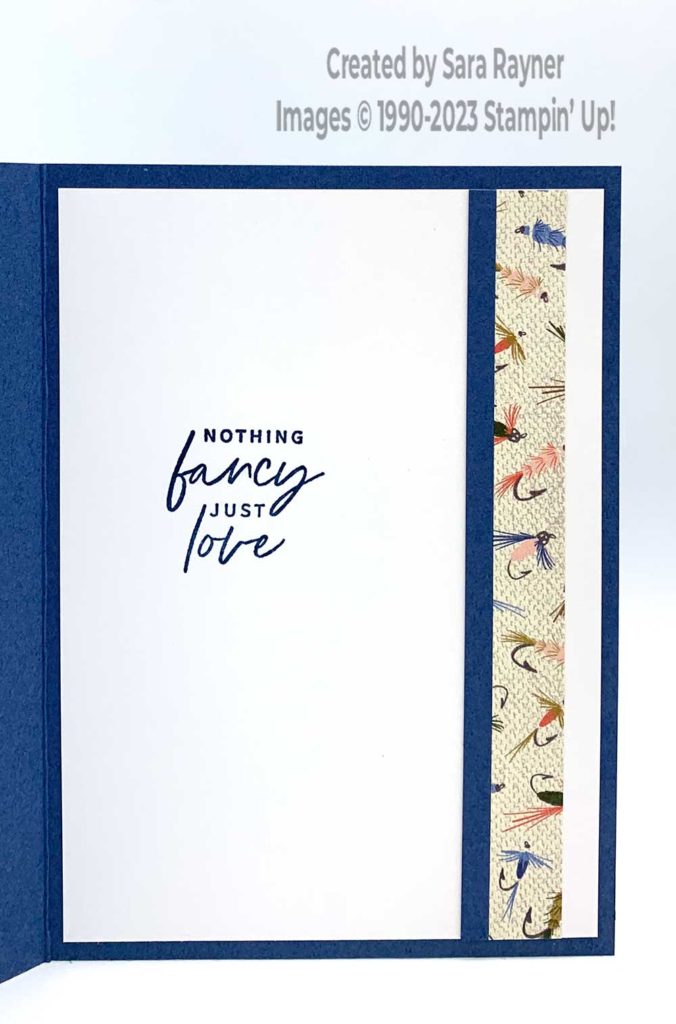
On the Basic White insert, using Misty Moonlight ink, stamp another sentiment from the Something Fancy stamp set. Add borders of Misty Moonlight card and Let’s Go Fishing DSP down the right side.
Thanks for stopping by.
Sara xx
Buy the supplies for this simple Go Fishing birthday card in my online shop.


0 Comments