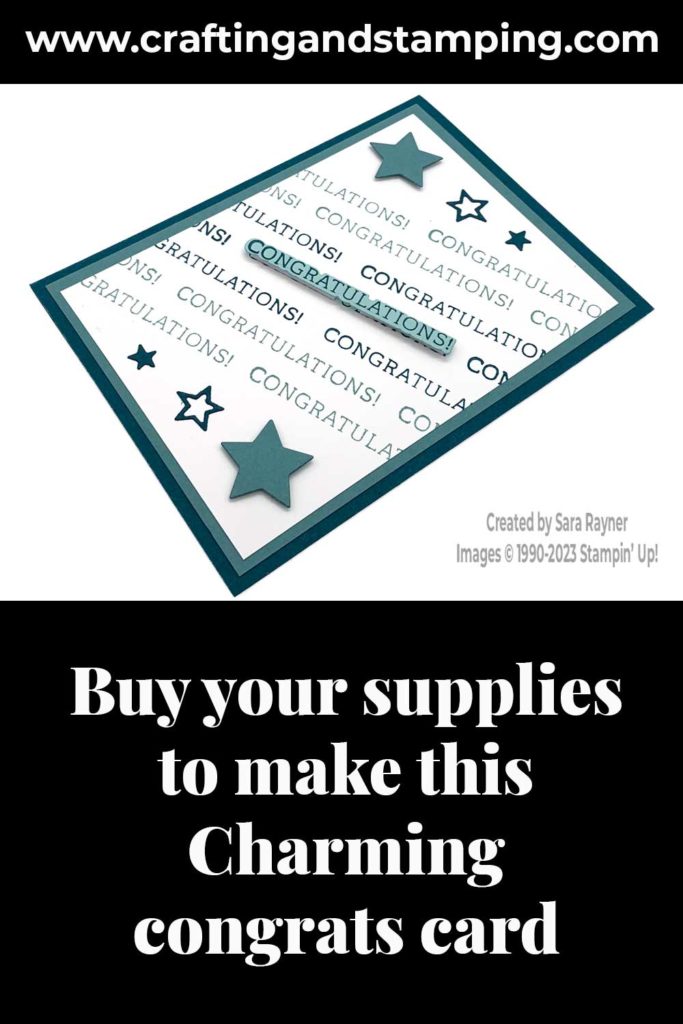
Today’s tutorial is for a Charming congrats card. Simple sentiments make great backgrounds when repeat stamped. The dies in the co-ordinating Sentiment Silhouettes set make it especially easy to spotlight one of the repetitions.
In the tutorial below, I take you step by step through creating the Charming congrats card. I also have a supply list for purchasing anything you don’t already own.
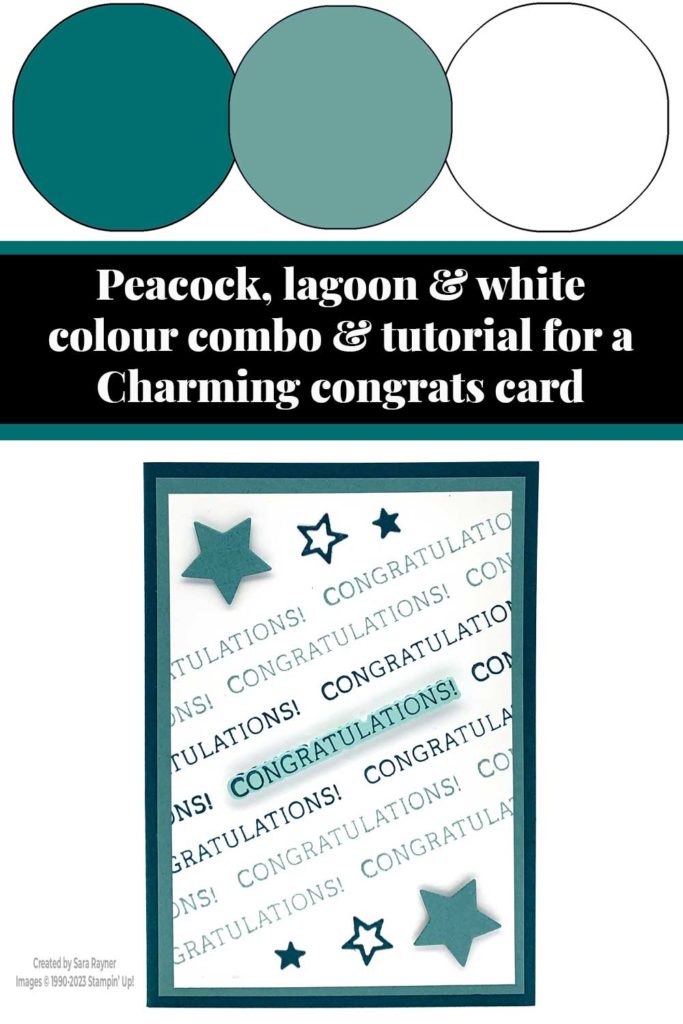
Colour Combo
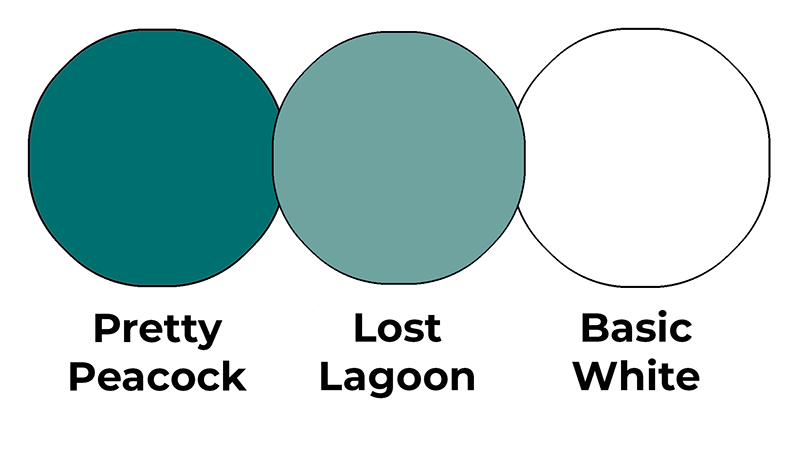
This colour combo mixes Pretty Peacock, Lost Lagoon and Basic White.
Charming congrats card
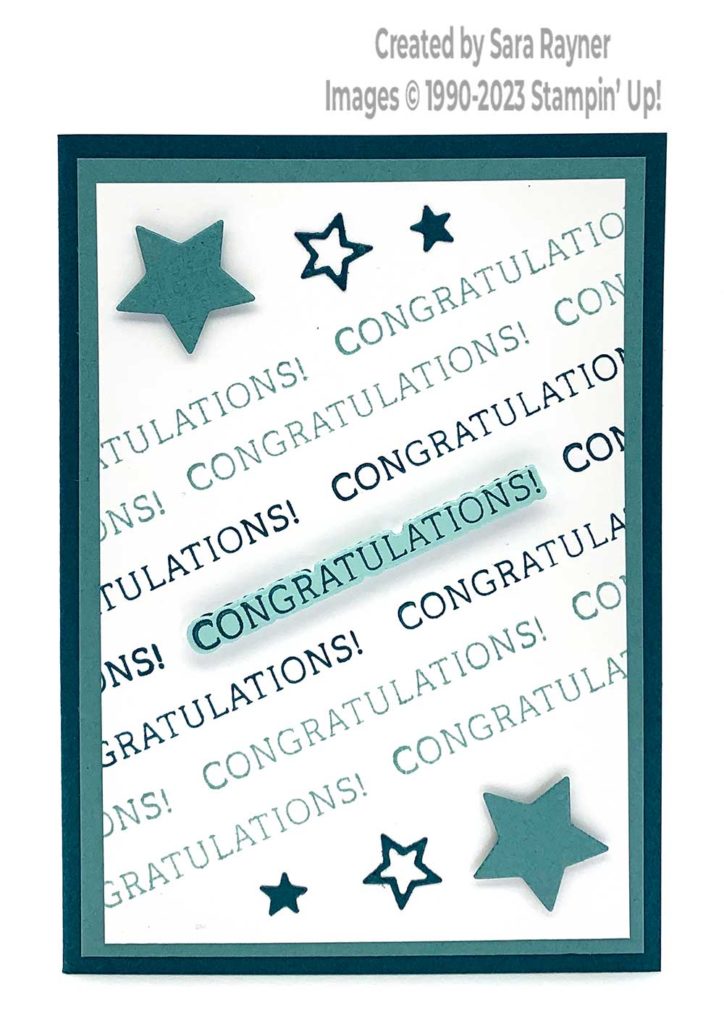
Start with an A6 portrait card of Pretty Peacock. Cut a (5-1/4″ x 3-5/8″) panel of Basic White card. Using Pretty Peacock ink, stamp the congratulations sentiment from the Charming Sentiments set, diagonally across the centre of the card layer. Use the same ink to stamp the same sentiment either side of the original and then above and below, offsetting the text. Stamp further rows above and below with Lost Lagoon ink. Adhere the stamped layer direct to a (5-1/2″ x 3-7/8″) card front layer of Lost Lagoon and then direct to the card front.
Using Pretty Peacock ink, stamp the congratulations sentiment again onto Pool Party card. Die cut out with the co-ordinating Sentiment Silhouettes die. Pop this up over the central word with Foam Adhesive Strip. Die cut two small stars from Lost Lagoon card with with Beautiful Balloons dies. Pop these up on the card front with dimensionals. After backing a scrap of Pretty Peacock card with Adhesive Sheet, die cut some teeny stars from the scrap with the stars in the Sentiment Silhouettes set. Adhere these direct to the card front.
Charming congrats card insert
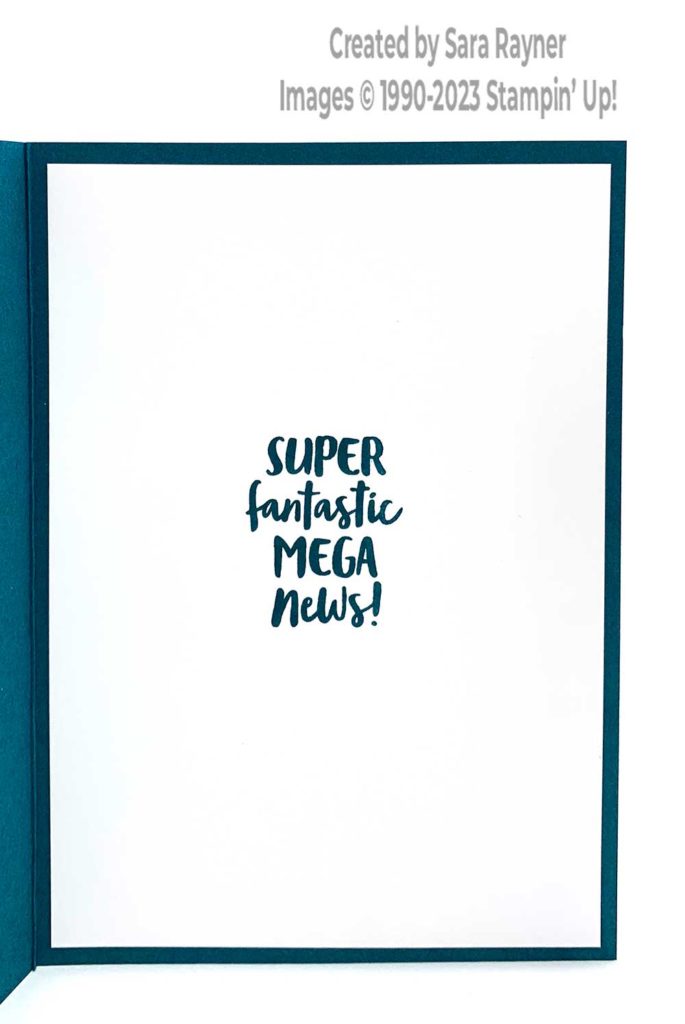
On the Basic White insert, using Pretty Peacock ink, stamp another sentiment from the Charming Sentiments set.
Thanks for stopping by.
Sara xx
Buy the supplies for this Charming congrats card in my online shop.


0 Comments