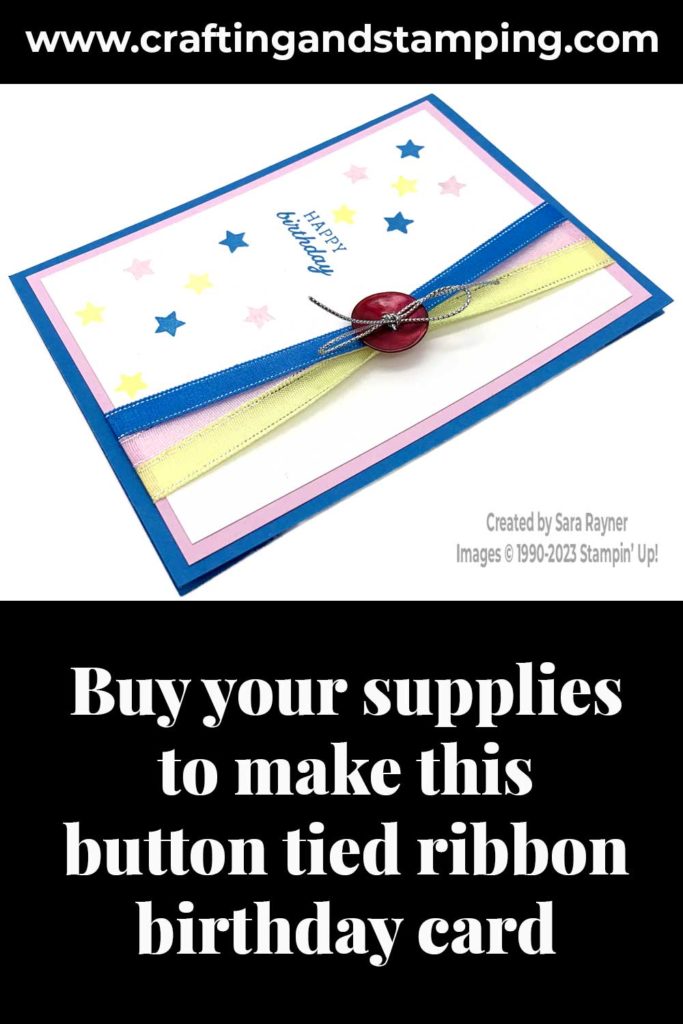
Today’s tutorial is for a button tied ribbon birthday card. This card uses the full trio of ribbons from the Sheer Ribbon Pack.
I used a button from my button box to tie the ribbons. My button box is where I store spare buttons that come attached to new garments. I recommend a medium-large button almost as wide as the ribbons lined up together.
Please remember that a button will add extra bulk and may result in increased postage costs.
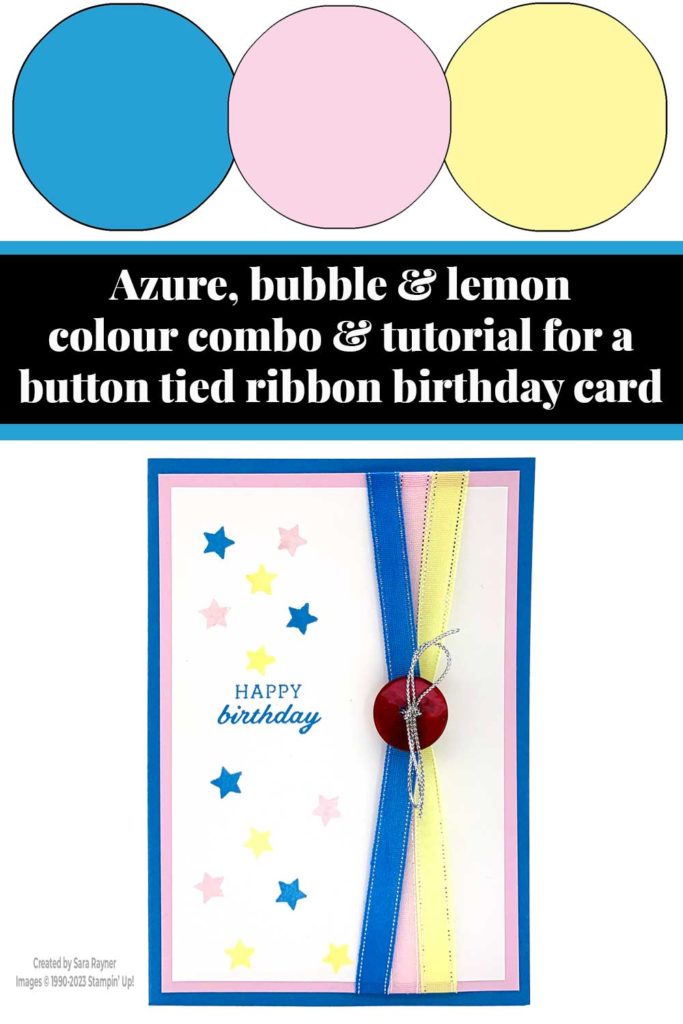
Colour Combo
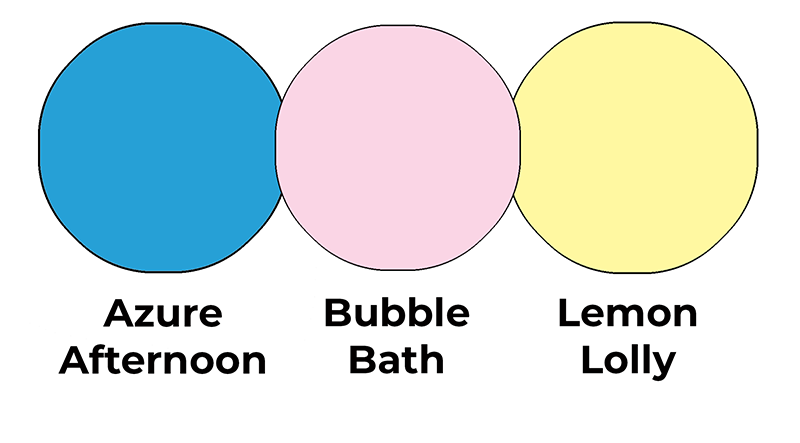
This colour combo mixes Azure Afternoon, Bubble Bath and Lemon Lolly.
Button tied ribbon birthday card
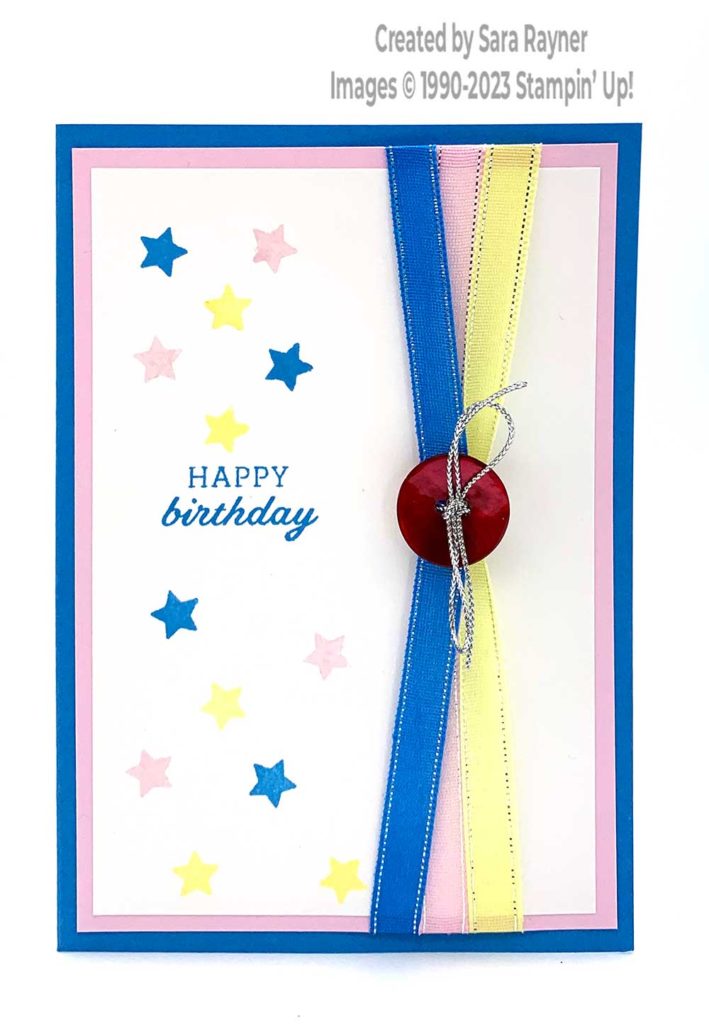
Start with an A6 portrait card of Azure Afternoon. Cut a card front layer (3-5/8″ x 5-1/4″) of Basic White card. Using Azure Afternoon ink, stamp a sentiment from the Days To Remember set approximately halfway down and to the left side of the Basic White card front. Add tiny stars above and below the sentiment with Azure Afternoon, Bubble Bath and Lemon Lolly inks. Mat onto a card front layer (3-7/8″ x 5-1/2″) of Bubble Bath card.
Adhere Azure Afternoon, Bubble Bath and Lemon Lolly ribbons (from the Sheer Ribbon Combo Pack) around the layers, to the right of the sentiment. Tip – adhere the ribbons a little loosely – I stretched mine too taut which buckles the card a little. Thread Silver Trim (from the Simply Elegant Trim pack) through a button and behind the ribbons. Tie in the front with a bow. Adhere the layers direct to the card front.
Here’s a video with tips for creating the button tied ribbons. Please subscribe to my Youtube channel to see my quick cards and quick tips each week.
Button tied ribbon birthday card insert
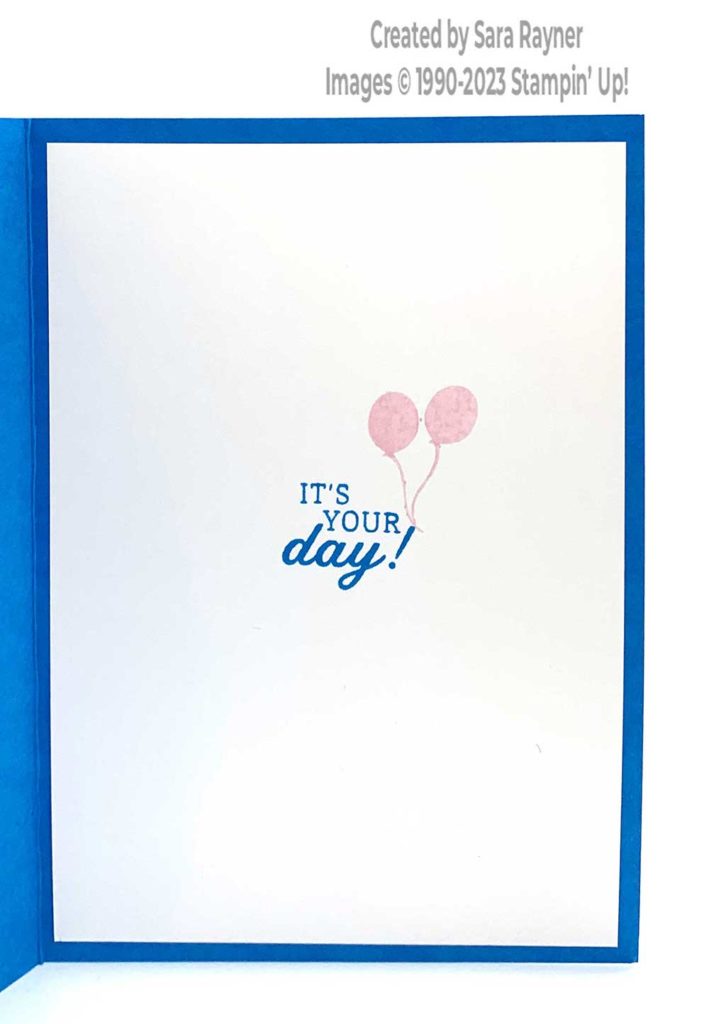
On the Basic White insert, using Azure Afternoon ink, stamp another sentiment from the Days To Remember set. Add balloons and strings above with Bubble Bath ink.
Thanks for stopping by.
Sara xx
Buy the supplies for this button tied ribbon birthday card in my online shop.


0 Comments