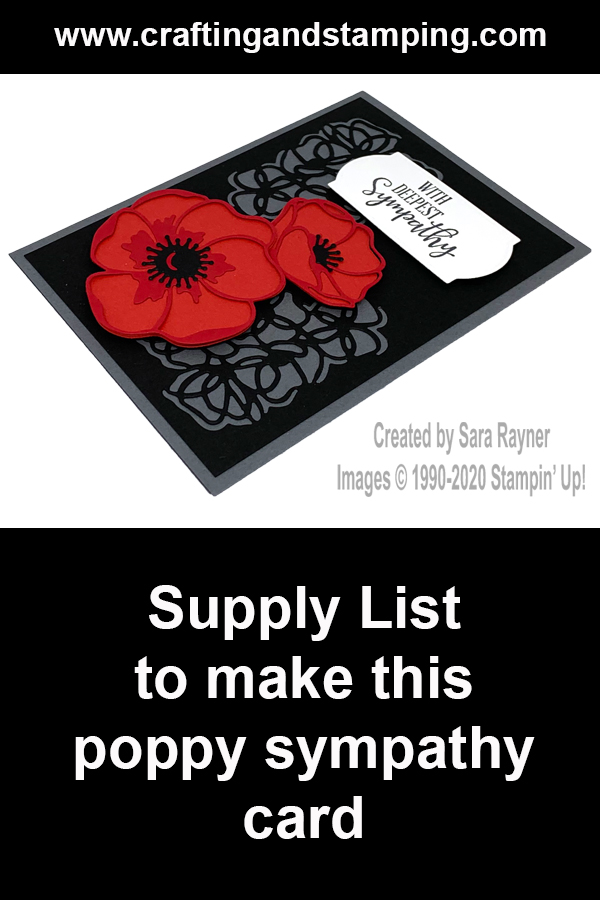
A sad occasion was the cause of my poppy sympathy card tutorial today. Please don’t underestimate how much difference a card can make at such a time, especially at this particular time, when we can’t always get together.
In the tutorial below, I take you step by step through creating the poppy sympathy card. I also have a supply list for purchasing anything you don’t already own.
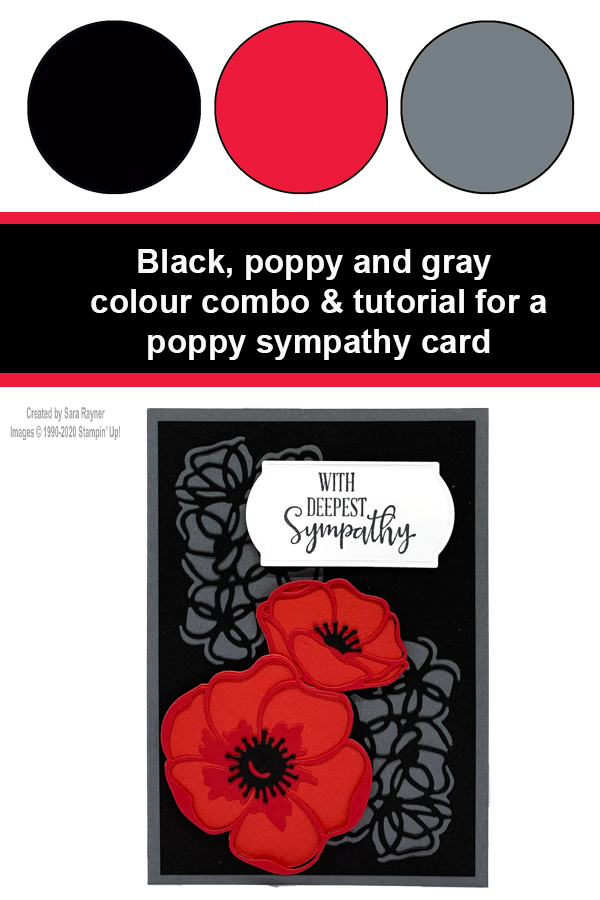
This card combines the Peaceful Moments and Painted Poppies bundles and also adds a sentiment from the Prized Peony set.
Colour Combo
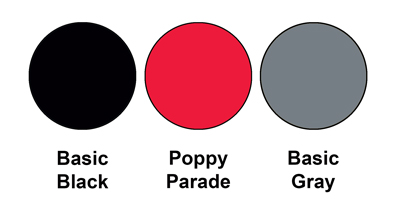
The colour combo mixes Basic Black, Poppy Parade and Basic Gray (with just a little Real Red).
Poppy sympathy card tutorial
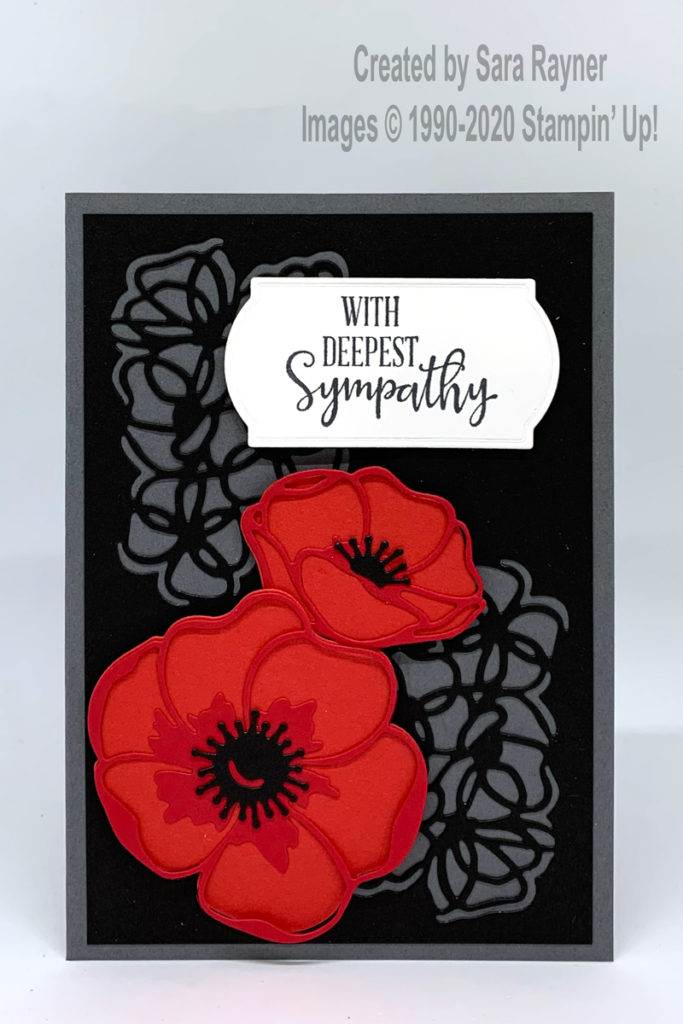
Start with an A6 portrait card base of Basic Gray. Cut a card front layer of Basic Black. Die cut the flower pattern in opposite corners of the layer using the Poppy Moments dies, before adhering it direct to the card front. Use dies from the same set to die cut solid flowers from Poppy Parade card. Die cut the matching outline flowers from Real Red card and adhere the centres direct. Add stamens to the centres, die cut from Basic Black card. Pop the flowers up on the card front with dimensionals.
Use Memento Black ink to stamp a sentiment from the Peaceful Moments set onto a scrap of Whisper White card. Die cut out with a label from the Painted Labels dies. Pop up on the card front with dimensionals.
Poppy sympathy card insert
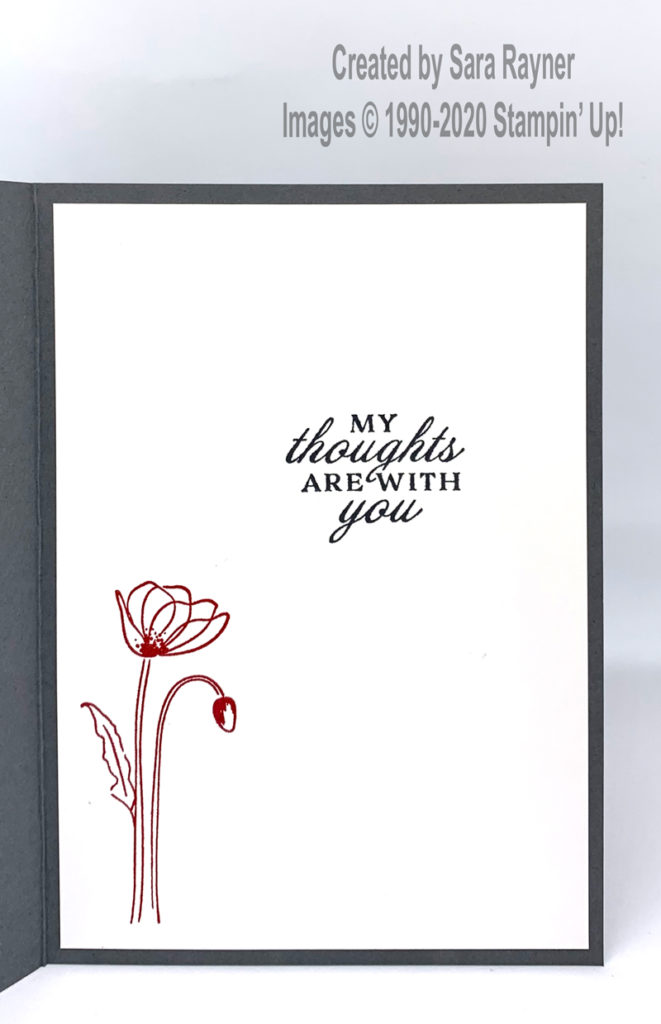
On the Whisper White insert, stamp a sentiment from the Prized Peony set using Memento Black ink. Add a stamped poppy from the Painted Poppies set using Real Red ink.
Thanks for stopping by.
Sara xx
You can find supplies for this poppy sympathy card in my online shop.


0 Comments