Today’s tutorial is for a blackberry bliss ribbon hello card. This is a very clean and simple design with an elegant look.
In the tutorial below, I take you step by step through creating the blackberry bliss ribbon hello card. I also have a supply list for purchasing anything you don’t already own.
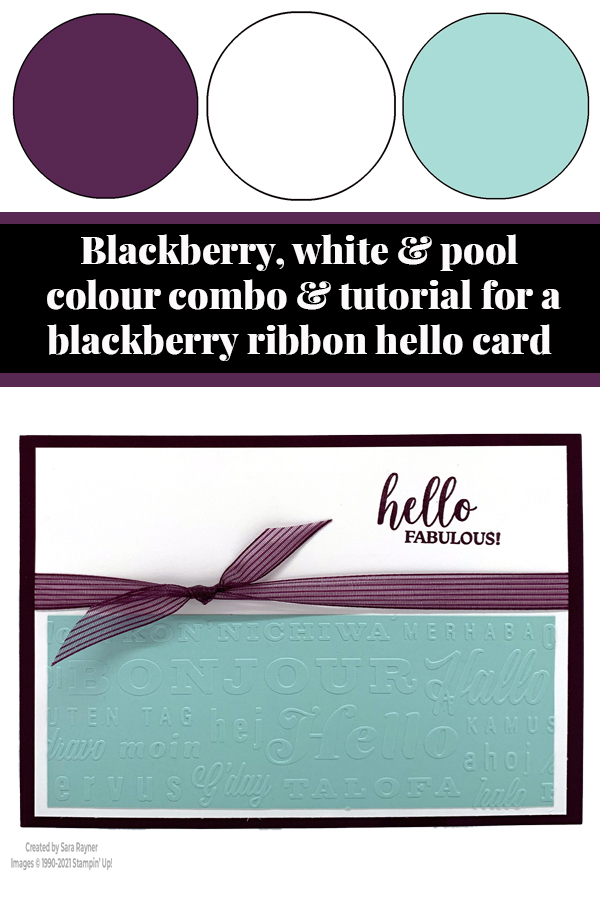
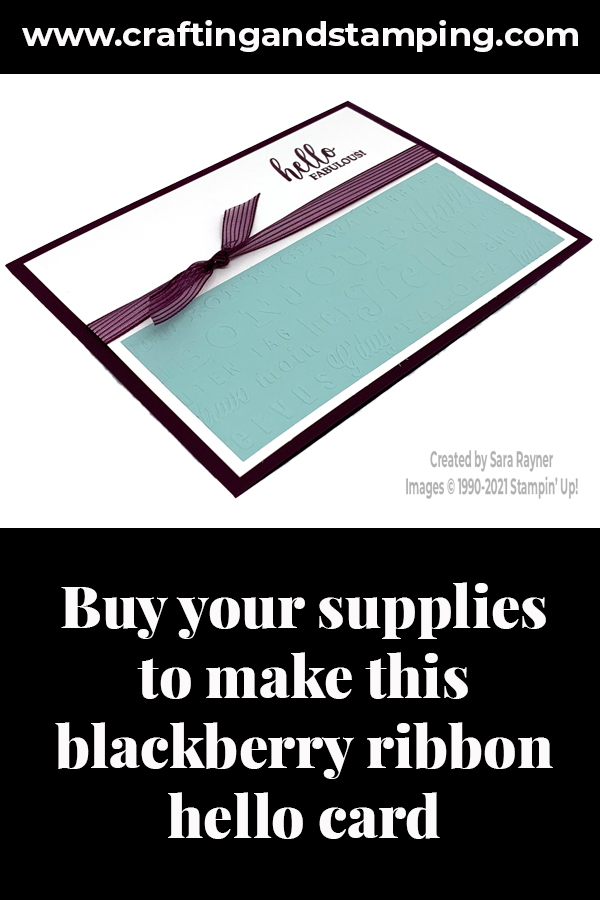
The clean and simple lines are strengthened by the blocks of colour. A little added pattern and texture are created by the embossing, without visually breaking up those colour blocks. The Thanks & Hello embossing folders are a set of two, one with the text “Hello” in a variety of different languages and the other, “Thanks”, also in a variety of different languages.
Colour Combo
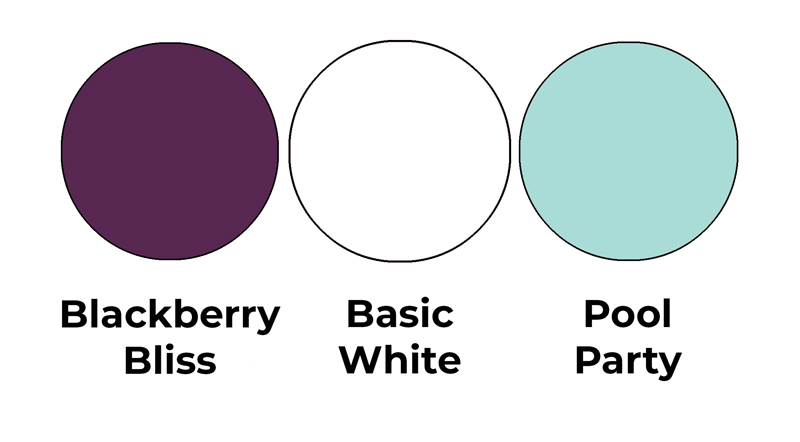
The colour combo mixes Blackberry Bliss, Basic White and Pool Party.
Blackberry bliss ribbon hello card
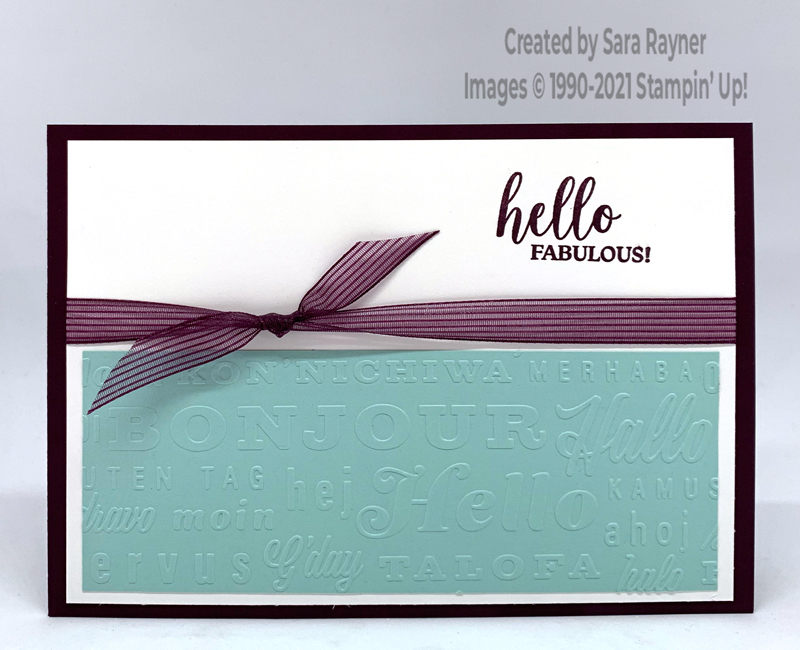
Start with an A6 landscape card of Blackberry Bliss. Using Blackberry Bliss ink, stamp a sentiment from the Dressed to Impress stamp set in the upper right corner of a card front layer of Basic White. Run a half card front layer of Pool Party card through the Hello embossing folder. Adhere the embossed card direct to the card front. Wrap Blackberry Bliss Striped Ribbon around the layers and tie on another piece of the same ribbon in a knot (this quick tip video uses the same technique but positioned over a corner).
Blackberry bliss ribbon hello card insert
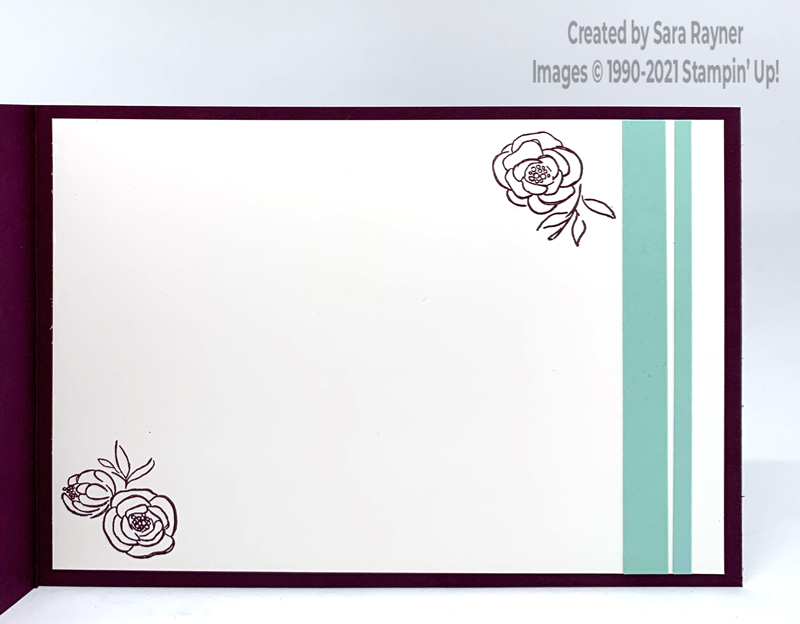
On the Basic White insert, stamp the flowers from the Dressed to Impress stamp set using Blackberry Bliss ink. Add a couple of strips of Pool Party card down the right side of the insert.
Thanks for stopping by.
Sara xx
Buy the supplies for this blackberry bliss ribbon hello card in my online shop.


0 Comments
Trackbacks/Pingbacks