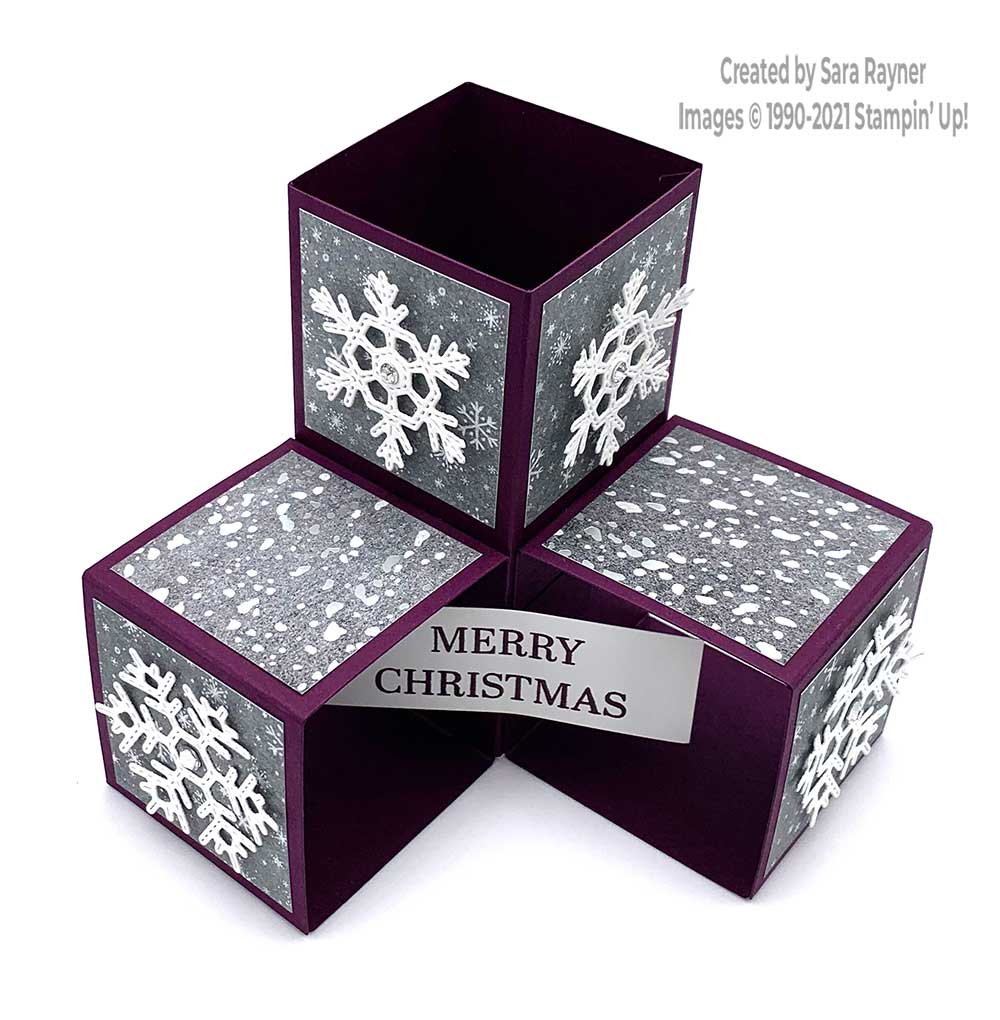
Today’s tutorial is for a peaceful cube Christmas card. This combines the pop-up cube design of card with the beautifully foiled Peaceful Place DSP.
In the tutorial below, I take you through the decorating of the peaceful cube Christmas card (the actual card design was part of the tutorial bundle I shared last month or you can search for similar tutorials online). I also have a supply list for purchasing anything you don’t already own.

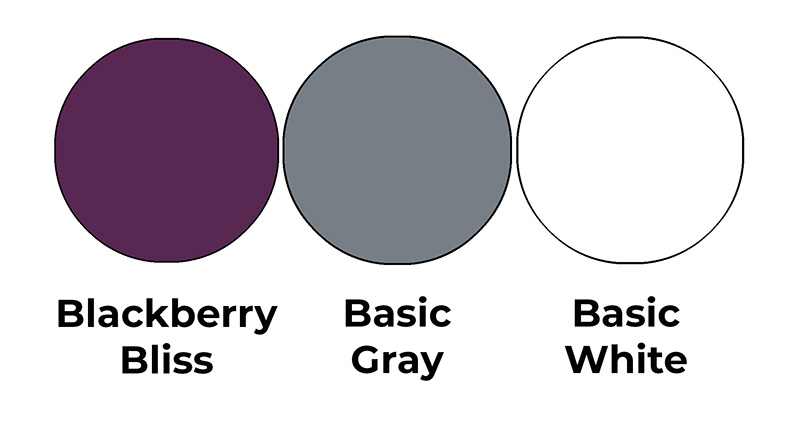
Colour Combo

The colour combo mixes Blackberry Bliss, Basic Gray and Basic White.
Peaceful cube Christmas card

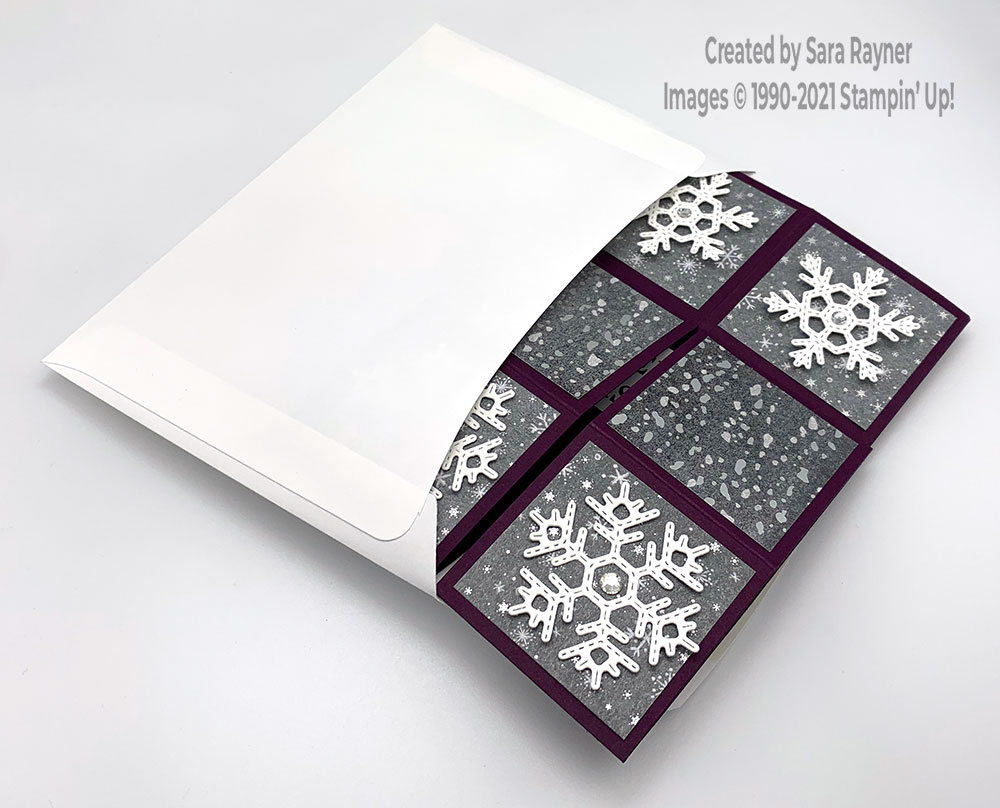
Cut and assemble the basic cube design from Blackberry Bliss card. Adhere direct, small squares of the snowflake pattern of Peaceful Place DSP to the front facing cubes. Adhere squares of the raindrop pattern from the same DSP pack to the top facing cubes (see also photo below). Die cut two each of two different snowflakes from Basic White card using the Stitched Snowflakes dies. Pop the solid centre snowflakes up on mini dimensionals on the two upper front facing cubes. Adhere the open centres of the other two snowflakes direct to the lower front facing cubes (leaving the arms of the snowflakes free to curl slightly.
Using Blackberry Bliss ink, stamp the sentiment from the Sparkle of the Season set onto a panel of Basic White card. (Note, I snipped my sentiment apart so that it fits over two lines instead of one long one). Position this around the centre column with small strips of Blackberry Bliss card. Finish the centres of the snowflakes with Basic Rhinestones.

I love how this card can fold flat to fit in a standard C6 envelope. You do need to take care that the sentiment label lays flat as you fold the card down in order not to damage or crease it.

Thanks for stopping by.
Sara xx
Buy the supplies for this peaceful cube Christmas card in my online shop.


0 Comments