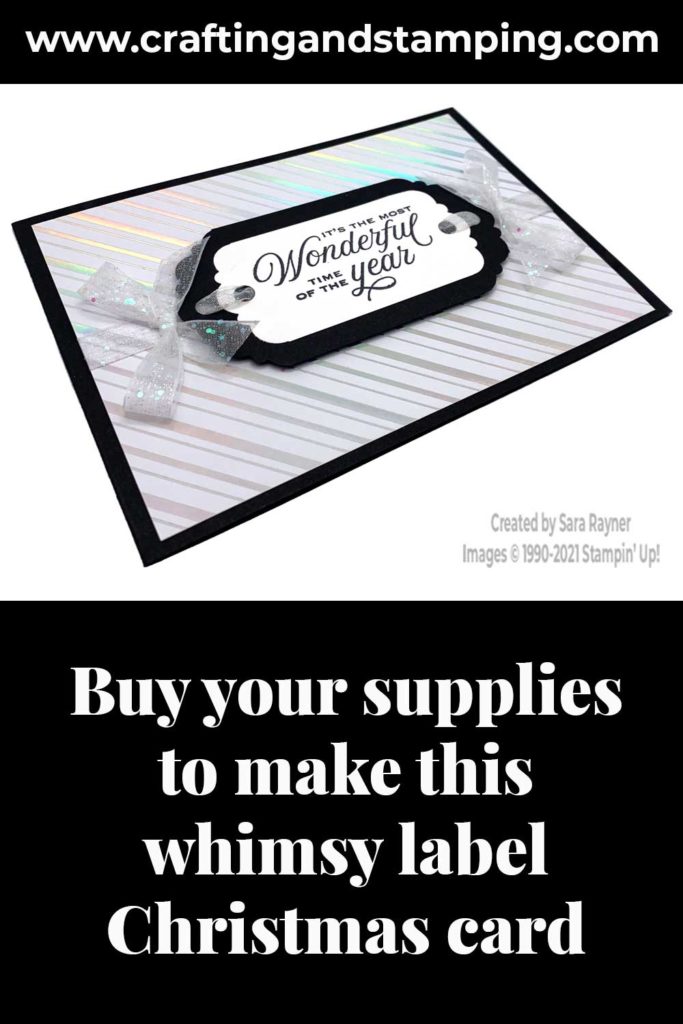
Today’s tutorial is for a whimsy label Christmas card. This pattern of white and iridescent stripes from the Whimsy & Wonder Specialty DSP is perfect for projects year round. Scroll down to see how the same card looks as a wedding card.
In the tutorial below, I take you step by step through creating the whimsy label Christmas card. I also have a supply list for purchasing anything you don’t already own.
Colour Combo
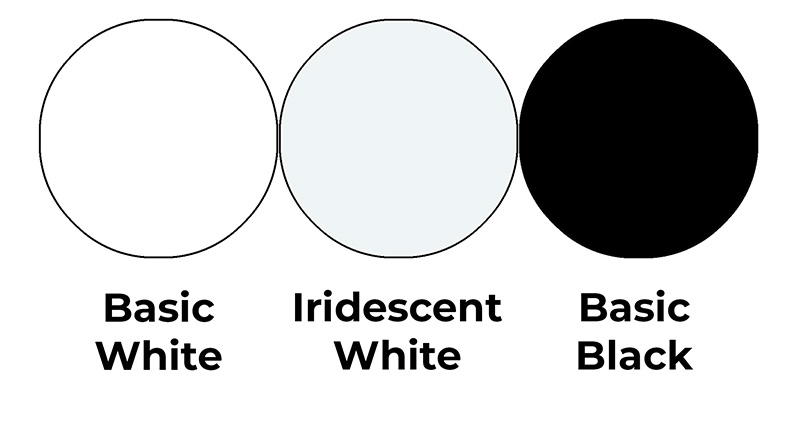
The colour combo mixes Basic White, Iridescent White and Basic Black.
Whimsy label Christmas card
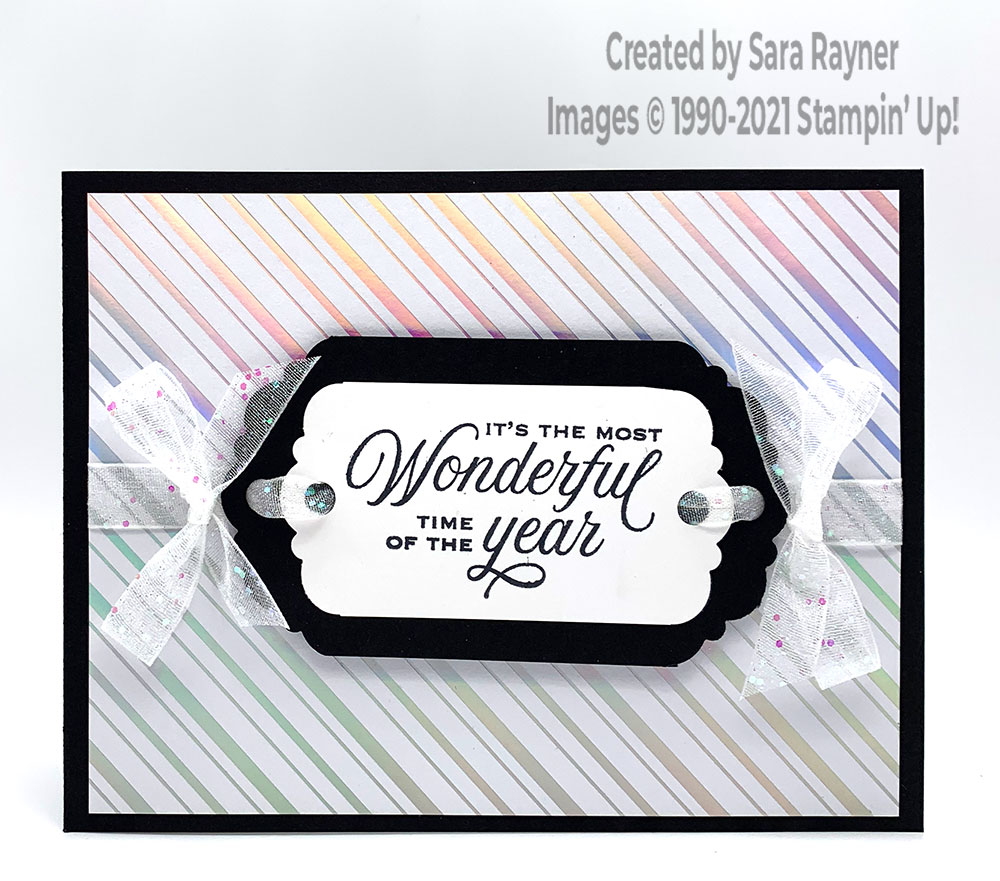
Start with an A6 landscape card of Basic Black. Punch a (slightly smaller than) 2″ x 4″ strip of Basic Black card with the Delightful Tag Topper at both ends. Punch a (slightly smaller than) 1-1/2″ x 3-1/4″ strip of Basic White card with the same punch. Using Memento Black ink, stamp a sentiment from the Tidings & Trimmings set onto the white label. Thread White Glittered Organdy Ribbon through both labels. Adhere the white label to the black label and then adhere the ribbon around a card front layer of Whimsy & Wonder Specialty DSP. Adhere the layers direct to the card front. Tie two bows of the same Glittered Ribbon and adhere at each end of the label with Mini Glue Dots.
Here’s a quick video giving some tips for altering your DSP. Please subscribe to my Youtube channel for future quick tips and quick cards.
Whimsy label Christmas card insert
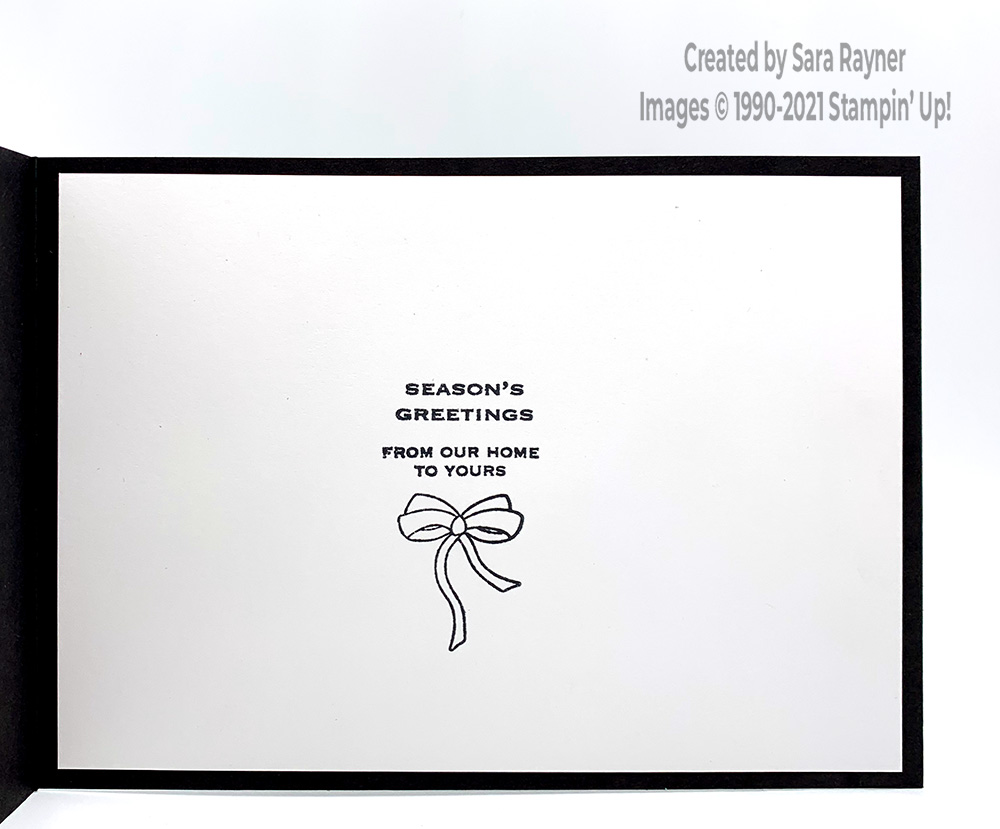
On the Basic White insert, using Memento Black ink, stamp a sentiment and a partial sentiment from the Tidings & Trimmings stamp set. Add a stamped bow below the sentiments.
Whimsy label wedding card
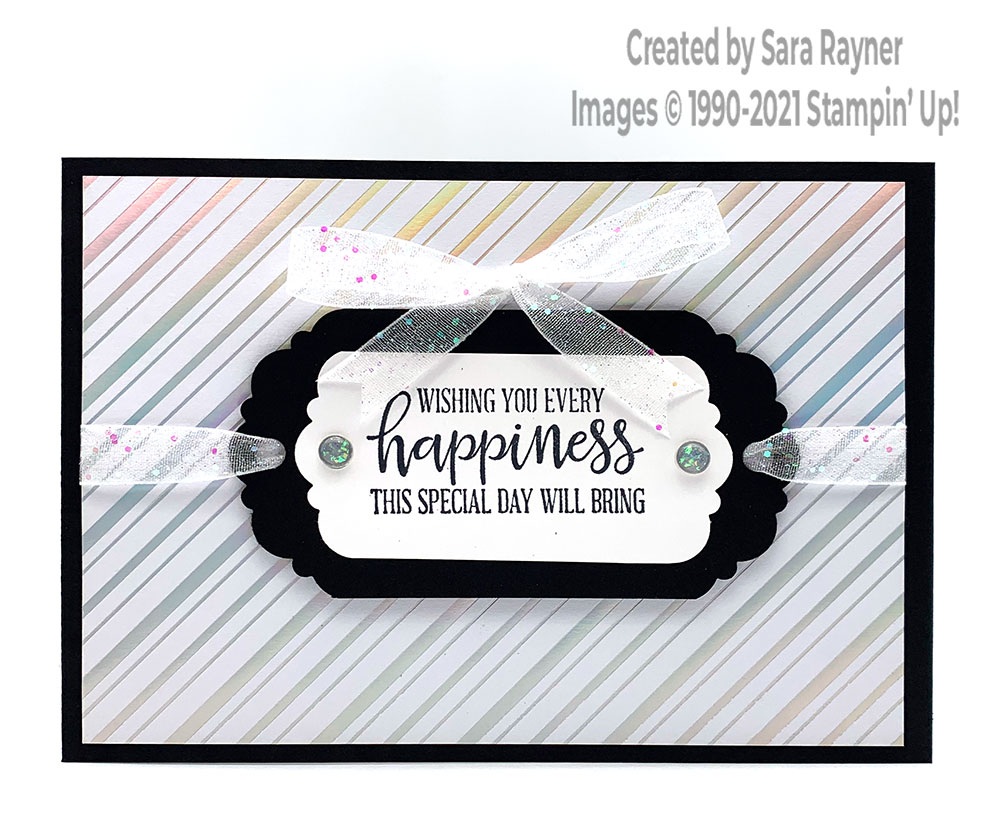
Here’s the same design as a wedding card. This time the ribbon is only threaded through the black label. The labels are popped up on the card front with dimensionals and Opal Rounds are added over the punch holes in the white label.
Thanks for stopping by.
Sara xx
Buy the supplies for this whimsy label Christmas card in my online shop .


0 Comments