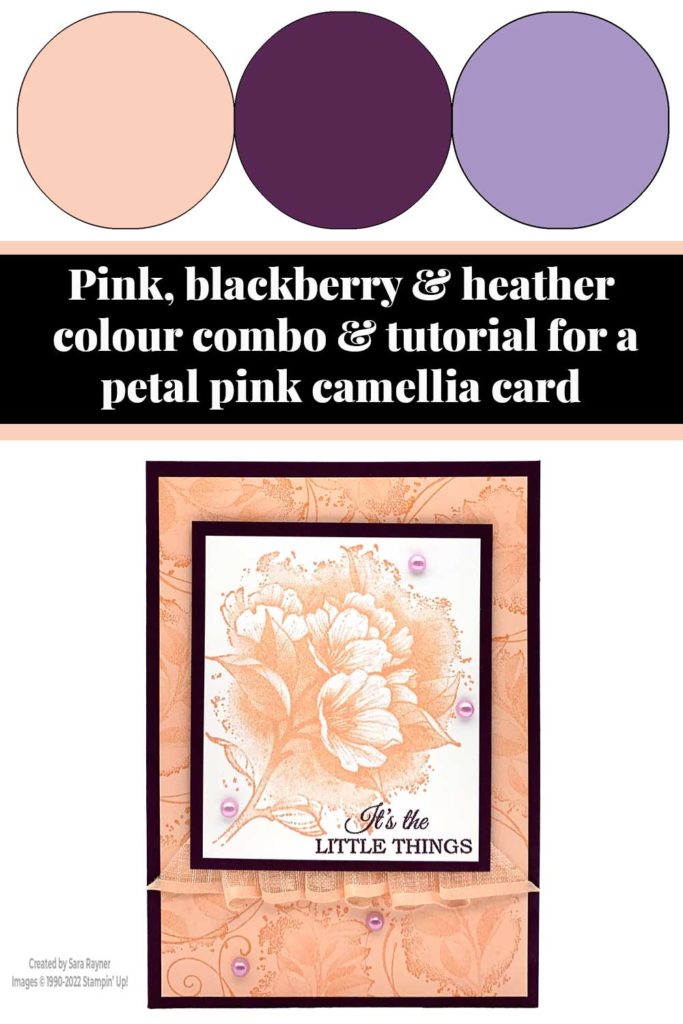
Today’s tutorial is for a petal pink camellia card. This is a slightly stepped up version of the quick camellia card I shared on Monday.
It adds a stamped background rather than using DSP. The main panel has been trimmed just a little smaller (about 1/8″ on each edge). This allows more of the background to show. A different style of ribbon has been added, as well as a few pearls.
In the tutorial below, I take you step by step through creating the petal pink camellia card. I also have a supply list for purchasing anything anything you don’t already own (the order code for the Calming Camellia stamp set is 158117).
If you host a workshop, party or class with sales of £275 or more during Sale-a-bration, then you will get the Calming Camellia set for free. Similarly, if you have a larger order all of your own and you spend £275 or more, then you also get the set for free. Now I agree that it is a lot of money to spend but if you have a bunch of friends who would all like to buy some new crafting goodies then those orders all add up and you could pass the stamp set between yourselves. Email me if you’d like to know more about earning this stamp set.
Colour Combo
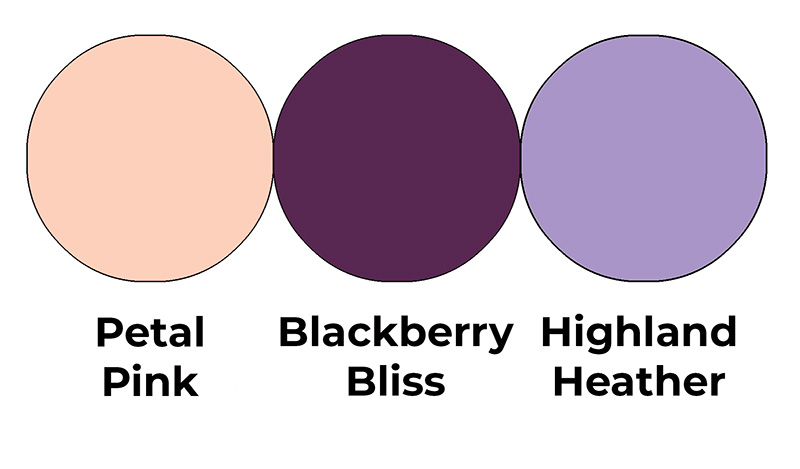
The colour combo mixes Petal Pink, Blackberry Bliss and just a splash of Highland Heather.
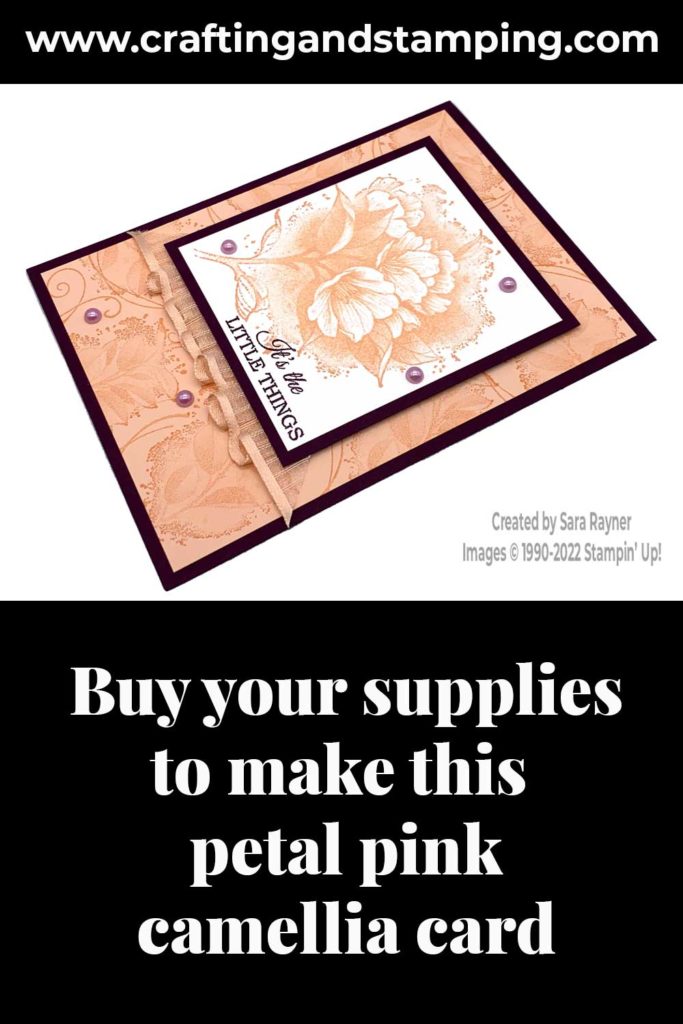
Petal pink camellia card
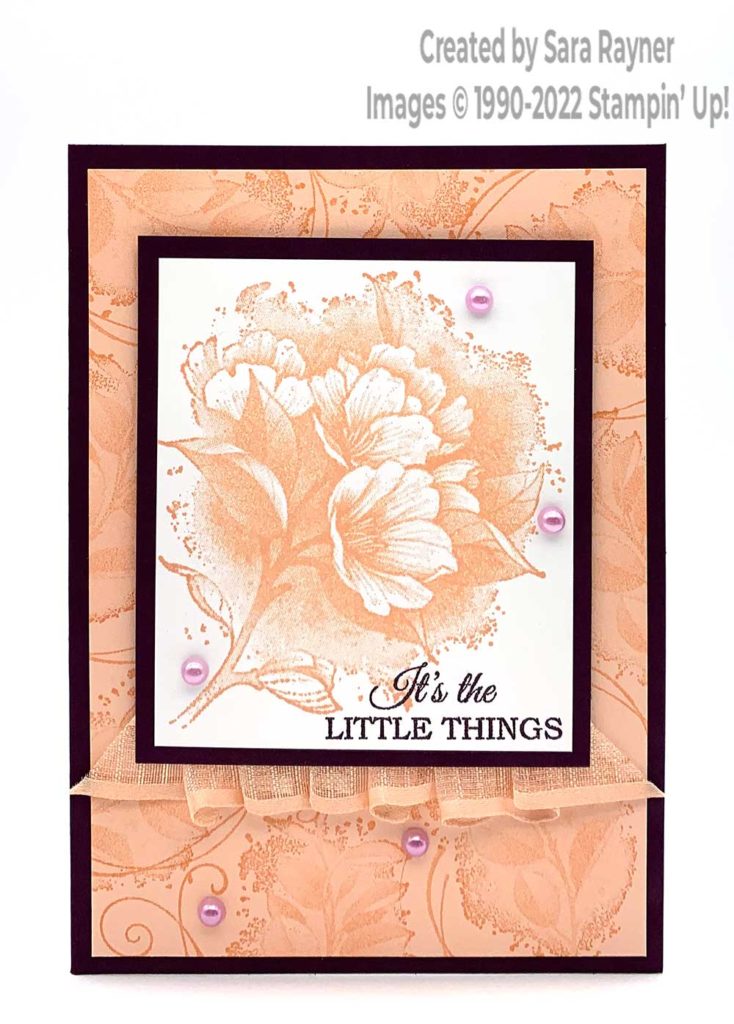
Start with an A6 portrait card of Blackberry Bliss. Cut a card front layer of Petal Pink. Using Petal Pink ink, stamp all around the edges (the centre will be covered anyway) with the leaf stamp from the Calming Camellia set. Stamp the swirl flourish in between the leaves, rotating the stamp. Adhere this direct to the card front.
Using Petal Pink ink, stamp the large floral spray onto a panel of Basic White card. Selectively ink the sentiment from the set (by masking off part of it) and stamp below the spray using Blackberry Bliss ink. (The darker ink will stand out and won’t cover anything important). Mat onto Blackberry Bliss card. Add a strip of Tear & Tape to the reverse base of the panel and pleat Petal Pink Organdy Striped Ribbon over the adhesive. Trim the ends of the ribbon and pop the panel up on the card front with dimensionals. Finish with a scattering of Pastel Pearls.
Here’s a quick video showing how to pleat the ribbon trim as I did in the card above. Please subscribe to my Youtube channel for future quick tips and quick cards.
Petal pink camellia card insert
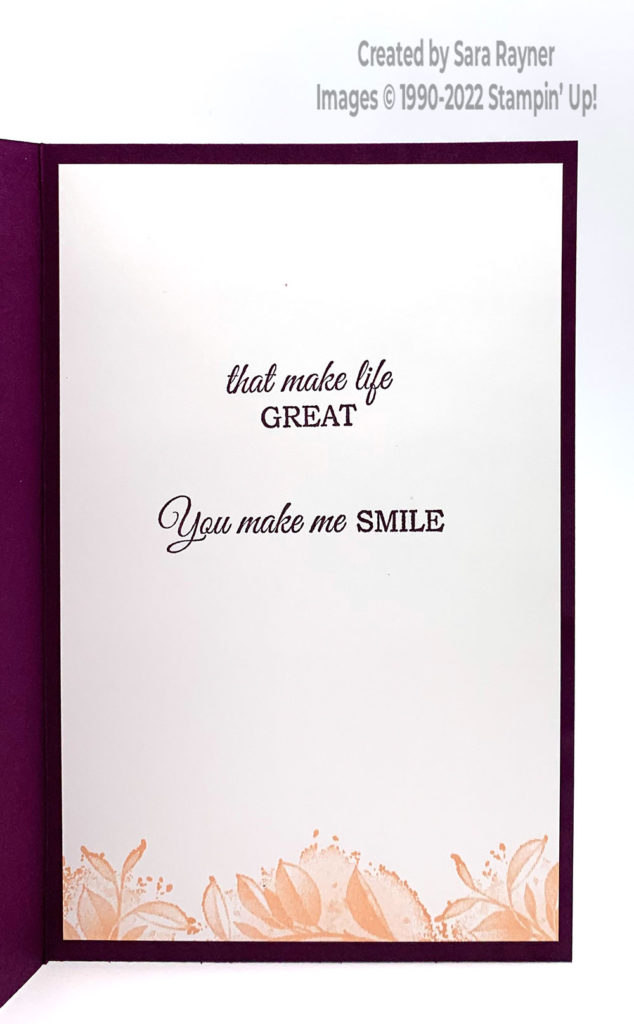
On the Basic White insert, using Blackberry Bliss ink, stamp the rest of the sentiment stamped on the front. Stamp another sentiment from the Calming Camellia set below this. Using Petal Pink ink, stamp the leaf from the set across the base, beginning in the centre and working outwards.
Thanks for stopping by.
Sara xx
Buy the supplies for this petal pink camellia card in my online shop (the order code for the Calming Camellia stamp set is 158117).


0 Comments