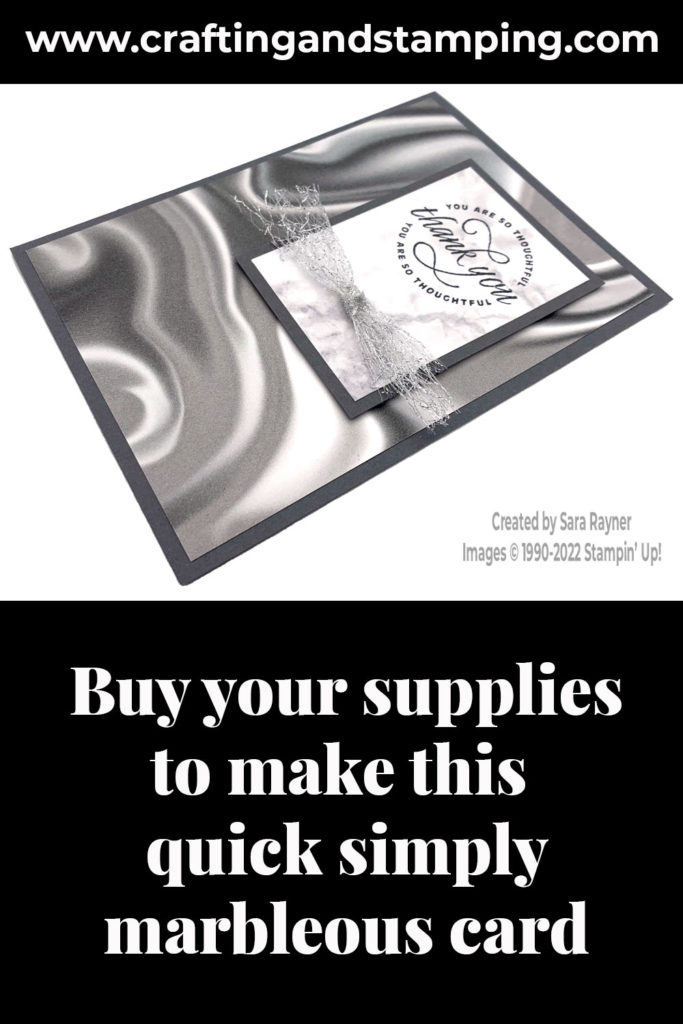
Today’s tutorial is for a quick Simply Marbleous card. The Simply Marbleous DSP has a swirled marble pattern on one side and a marbled rock pattern on the other. There are 6 different colours and a total of 48 6″ x 6″ sheets in the pack.
Each week over on my Facebook page (please pop over and Like or Follow) I choose a product pick of the week to feature. This week, it’s the Simply Marbleous DSP. I’ll have a selection of tutorials for you throughout the week that share different ideas for using these papers.
In the tutorial below, I take you step by step through creating the quick Simply Marbleous card. I also have a supply list for purchasing anything anything you don’t already own (the order code for the Simply Marbleous DSP is 158128).
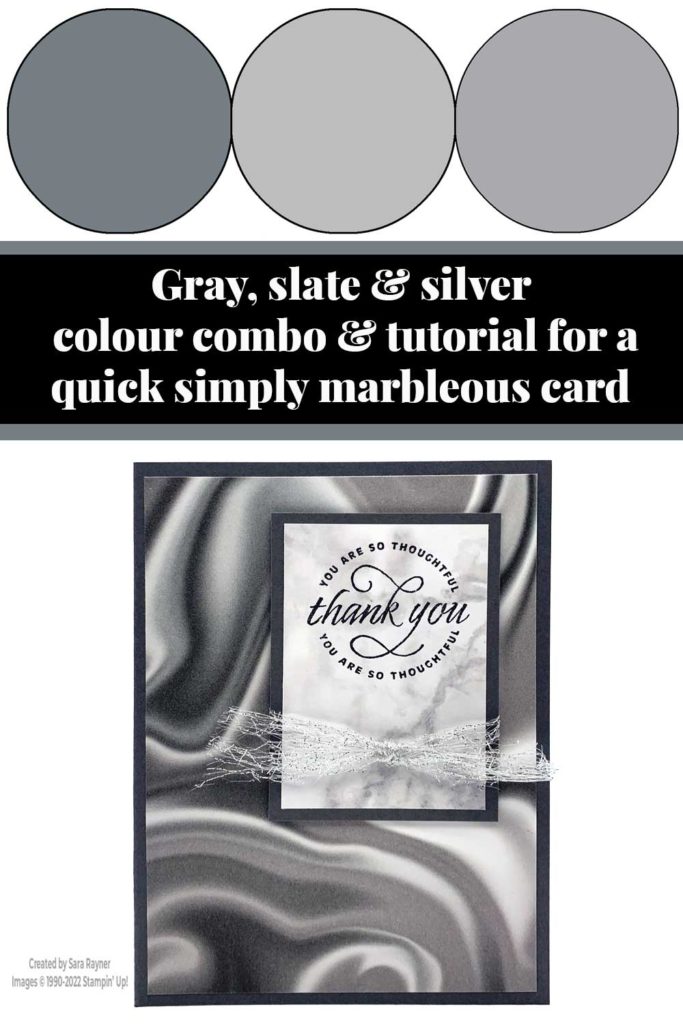
This design is based on one that I made a couple of years ago, also with the then Sale-a-bration products.
Colour Combo
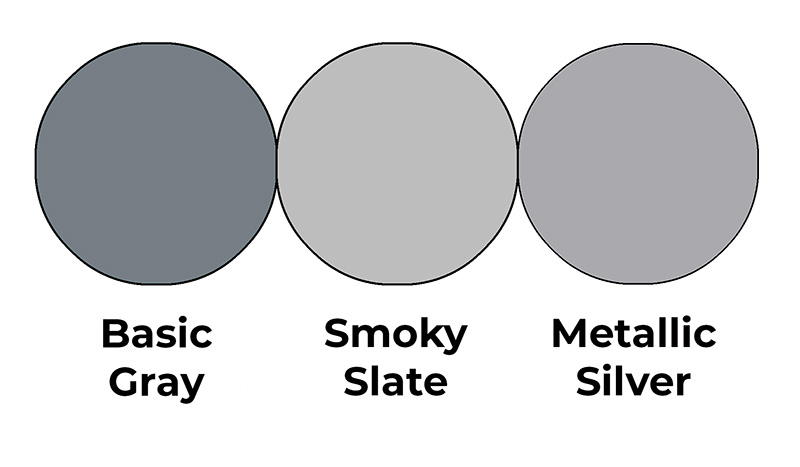
The colour combo mixes Basic Gray, Smoky Slate and Metallic Silver.
Quick Simply Marbleous card
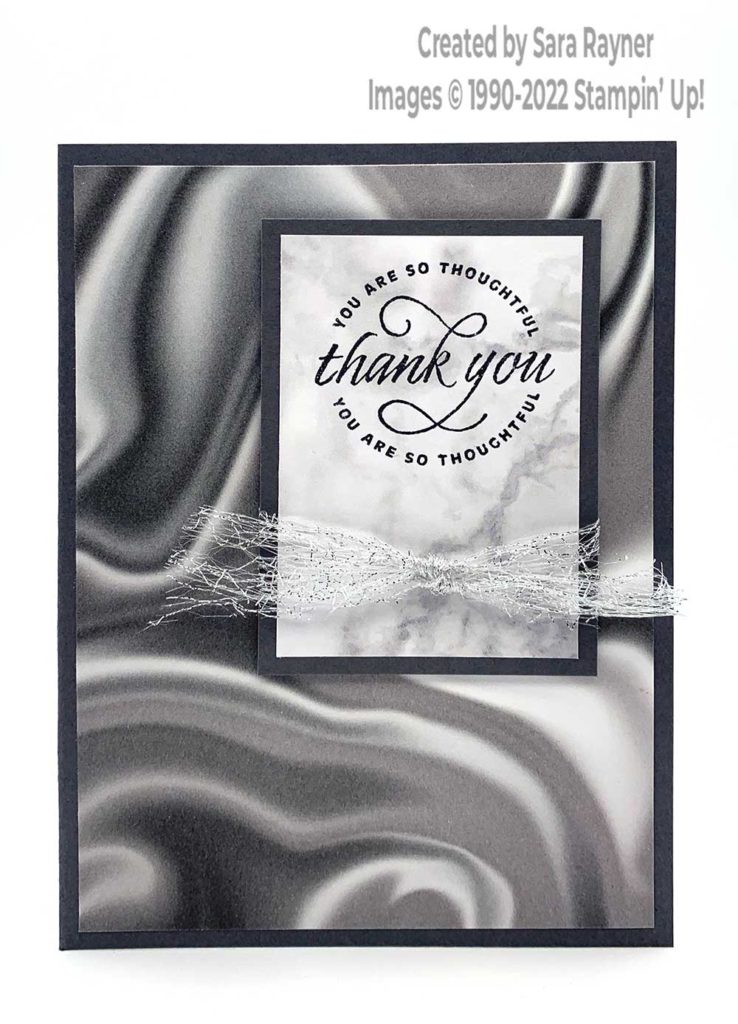
Start with an A6 portrait card of Basic Gray. Cut a card front layer (3-7/8″ x 5-1/2″) of the Simply Marbleous DSP. Adhere this direct to the card front. Cut a panel (2″ x 3″) from the remaining DSP. Using Memento Black ink, stamp the sentiment from the Flowering Tulips set onto the DSP panel. Mat onto (2-1/4″ x 3-1/4″) Basic Gray card. Fold Metallic Mesh Ribbon in half and wrap around the sentiment panel, securing it on the reverse. Tie on a small knot of the same folded ribbon and pop the panel up on the card front with dimensionals.
Here’s a short video showing how this quick card comes together. Please subscribe to my Youtube channel to see my quick cards and quick tips each week.
Quick Simply Marbleous card insert
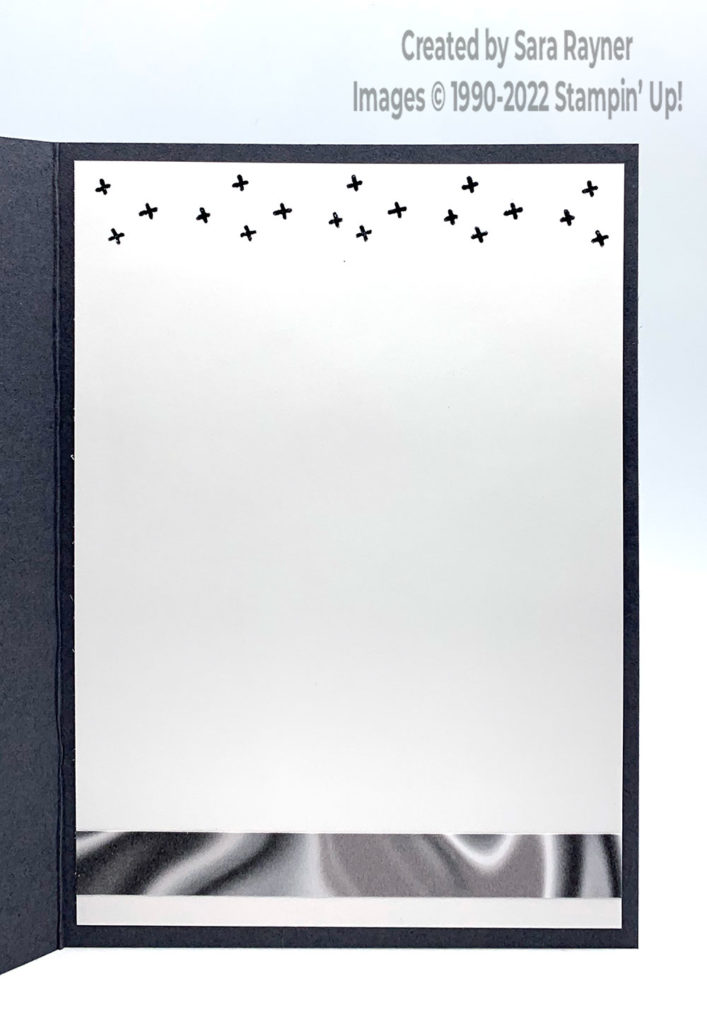
On the Basic White insert, using Memento Black ink, stamp the small cross pattern from the Flowering Tulips set repeatedly across the top. Add a border of the Simply Marbleous DSP across the base.
Thanks for stopping by.
Sara xx
Buy the supplies for this quick Simply Marbleous card in my online shop (the order code for the Simply Marbleous DSP is 158128).


0 Comments