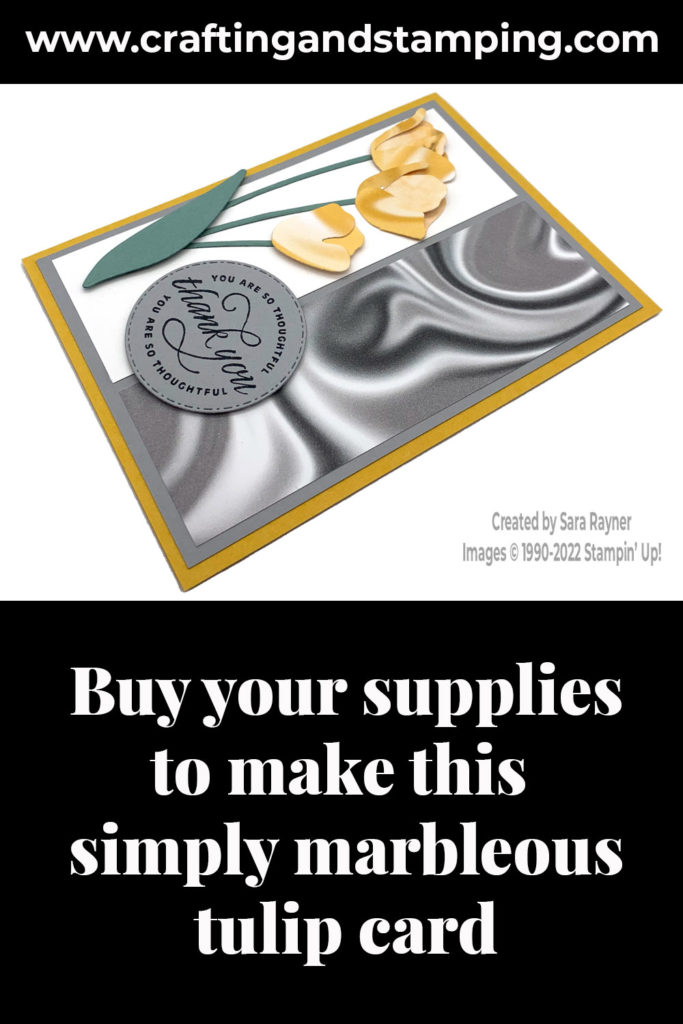
Today’s tutorial is for a simply marbleous tulip card. It uses two of the colour patterns from the Simply Marbleous DSP (free with a £45 purchase during Sale-a-bration).
The marbling on both sides of the paper provides great variation and texture for the die cut flower petals.
In the tutorial below, I take you step by step through creating the simply marbleous tulip card. I also have a supply list for purchasing anything anything you don’t already own (the order code for the Simply Marbleous DSP is 158128).
Colour Combo
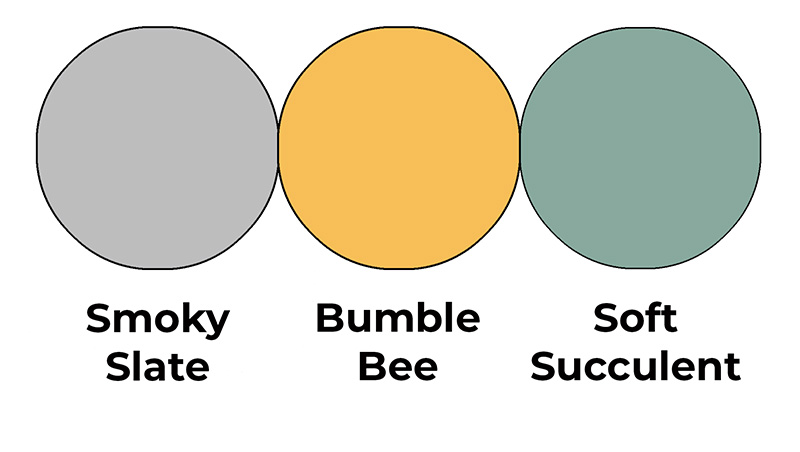
The colour combo mixes Smoky Slate, Bumble Bee and Soft Succulent.
Simply marbleous tulip card
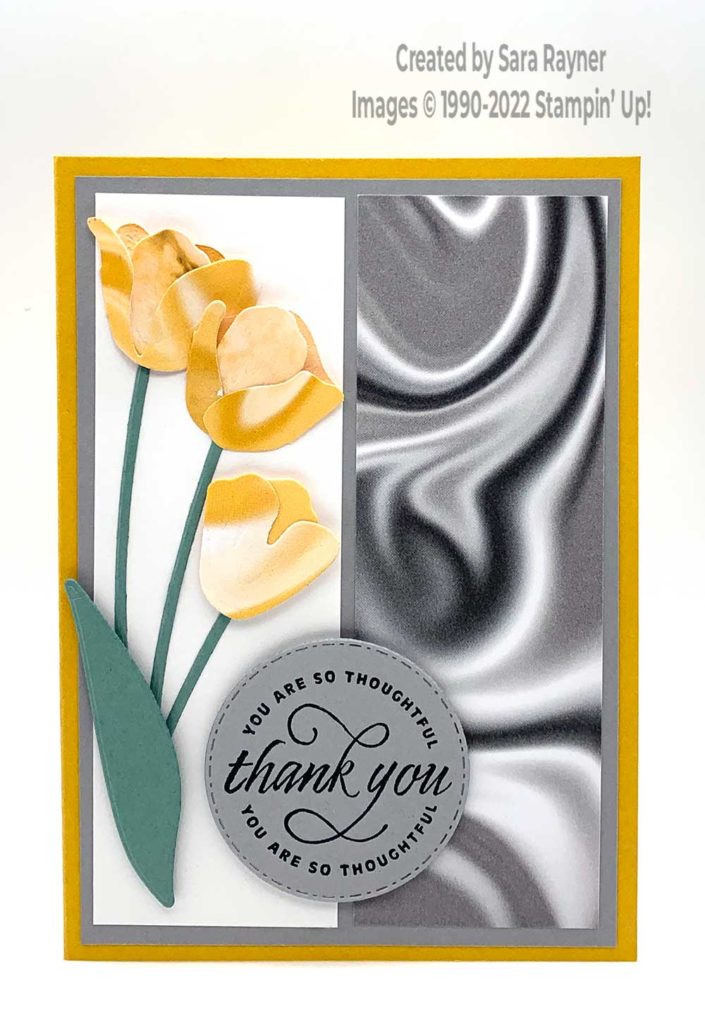
Start with an A6 portrait card of Bumble Bee. Adhere a card front layer of Smoky Slate direct to the card front. Cut two card front panels, one of Basic White card and the other of Gray Simply Marbleous DSP. Adhere them direct to the card front.
Using the Tulip dies, cut three stems and one leaf from Soft Succulent card. Cut petals from the Bumble Bee and Saffron sides of the Simply Marbleous DSP. Adhere the stems direct to the Basic White panel, trimming them as needed to fit. Assemble the tulips with mini dimensionals and adhere direct to the top of the stems. Pop the leaf up at the base with mini dimensionals. Die cut a stitched circle using the Warm Wraps die set. Using Memento Black ink, stamp a sentiment from the Flowering Tulips set onto the circle and pop up on the card front with dimensionals.
Simply marbleous tulip card insert
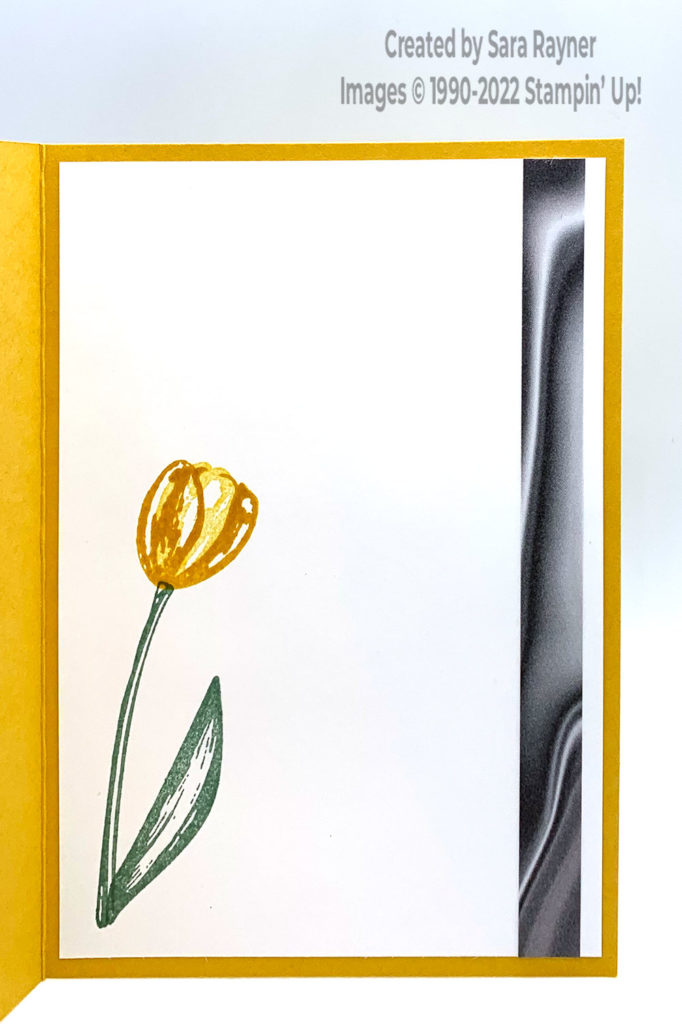
On the Basic White insert, using Soft Succulent ink, stamp a stem and a leaf from the Flowering Tulips stamp set. Stamp an inner petal at the top of the stem with So Saffron ink. Use Bumble Bee ink to stamp the outer petals over the top. Add a border of the Simply Marbleous DSP down the right hand side.
Thanks for stopping by.
Sara xx
Buy the supplies for this simply marbleous tulip card in my online shop (the order code for the Simply Marbleous DSP is 158128).


0 Comments