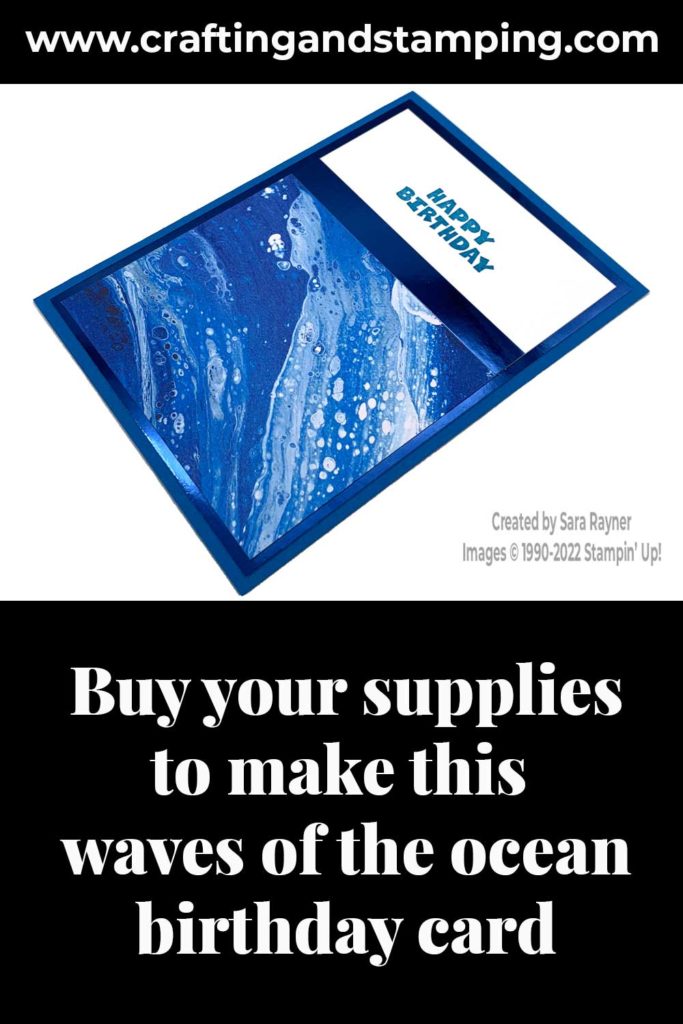
Today’s tutorial is for a quick Waves of the Ocean card. It’s a sneak peek of a new collection that comes out tomorrow.
Each week over on my Facebook page (please pop over and Like or Follow) I choose a product pick of the week to feature. This week, it’s the Waves if the Ocean DSP which launches tomorrow. I’ll have a selection of tutorials for you throughout the week, that share different ideas for using these pretty papers.
In the tutorial below, I take you step by step through creating the quick Waves of the Ocean card. I also have a supply list for purchasing anything anything you don’t already own.
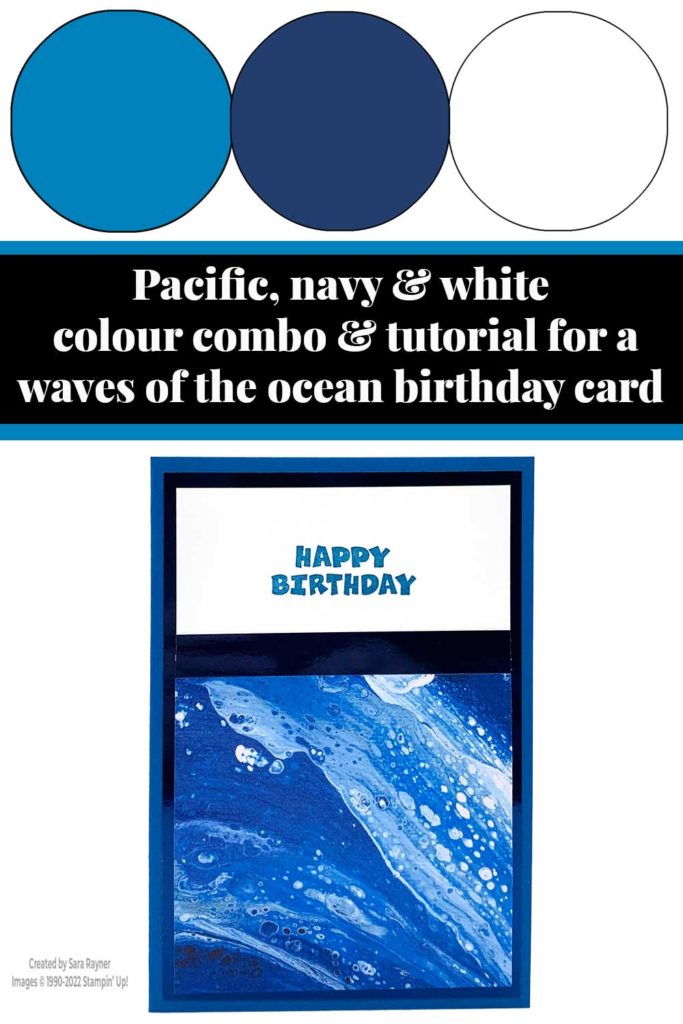
Colour Combo
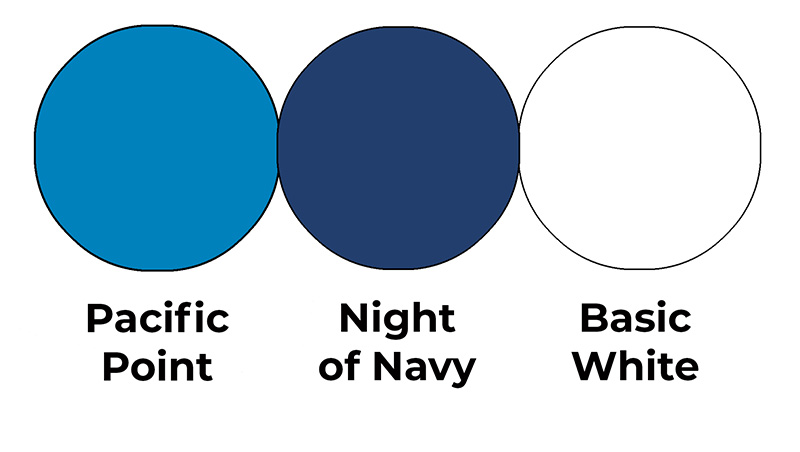
The colour combo mixes Pacific Point, Night of Navy and Basic White.
Quick Waves of the Ocean card
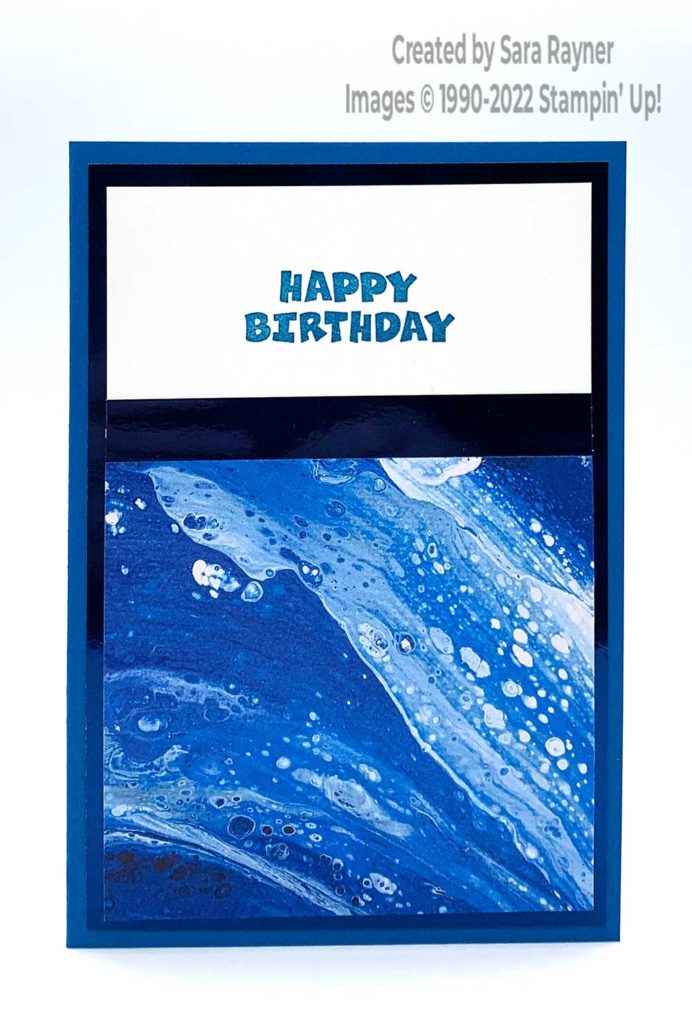
Start with an A6 portrait card of Pacific Point. Cut a card front layer (3-7/8″ x 5-1/2″) of Night of Navy Foil. Cut the next layer (3-5/8″ x 5-1/4″) of Basic White card. Using Pacific Point ink, stamp a sentiment from the A Grand Kid set, onto the Basic White layer. Cut a card front layer (3-5/8″ x 3-1/4″) of Waves of the Ocean DSP and adhere below the sentiment. Adhere these layers direct to the Foil layer. Add a strip of Night of Navy Foil above the DSP, trimming away any excess. Adhere the layers direct to the card front.
Here’s a short video showing how this quick card comes together and you get to see all the papers. Please subscribe to my Youtube channel to see my quick cards and quick tips each week.
Quick Waves of the Ocean card insert
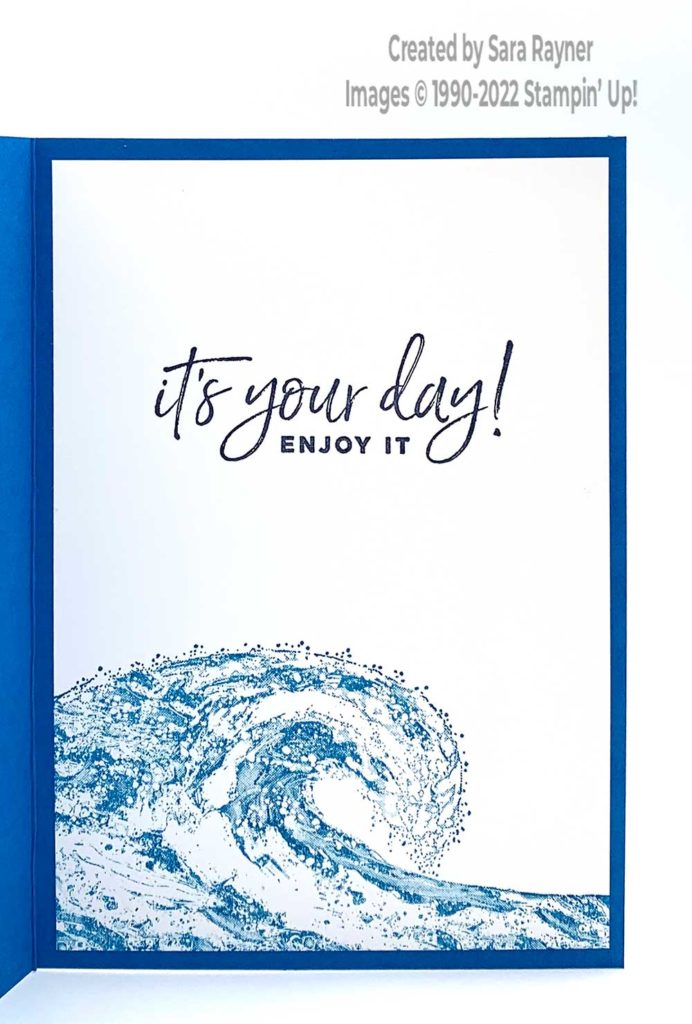
On the Basic White insert, using Night of Navy ink, stamp a sentiment from the Happiest of Birthdays set. Stamp the large wave from the Waves of Inspiration set, at the base of the insert, with Pacific Point ink.
Thanks for stopping by.
Sara xx
Buy the supplies for this quick Waves of the Ocean card in my online shop.


0 Comments