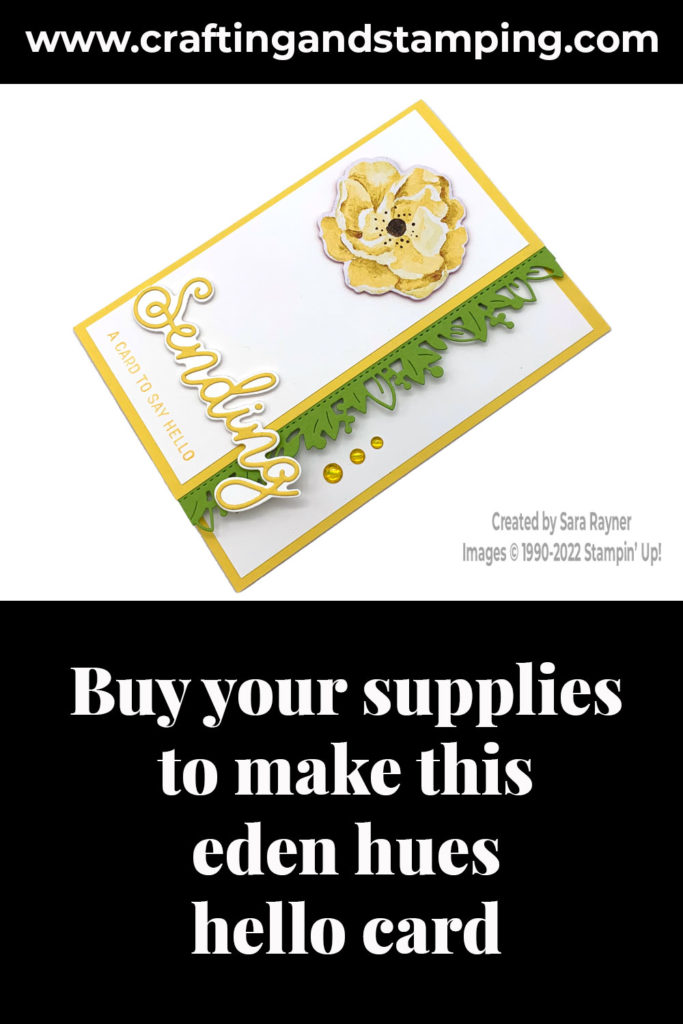
Today’s tutorial is for an Eden Hues hello card. It combines the Eden dies with the Hues of Happiness and Sending Smiles bundle. The front is cutaway similar to the cutaway symbols of fortune card I made previously.
This was my swap card for my team a few months ago when I set a sketch challenge.
In the tutorial below, I take you step by step through creating the Eden Hues hello card. I also have a supply list for purchasing anything anything you don’t already own.
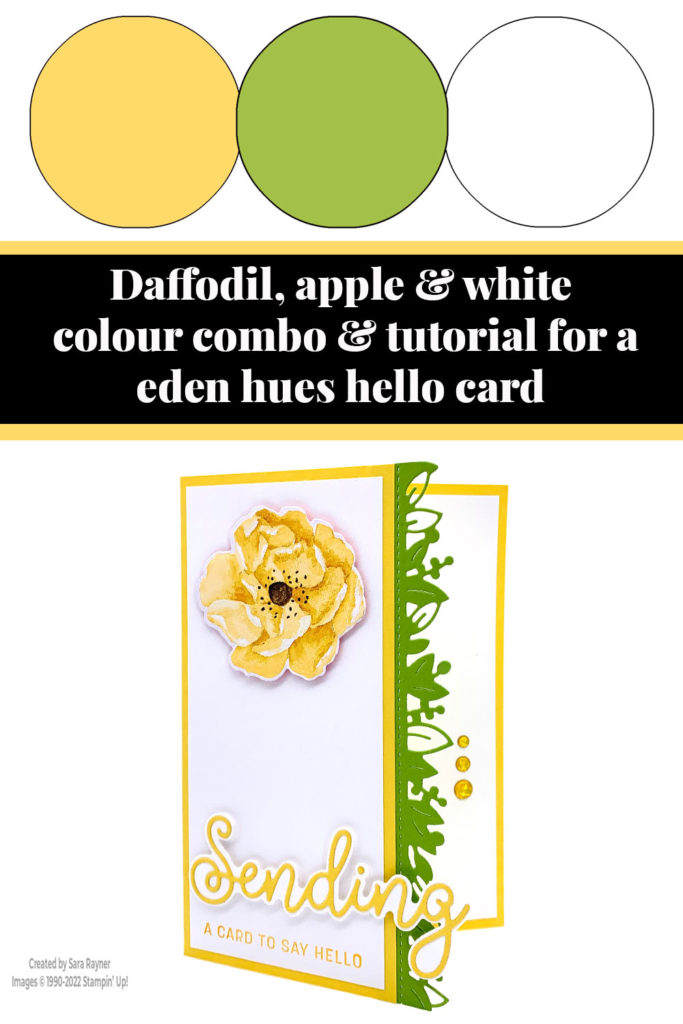
Colour Combo
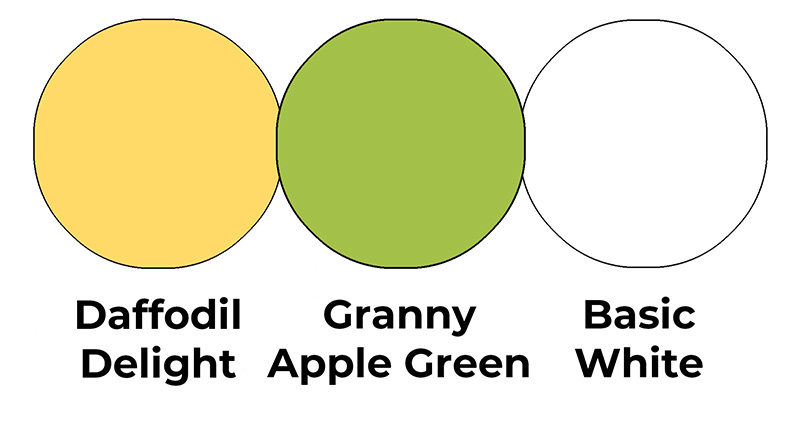
The colour combo mixes Daffodil Delight, Granny Apple Green and Basic White.
Eden Hues hello card
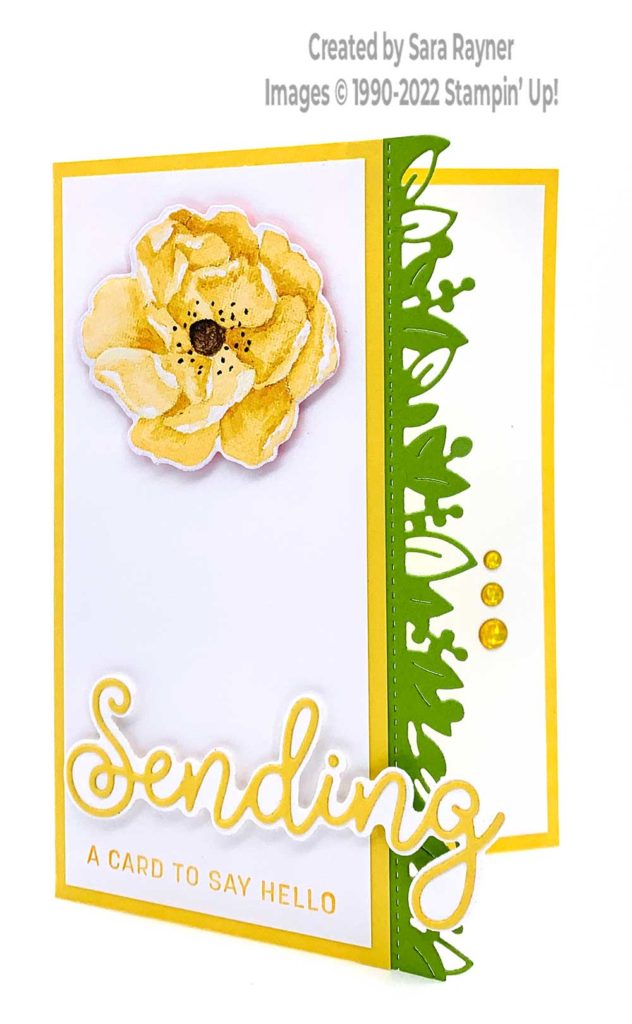
Start with an A6 portrait card of Daffodil Delight. Cut a card front layer of Basic White. Using Mango Melody ink, stamp a sentiment from the Sending Smiles set at the base of the layer. Adhere the layer direct to the (cutaway) card front. Using the Blossoming Happiness dies, die cut a Daffodil Delight flower from the Hues of Happiness DSP. Pop this up on dimensionals at the top of the card front. Die cut the detailed “Sending” sentiment from Daffodil Delight and adhere it to an outline of the word die cut from Basic White card. Pop the sentiment up on the card front, above the stamped sentiment, with dimensionals. Using the Eden dies, die cut a border from Granny Apple Green card and adhere behind the cutaway edge of the card front.
Eden Hues hello card insert
On the Basic White insert, using Memento ink, stamp a sentiment from the Paradise Palms stamp set. Add a trio of Glossy Dots Assortment in the lower right corner so that they will be seen whether the card is open or closed.
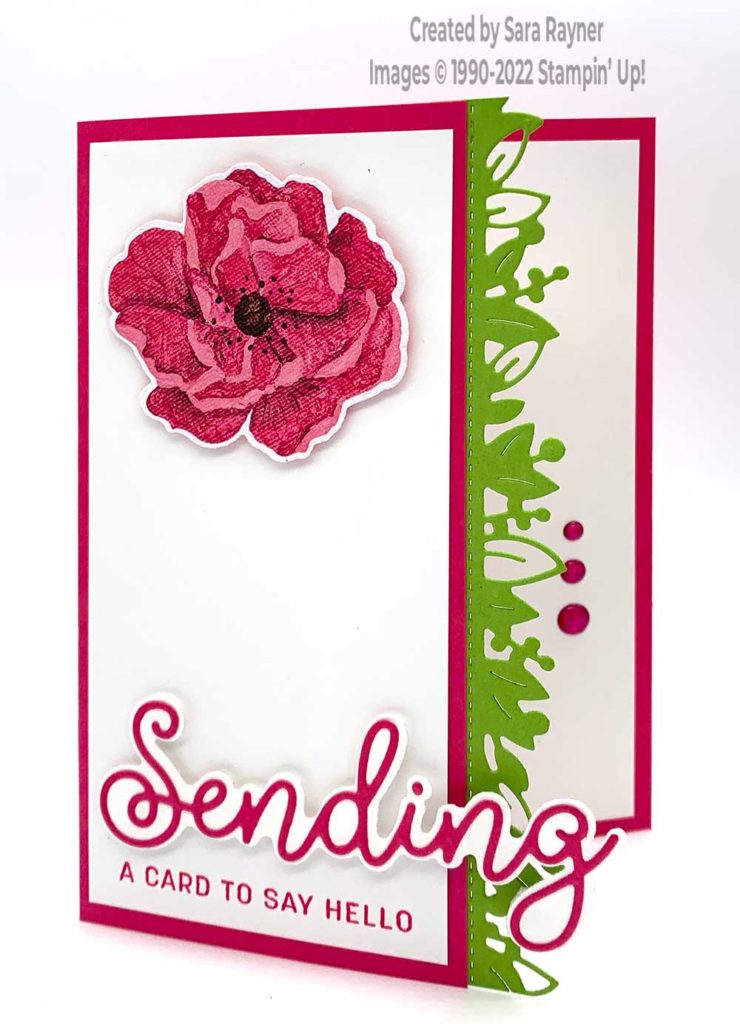
Here’s another version of the same card using Melon Mambo instead of Daffodil Delight.
Thanks for stopping by.
Sara xx
Buy the supplies for this Eden Hues hello card in my online shop.


0 Comments