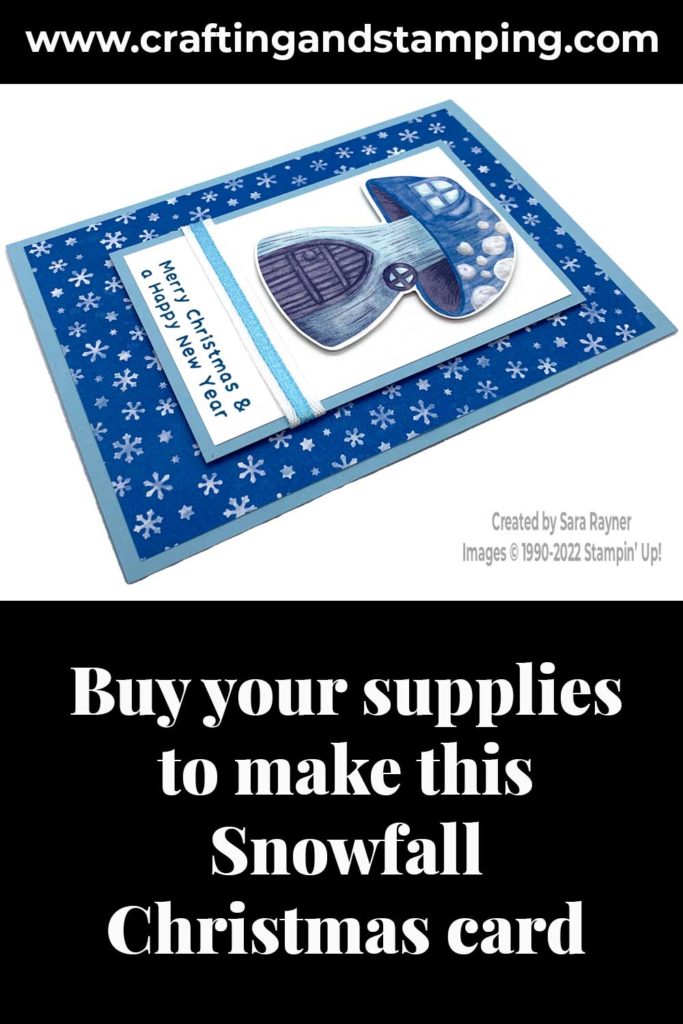
Today’s tutorial is for a Snowfall Christmas card. Snow is added to the roof of the toadstool house with Snowfall Accents Puff Paint.
As I’m featuring the Gnomes dies this week, I die cut the toadstool house from the Storybook Gnomes DSP. Another option is to stamp the same house from the Kindest Gnomes set and colour it in.
In the tutorial below, I take you step by step through creating the Snowfall Christmas card. I also have a supply list for purchasing anything you don’t already own.
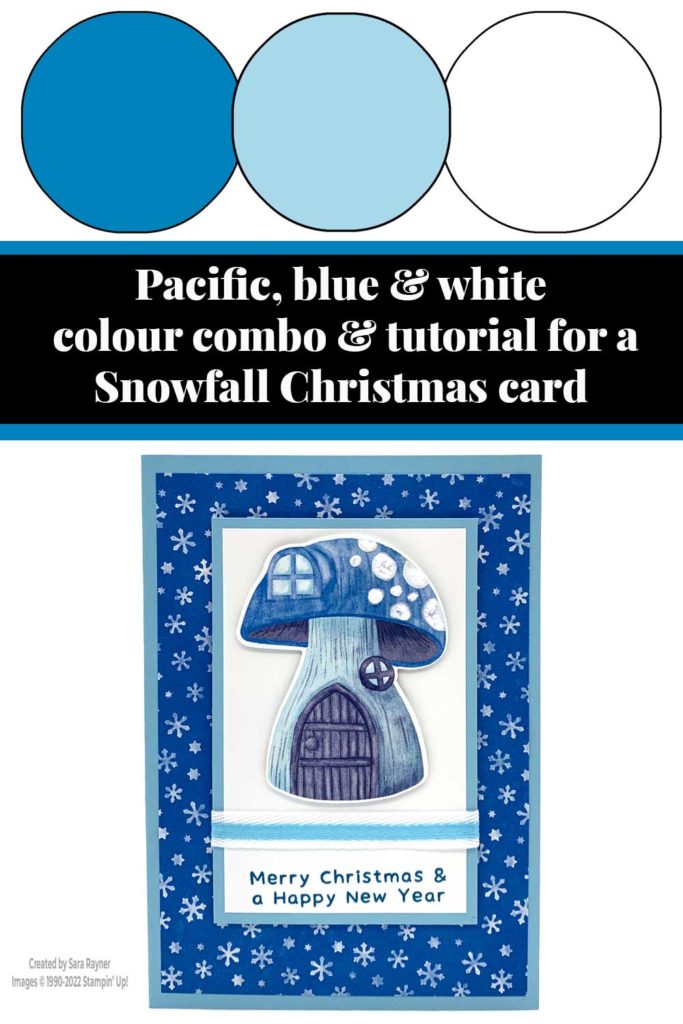
Colour Combo
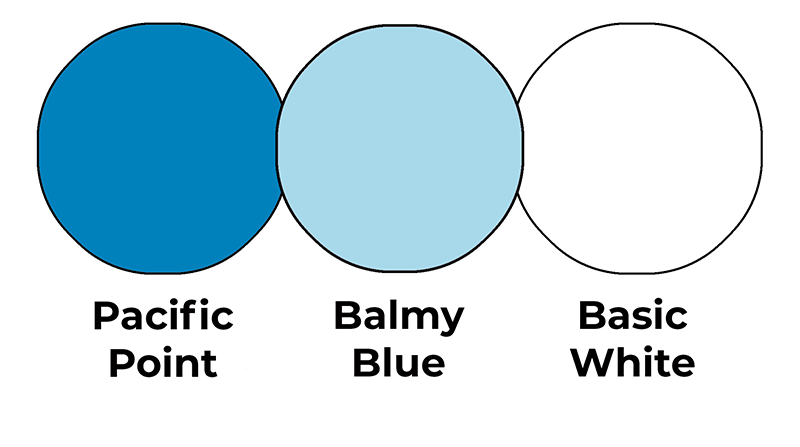
This colour combo mixes Pacific Point, Balmy Blue and Basic White.
Snowfall Christmas card
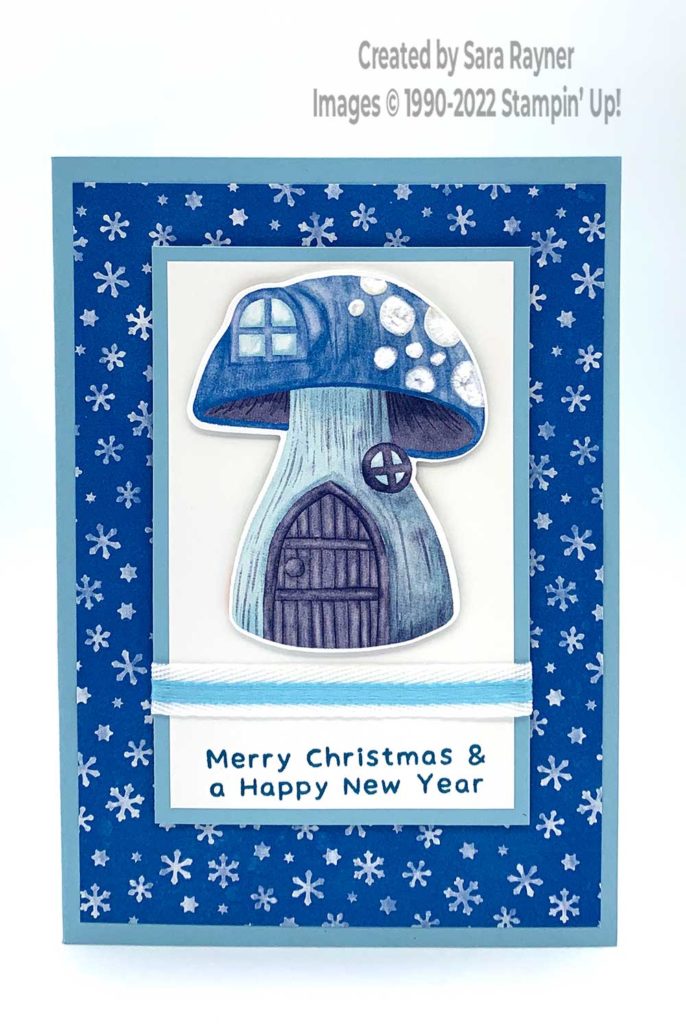
Start with an A6 portrait card of Balmy Blue. Mat with a card front layer of Storybook Gnomes DSP. Cut a card front panel of Basic White card. Using Pacific Point ink, stamp a sentiment from the Kindest Gnomes set at the base of the panel. Mat onto Balmy Blue card. Wrap Balmy Blue & White Double-Stitched Ribbon just above the sentiment and secure on the revers. Pop the panel up on the card front with dimensionals. Using the Gnomes dies, die cut a large toadstool house from Storybook Gnomes DSP. Paint Snowfall Accents Puff Paint over the spots on the roof of the toadstool house. Heat the Puff Paint with a Heat Tool to raise it (see video). Pop the toadstool up on the card front with dimensionals.
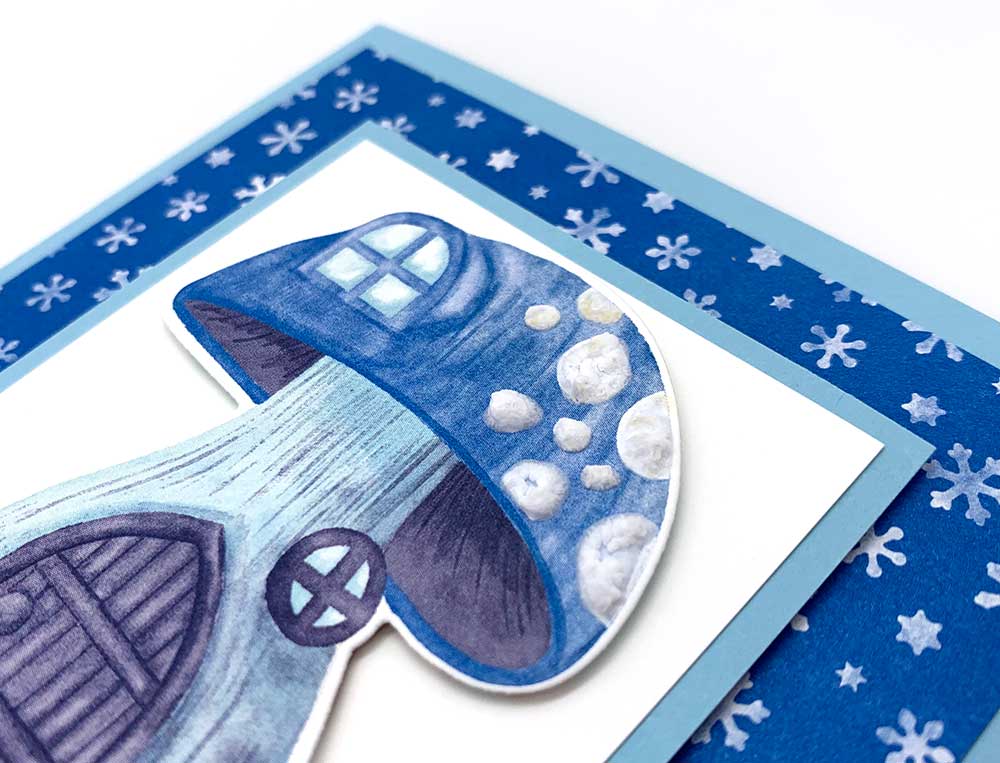
Here’s a short video with a few tips on using the Snowfall Accents Puff Paint. Please subscribe to my Youtube channel to see my quick cards and quick tips each week.
Snowfall Christmas card insert
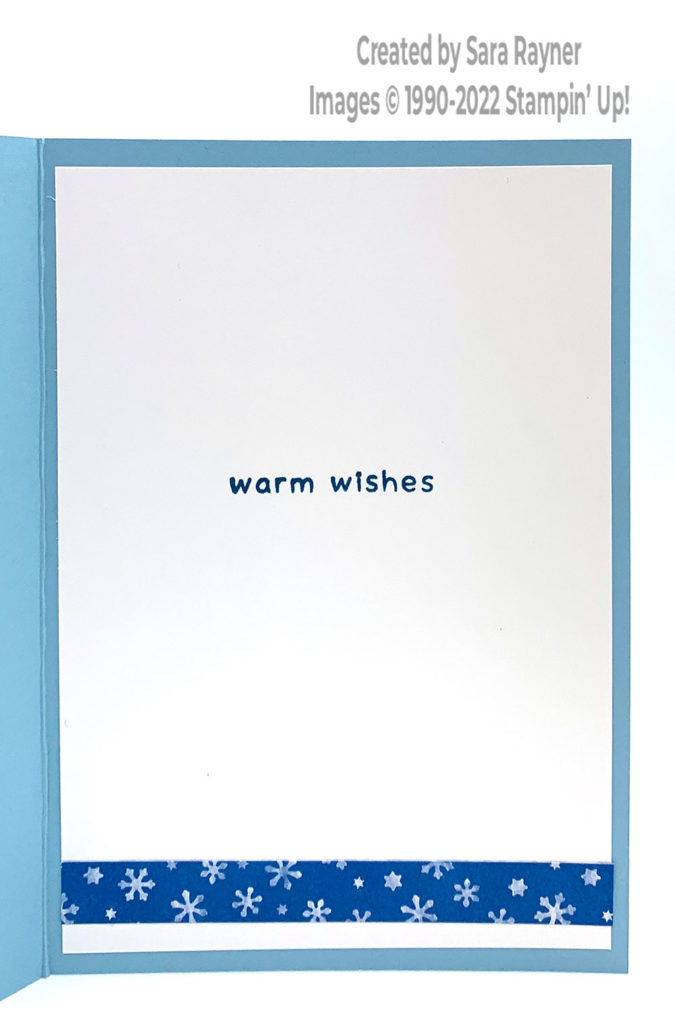
On the Basic White insert, using Pacific Point ink, stamp another sentiment from the Kindest Gnomes set. Add a border of Storybook Gnomes DSP along the base.
Thanks for stopping by.
Sara xx
Buy the supplies for this Snowfall Christmas card in my online shop.


0 Comments