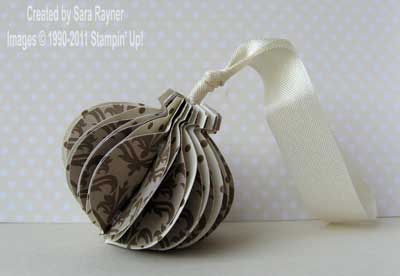
This paper bauble is simple to put together and no mess – so it’s a perfect project for the kids, if you need to keep them occupied (it also works pretty well at keeping the adults quiet – I gave this one to DH to do  ).
).
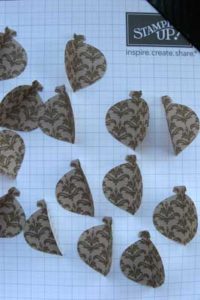 1. Punch 18 ornaments from DSP and score each one down the centre from top to bottom.
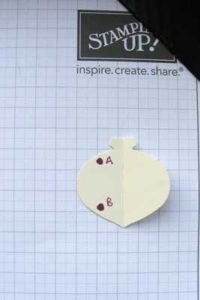
2. Apply glue dots at points A and B on each bauble and close in half.
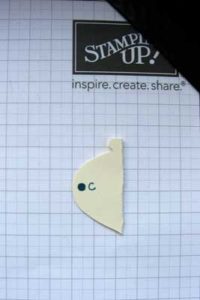
3. Apply glue dots at point C on each bauble and stack them together, one on top of the other, ensuring that the top-most bauble also has one.
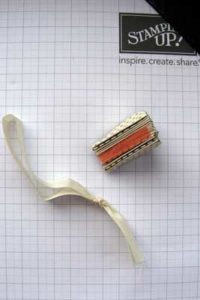 4. Apply Sticky Strip along the spine of the folded baubles. Tie a knot in the ribbon and adhere the “tails” of it to the Sticky Strip. Fold the baubles round to meet each other and adhere the final glue dot in place.
And here’s the finished bauble.



0 Comments