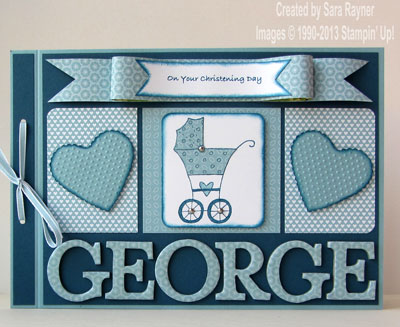
Yesterday I shared this christening card with personalised lettering. The technique for creating these glossy letters is quite simple and I’ve added a couple of tips for keeping any waste to a minimum.
Step 1 – Roughly cut pieces of On Board sheets (114320) to a little larger than the letter(s) you’re going to die cut. (Tip – some of the specialty DSP is backed with chipboard – at no extra cost!).
Step 2 – Cover the chipboard with the same size of Multipurpose Adhesive sheet (120805), first peeling off one side of backing to adhere it to the chipboard and then peeling off the other side to leave just a layer of adhesive sitting on top of the chipboard.
Step 3 – Apply the same size of your chosen paper to the adhesive (preferred side facing up/outward) and burnish to create a good bond.
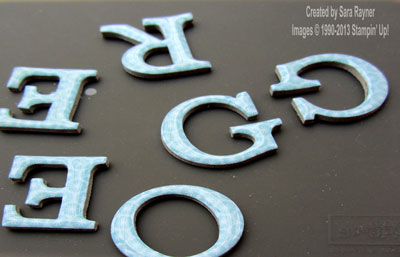
Step 4 – Place the covered chipboard piece paper side down over the appropriate letter on the Typeset Alphabet die (127553) and run through the Big Shot. (Optional – daub the chipboard edges with a matching ink).
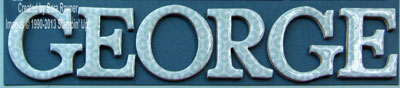
Step 5 – Place the letters onto a Silicone Craft Sheet (127853) and apply Crystal Effects (101055) over the top of the letters and allow to dry (the silicone sheet prevents the letters from accidentally sticking to your work surface).
Depending on how thickly you apply the Crystal Effects, it may take from 30min to several hours to dry and if applied very thickly then I’d recommend leaving overnight to dry to avoid putting fingerprints in the gloss.
Now your letters are ready to use.
As well as spelling names, try using just one glossed up letter at the beginning of a word or stamp part of a sentiment and letter the other part.
Have fun!


0 Comments