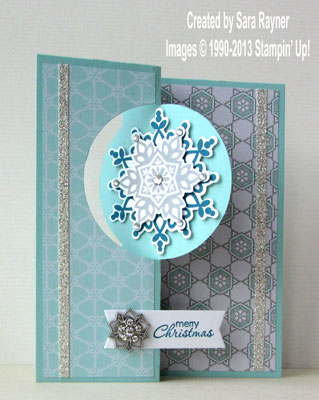
Our new thinlit card dies make very quick and easy flip cards.
There are two styles, a circle (133480 – pictured right) and a label (133479 – pictured in the tips below).
I’ve got a few tips to share with you for how to get the most from these thinlits but first, here’s a short video from SU! to give you an overview of how they work.
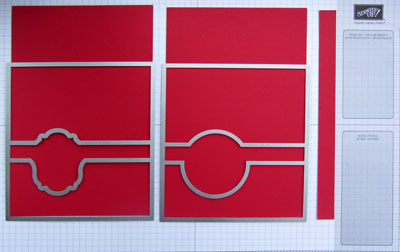
Tip 1 – Each thinlit cuts a card that is 6″ x 5-1/2″ so you can get two thinlits from 1 sheet of A4 (seen here landscape) with a small strip left at the end and a panel cut off each thinlit (the piece you can see extending beyond the metal at the top).
 Tip 2 – For mats to fit the front and back of the card with a small margin around, cut front 1-3/4″ x 5-1/4″ and back 2-3/4″ x 5-1/4″. Centre these within the thinlit but with the long edge tucked underneath the shaping (the magnetic platform helps hold these in place when running the paper through the Big Shot).
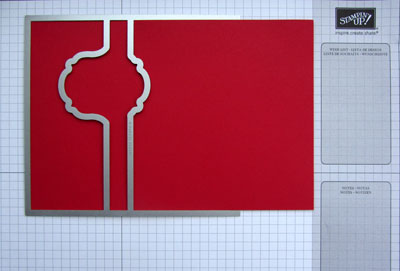
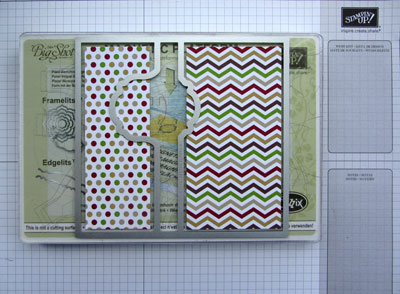
Tip 3 – For a fold-in panel, to give more writing space, cut the card 6″ x 5-3/8″ (a sliver shorter than usual) and position with the right hand side extended over the top of the framelit (so that it doesn’t cut it). This creates a slight crease line that forms the fold.

Here’s how the card looks when matted and folded out. The message panel is 2-1/8″ x 5-1/4″.
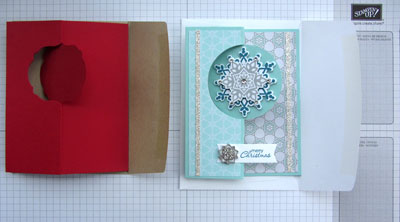
Tip 4 – These flip cards are slightly smaller than our regular A6 size and so they’ll fit in a standard C6 envelope (106588 – the white version on the right) with room for layers and space top and bottom. Or they’ll fit snugly into the Medium Envelopes (107297) that SU! stock (the Crumb Cake version on the left).
Have fun flipping!
Sara xx


Thanks so much Sara, I am all ready tomke valentines.
Awesome! Thank you so much for putting this together!