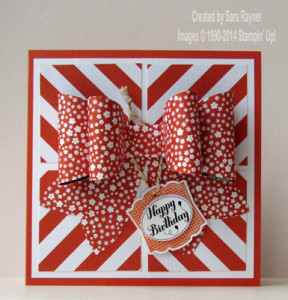
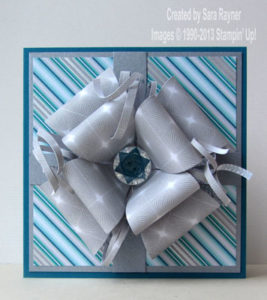
Yesterday I shared this 3D gift bow birthday card and today I’m back with a tutorial for how to use the gift bow die to make some simple variations on the basic bow.
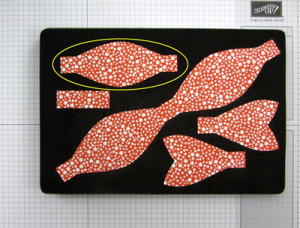 1 – Cut the pieces of your DSP/card using the gift bow die. Depending on the version you wish to make you may need to cut (just) the circled piece a second time. Tip – one of the pieces cuts at an angle so small patterned designs work best.
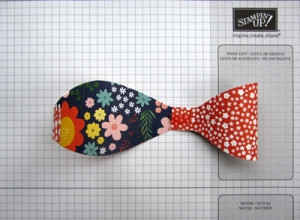
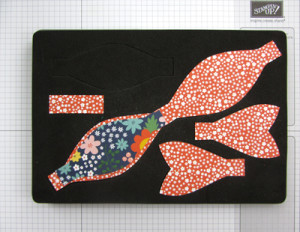 2 – If you flip the circled piece over and lay to over the long piece you can see that it is smaller – this is our inner bow, the long piece is our outer bow, the fish tails are exactly that and the small rectangle is our centre wrap.
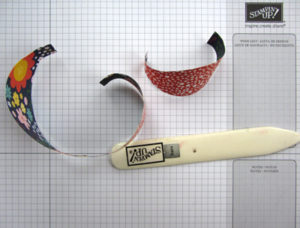
3 – Curl any inner and outer bow pieces over a bone folder. This breaks the fibres and allows the paper/card to bend rather than crease when you work it.
 4 – Add a small piece of Sticky Strip or wet glue to the centre of the outer bow (there will be stress on the glue at this point and SNAIL may not be strong enough to hold it)and fold the edge tab to the centre, aligning the curves. Repeat on the other side.
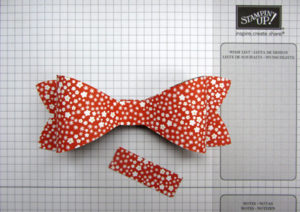
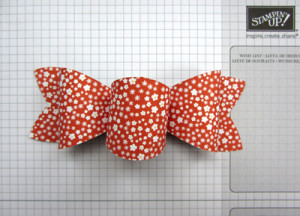
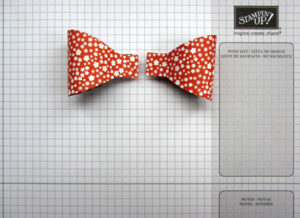
5 – For version A of the bow, adhere the fish tails in line behind the outer bow and adhere the centre wrap around the middle and you have a finished bow.
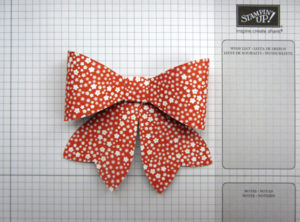 6 – For version B of the bow, adhere the centre wrap around the middle of the outer bow and then position the fish tails behind at an angle and overlapping (tip – you may need to trim away the small pyramid at the top of the overlapping fish tails so that it doesn’t show behind the bow).
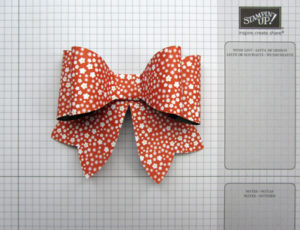
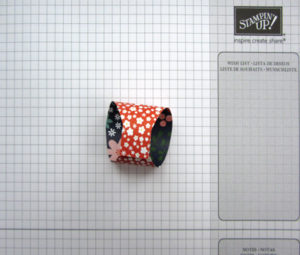 7 – For version C of the bow, firstadhere the outer tab of a single inner bow piece to form a loop.
 8 – With the fish tails adhered in line behind the outer bow (you can leave off the centre wrap, adhere the inner bow loop in the centre of the bow.
9 – For version D of the bow you will need two inner bow pieces. Adhere both tabs on a piece to each other to form a flattened tab. Repeat with the other piece.
 10 – Adhere the inner bow pieces to the centre of the outer bow and fasten the centre wrap around all. Arrange the fish tails behind (as at step 6). This is the version of the bow that we used on our card.
Try experimenting to find your own versions. Build multiple bows across the centres of each other to create entirely new bows:
Have fun!
Sara xx
PS. Have you seen our Special Offer – Buy a Big Shot 1-31 August and get a stamp set and framelit bundle free!


0 Comments