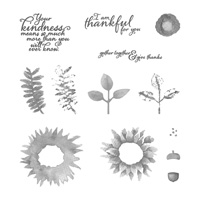
Welcome to our Stampin’ Up! Product Spotlight Blog Hop. Have you had a browse through the Autumn/Winter catalogue yet? (Holiday Catalog for those across the pond). There are so many amazing new stamp sets, framelits and other crafting supplies in there, you may not be quite sure where to start. To help you, I’ve got together with some of my fellow SU! demonstrators to bring you several days of blog hopping, focusing on a different product each day – so you’ll get to see different projects from each of us but all using the same product on that particular day. Today’s product is the Painted Harvest stamp set.
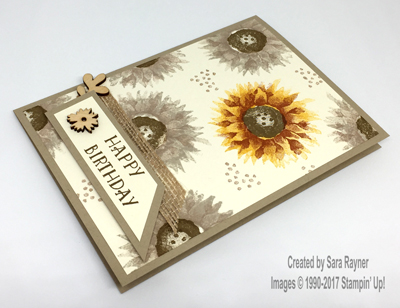
This set is just gorgeous and looks amazing in almost any colour combo. I decided though to go with a sepia tone for the main part so that my one coloured flower would stand out even more. Although the set comes with a variety of thanks/thanksgiving greetings you can easily pair it with other sentiments for maximum versatility.
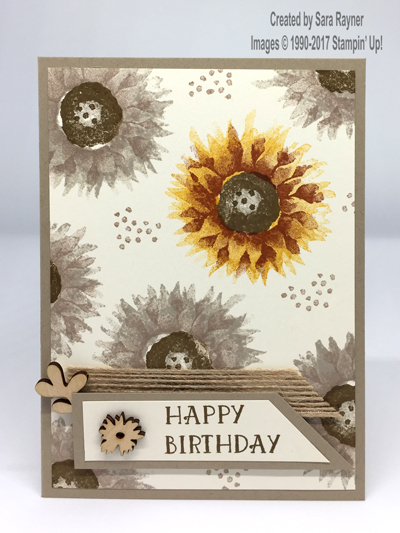
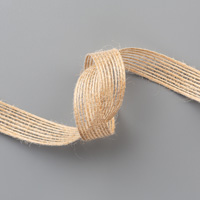
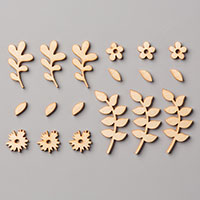
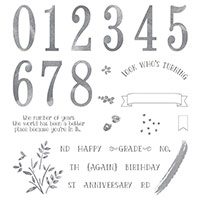
The card base is an A6 portrait of Crumb Cake. On a layer of Very Vanilla, the Painted Harvest sepia flowers were stamped with Sahara Sand for the base flower (twice, offsetting the petals), Crumb Cake for the shadowed flower layer and Soft Suede for the flower centre and spots. The spotlight flower was stamped with Crushed Curry for the base flower (twice, offsetting the petals), Cajun Craze for the shadowed flower layer and Soft Suede for the flower centre and spots. Spaces between the flowers were stamped with clusters of Spots, this time using Crumb Cake ink. The card layer was adhered direct to the card front. A piece of Burlap Ribbon was cut to a point and adhered to the card front with Tear and Tape. A sentiment from the Number of Years set was stamped onto a strip of Very Vanilla card using Soft Suede ink. One end of the banner was cut to a point and space was left at the other end. This was matted onto Crumb Cake card, trimmed to the same shape. A flower from the Touches of Nature Elements was adhered to the space on the banner and a leaf was adhered behind before popping the banner up on the front of the card with dimensionals.
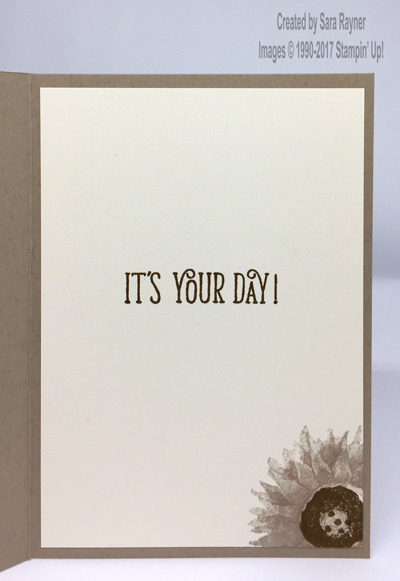
On the Very Vanilla insert, another sepia flower was stamped in the corner (as for the card front) and a sentiment from Happy Birthday Gorgeous was stamped in Soft Suede ink.
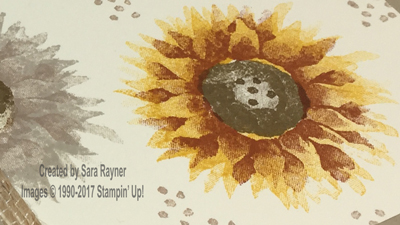
Aren’t the flowers just gorgeous!
Thanks for stopping by.
I’ll pass you on now to Christy Fulk’s Blog.
If you are hopping in the other direction head here to Joanne Cantrell’s Blog.
Sara xx
These are the supplies used on this project. If you live in the UK, Austria, France, Germany, or the Netherlands, then click on any product to shop online.


I love how you used the spotlight technique, too. Great card!
Like the spotlight technique
Love your color choices makes me ready for fall.
Great card – I love your color choices. I am so ready for fall.