Today’s my Mum’s birthday. Happy Birthday Mum! (not that she usually reads my blog, but just in case …) 🙂
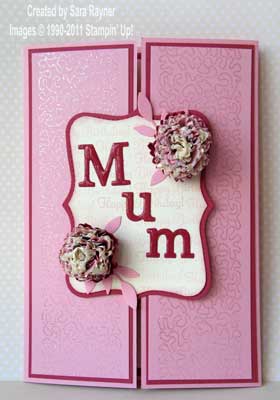
Anyone who’s been following me for sometime will know that I always like to make somewhat more special cards for close family and friends. I also try to tailor to my Mum’s tastes when I’m making her card. She likes named cards and a verse on the inside and so I created this:

Recipe
Stamp sets: Cornelli Lace (115624), Something to Celebrate (W121897 or C121955)
Cardstock: Pretty in Pink (106568), Very Vanilla (106550), Rose Red (108613)
Ink: Versamark (102283), Pink Pirouette (111838),
DSP: Springtime Vintage (121782)
Punch: Scallop Circle (119854)
Bigz Die: Top Note (113463)
Medium Sizzlits Die: Timeless Type Junior Alphabet (115951)
Sizzlits Die: Little Leaves (114511)
Other: Gold Brad (104337), Dazzling Diamonds (102023), Heat and Stick Powder (100625), Crystal Effects (101055)
Tools: Big Shot (113439), Paper-piercing Tool (116631), Mat Pack (105826), Heat Tool (110197), Sponge Dauber (102892), Stamp-a-ma-jig (101049)
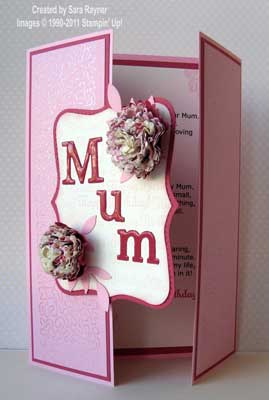
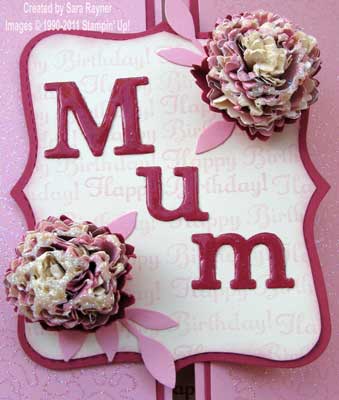
The card blank is a full sheet of A4 Pretty in Pink card folded into an A5 gatefold. Each side is matted with a Rose Red card layer. Pretty in Pink mat layers were rolled with the Cornelli Lace jumbo wheel and Versamark ink. These were then heat embossed with Heat and Stick Powder, covered with Dazzling Diamonds and heated again lightly to set the glitter. The panels were then matted onto the Rose Red mats on each side. Two top notes were die cut; one from Rose Red card and the other from Very Vanilla card. The Vanilla die cut was trimmed just inside the perforated line and then background stamped with the Happy Birthday sentiment in Pink Pirouette ink (the Stamp-a-ma-jig was used to line the text up each time). The edges were sponged with a little Pink Pirouette ink and the Vanilla Top Note was adhered direct to the Rose red one. “Mum” was die cut from Rose Red card and then covered with Crystal Effects and left to dry before adhering diagonally across the Top Note layers. Scrunched flowers were made as in the free tutorial here and adhered with Pretty in Pink leaves on either side of the sentiment. The Top Note layers were then popped up on dimensionals on one side of the gatefold as you can see here:

A verse was printed onto Very Vanilla card using the computer then layered onto Rose Red card on the inside.
Here’s a close up of the handmade Happy Birthday “background paper” made using the sentiment and the stamp-a-ma-jig:

A bit more time consuming but she’s worth it!
Sara xx


0 Comments