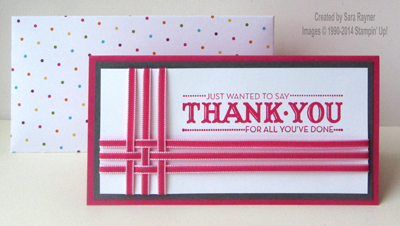
Onto Day 5 of our 20 day series of projects using patterned paper (also known as Designer Series Paper or DSP for short). Yesterday we made a 5″ square card. That size won’t fit well in my C6 envelopes lol and so today we’re using paper to make a co-ordinating envelope for the card.
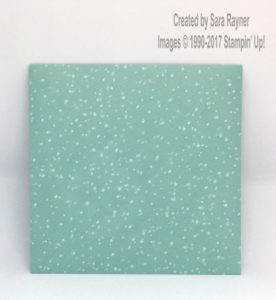
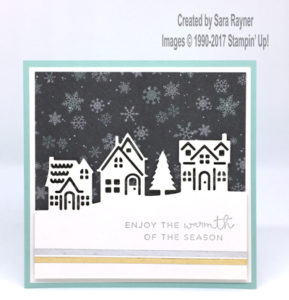
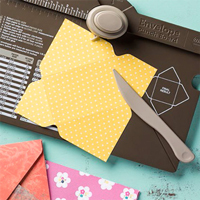
The Envelope Punch Board takes all the guesswork out of cutting and scoring your paper. Simply look up the card size on the front of the board and it will tell you the size of paper you need to cut and where to line up the first edge to punch and score.
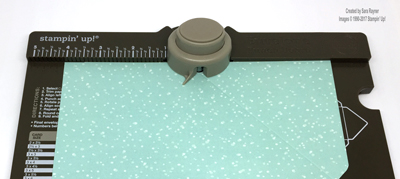
The instructions are right there on the front of the Board so you can’t lose them.
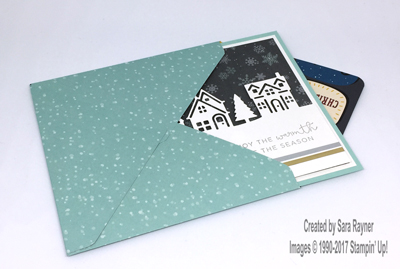
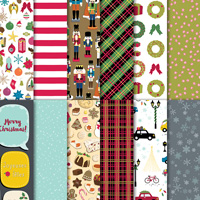
Christmas Around the World DSP was cut to a 8-1/8″ square and the left edge was lined up with the 4-1/8″ mark on the Envelope Punch Board. With the paper in place, the button at the top of the board was pressed to punch the paper and a line scored along the groove that runs diagonally from the centre of the button to the lower right corner of the Board. The paper was then rotated 90° counter clockwise and the scored line, lined up with the little pointer that juts out from the button (the score guide) then punched and scored again as before. This was repeated twice more. All the corners were then rounded by inserting them into the button from the opposite side and punching. After folding along the scorelines, three sides of the envelope were adhered in place. The fourth can be stuck down once the card has been written and is ready for posting.
Thanks for stopping by.
Sara xx
0 Comments