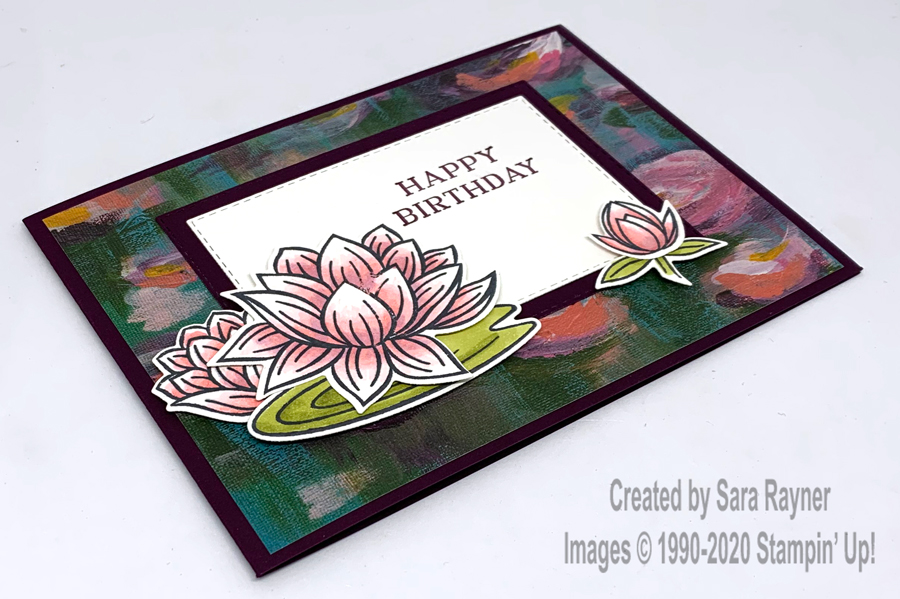
Today we’re mixing a couple of free Sale-a-bration goodies with Perennial favourites from the main catalogue to create a Perennial Lily Pad birthday card.
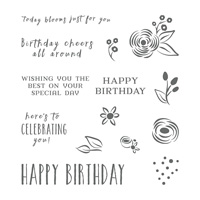
The Perennial Birthday set is one of my go-to sets for birthdays. There’s a very different style of card made with the same set here.
Colour Combo
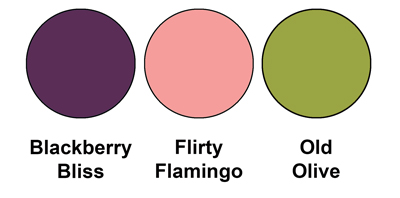
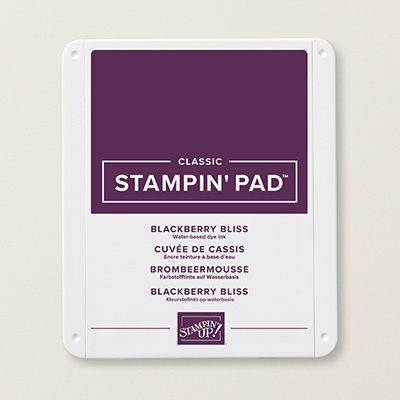
This colour combo mixes Blackberry Bliss, Flirty Flamingo and Old Olive.
Instructions
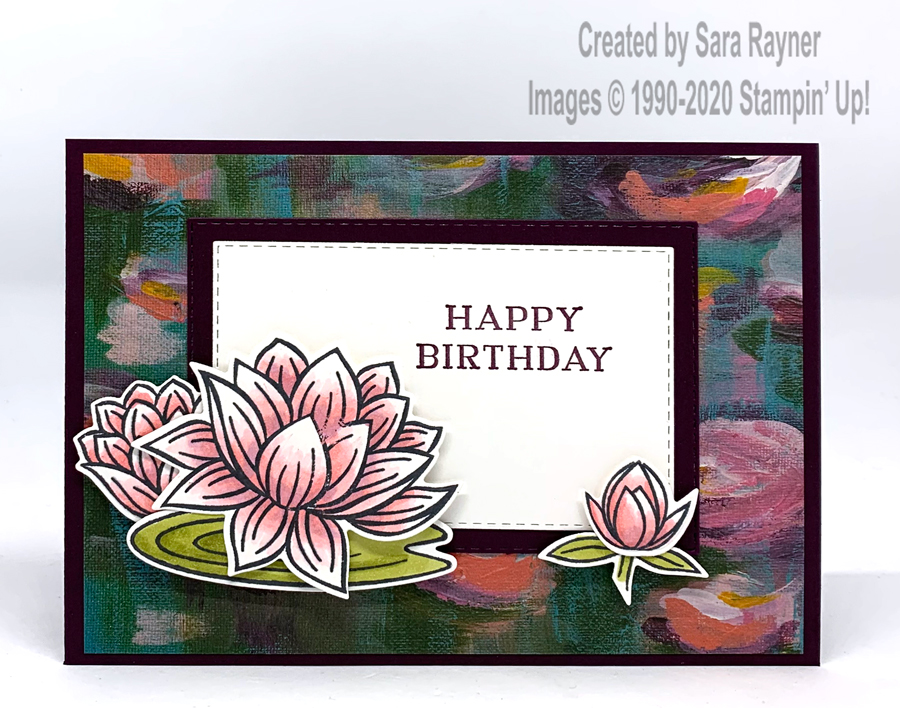
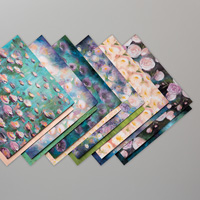
Start with an A4 landscape card of Blackberry Bliss. Adhere a card front layer of Perennial Essence DSP direct to the card front. Use the Stitched Rectangle dies to die cut rectangles, one from Blackberry Bliss card and a slightly smaller one from Whisper White card. Using Blackberry Bliss ink, stamp a sentiment from the Perennial Birthday set onto the White rectangle. Adhere the rectangles together and then adhere direct to the card front.
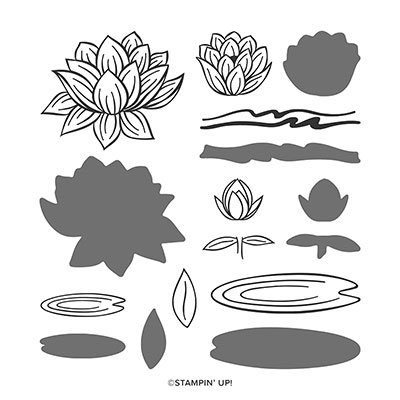
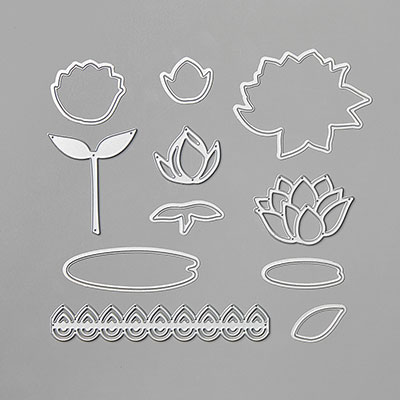
Using Memento Black ink, stamp the three flowers, sepals and the larger lily pad from the Lovely Lily Pad set onto scraps of Whisper White. Colour the flowers and leaves with a mix of Blends (see below for those used). Die cut these out with the matching Lily Pad dies and pop them up on the card front with dimensionals.
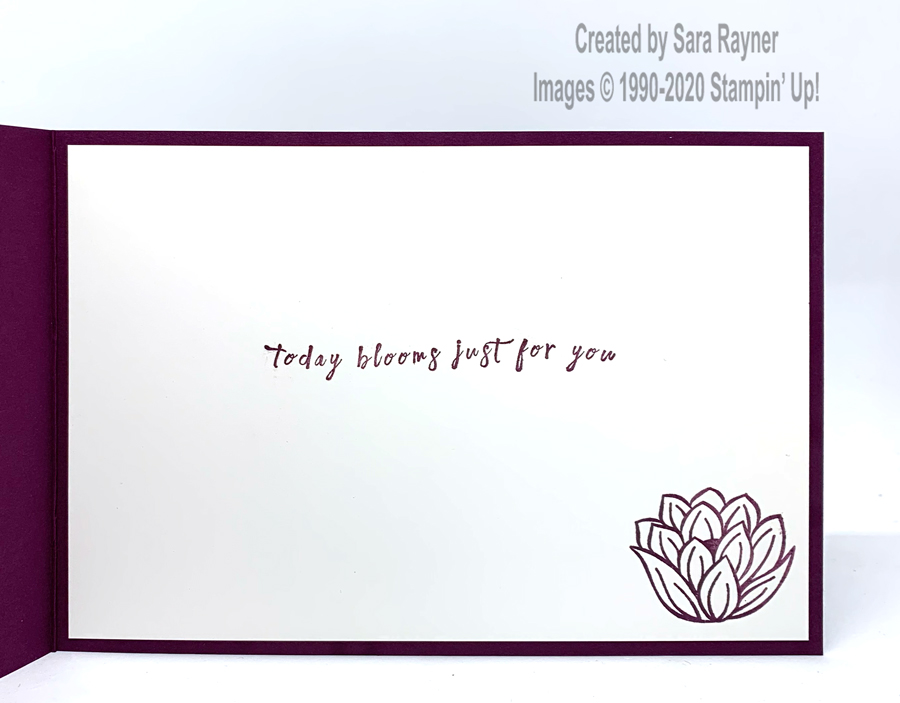
On the Whisper White insert, stamp another sentiment from the Perennial Birthday set and the medium flower from the Lovely Lily Pad set, both with Blackberry Bliss ink.
Thanks for stopping by.
Sara xx
Shop
These are the supplies used on this Perennial Lily Pad card project. If you live in the UK, Austria, France, Germany, or the Netherlands, then click on any product to shop online.


0 Comments