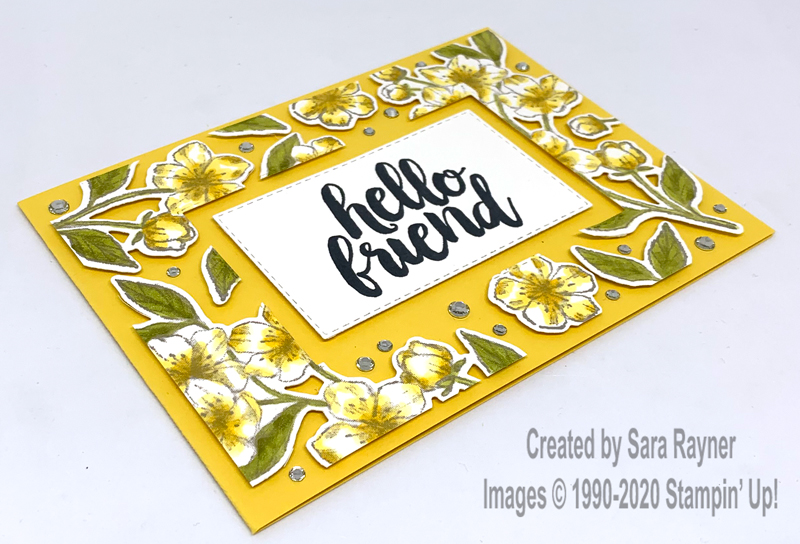
I recently shared this card made with the floating frame technique. It was one of a series I created for my downline team.
The technique makes two separate cards, one with the outer frame and one using the inner centre. It is easy to adapt to either make it a little easier or to step it up. For a simpler card, skip to step 2 and simply die cut images. To step it up, colour your images and/or layer them.
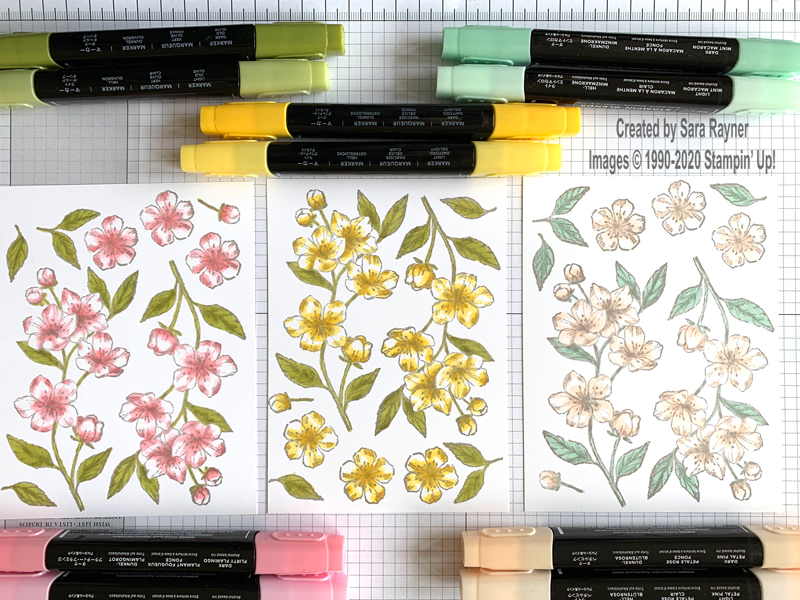
Step 1 – Stamp your images. Colour them in if required.
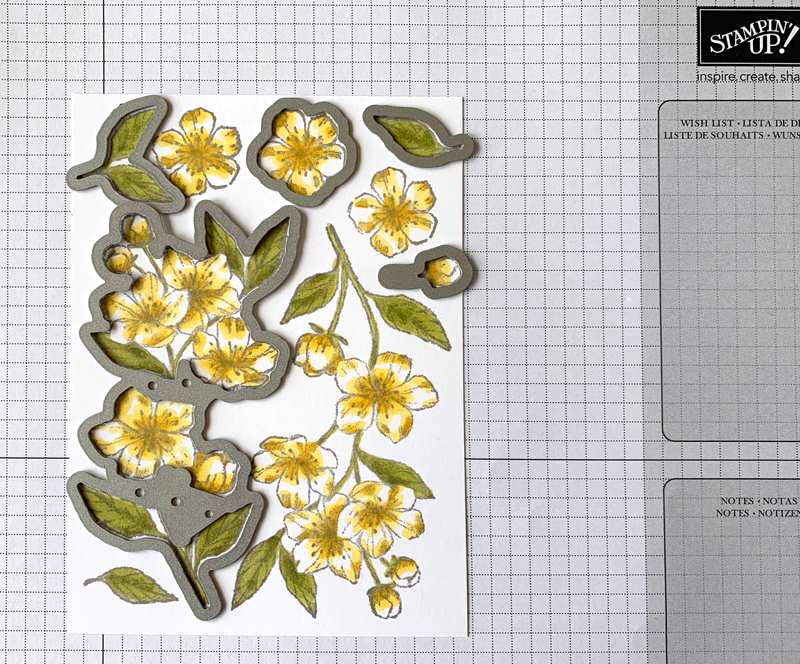
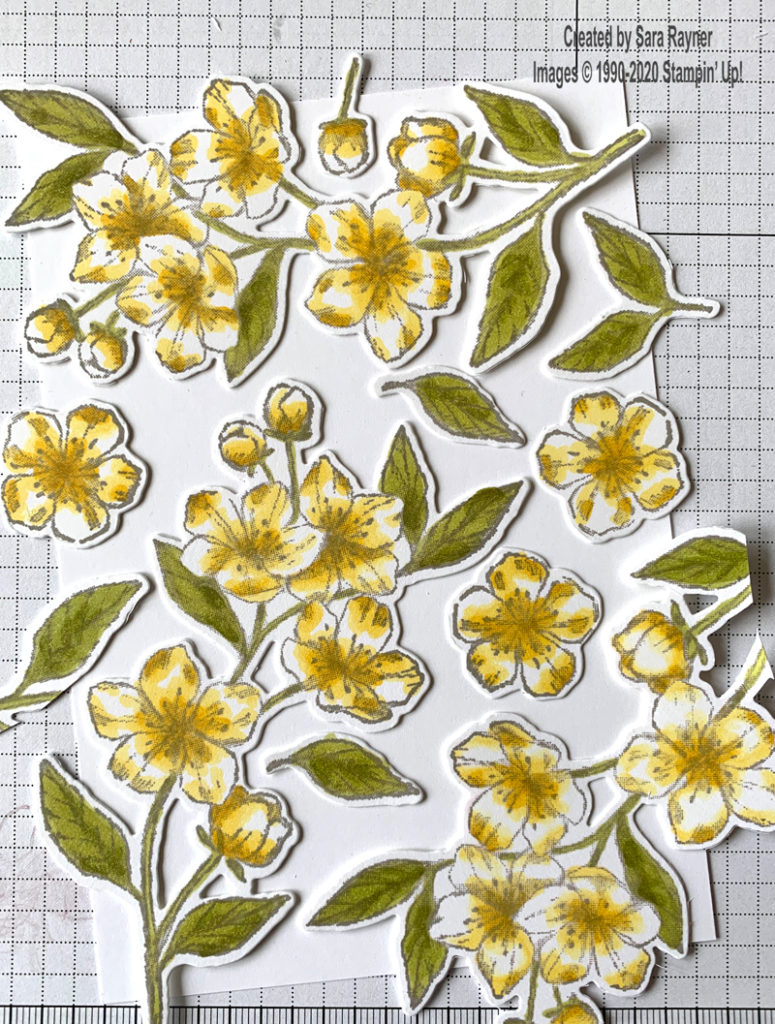
Step 2 – Die cut out your images.
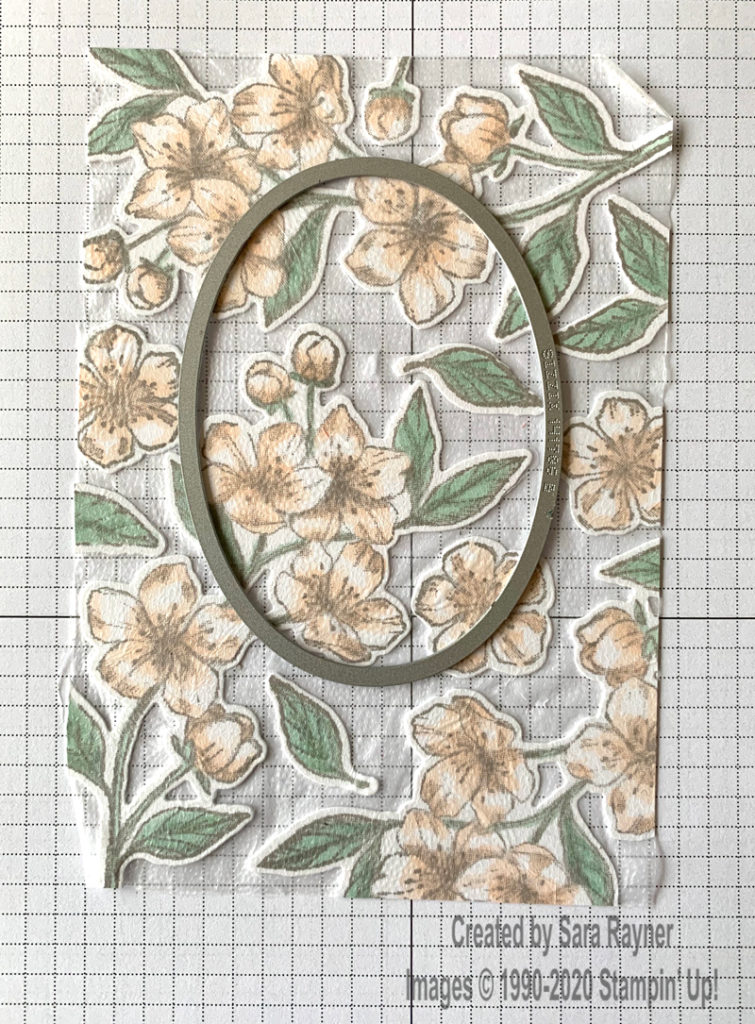
Step 3 – Arrange the images clustered together on a piece of plain card the same size as your card front. The technique works best when the arrangement is kept tight. Use small images to fill gaps. Cover the arrangement with Press ‘n’ Seal or a large style post-it note. Press ‘n’ Seal has the advantage of being transparent so that you can see where the frame will best be placed. Ensure the die cut images “stick” well, flip the layers over and remove the plain card.
Step 4 – Die cut a simple shape from the clustered images.
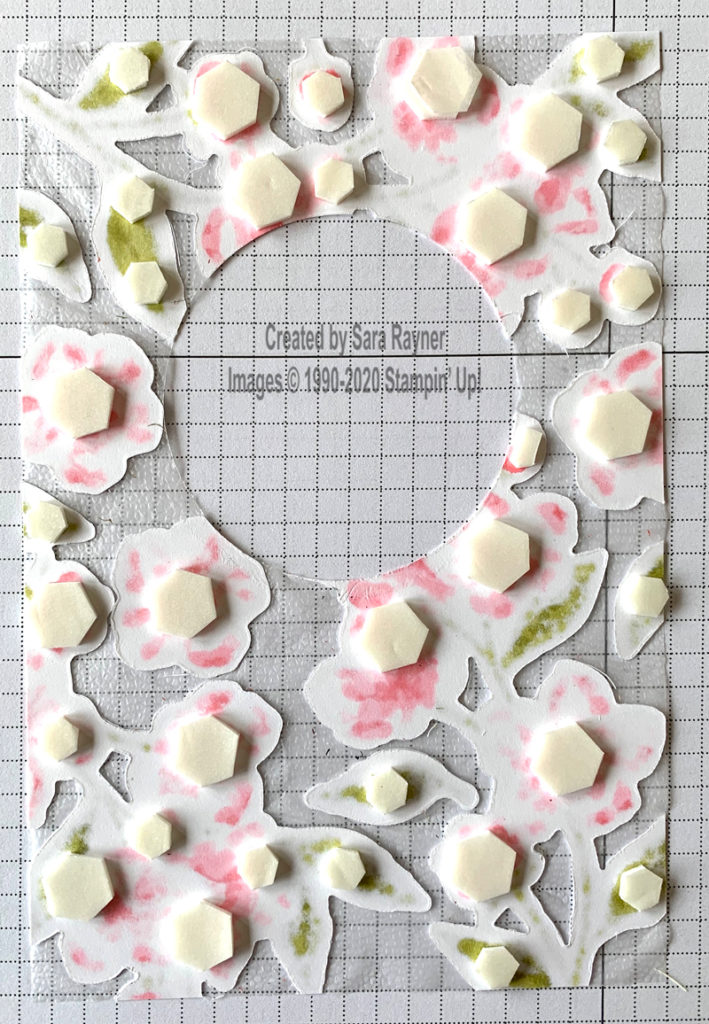
Step 5 – Flip the frame over and add dimensionals to the backs of the die cut pieces. Take care to ensure that pieces up against an edge are covered so that they will be well supported when flipped back.
Step 6 – Flip the die cut centre over and add dimensionals to the backs of the die cut pieces. Again, take care to ensure that pieces up against an edge are covered.
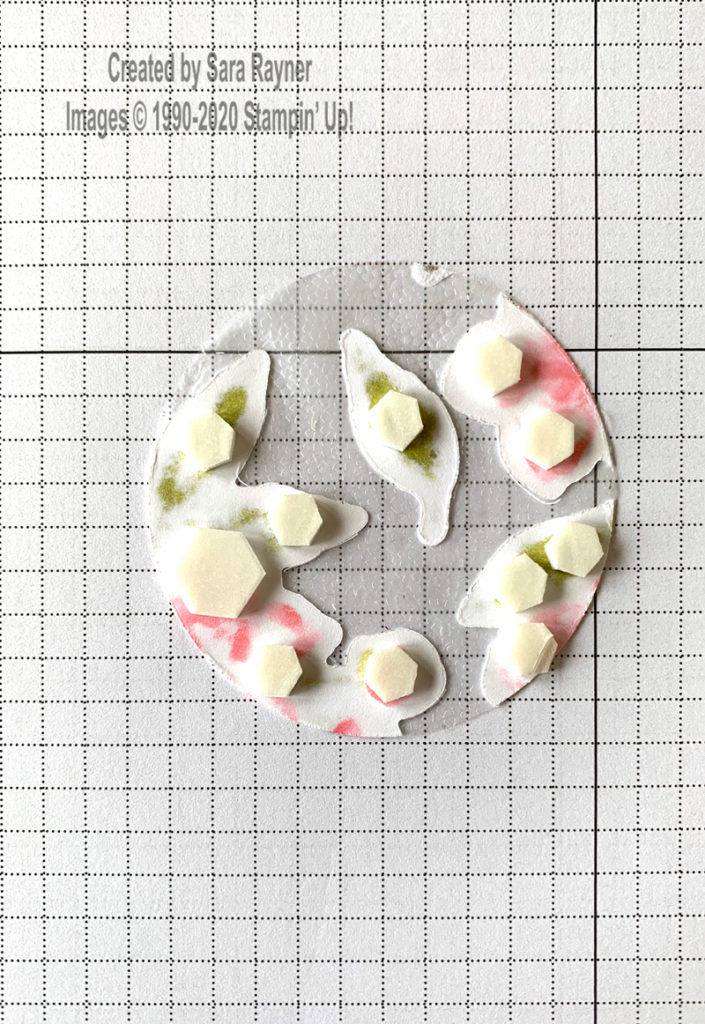
Step 7 – Remove the backings from the dimensionals, flip the layers over and adhere to your card layer. Carefully peel off the Press ‘n’ Seal (or alternative). Repeat with the inner section onto a separate card front (layer).
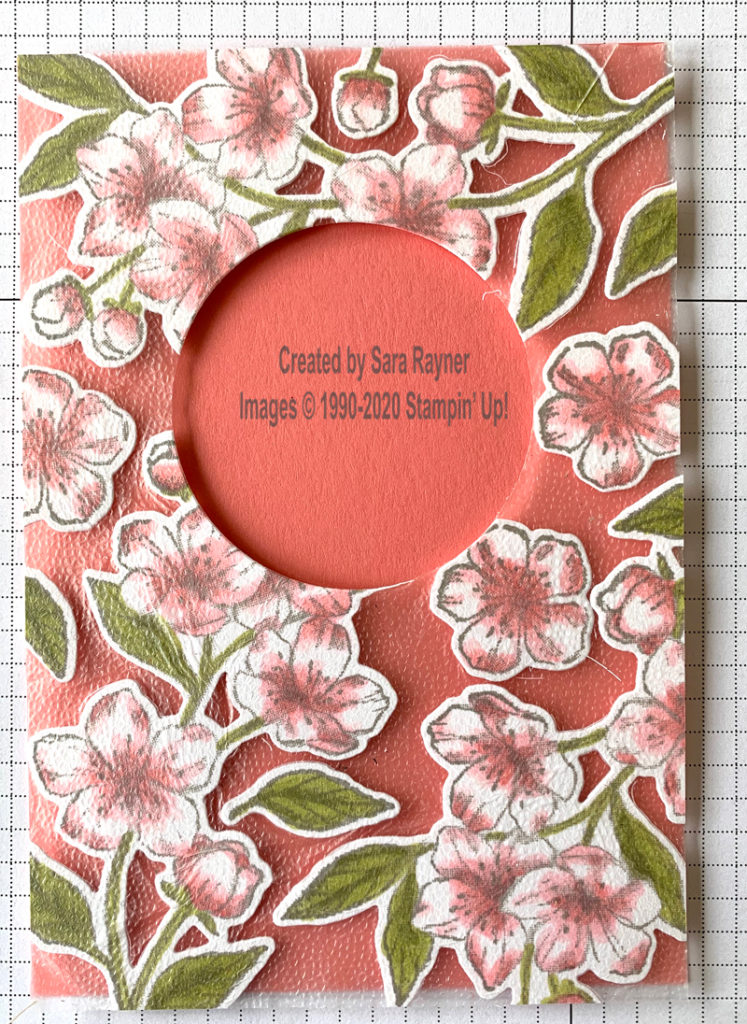
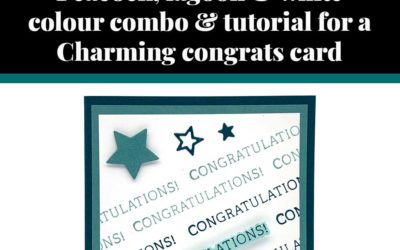
Step 8 – Add a sentiment label and fill any remaining gaps in the frame with embellishments such as rhinestones or sequins.
I’ll be back with other samples that use this floating frame technique soon.
Thanks for stopping by.
Sara xx


Hi, I love your floating cards. What colour of ink pad did you use for the last design. Your help would be greatly appreciated. Susan
Hi Susan. I made this back in 2020 so I can’t be 100% sure but I think it was Flirty Flamingo and Old Olive, though it was Stampin’ Blends that I used rather than an ink pad. Hope that helps.
Do you remove the cling wrap?
Yes I do. It’s mentioned at Step 7 Misty 😊